How to Crochet an Adorable Strawberry Turtle: Step-by-Step Pattern
This post was created with help from AI tools and carefully reviewed by a human (Muntaseer Rahman). For more on how we use AI on this site, check out our Editorial Policy.
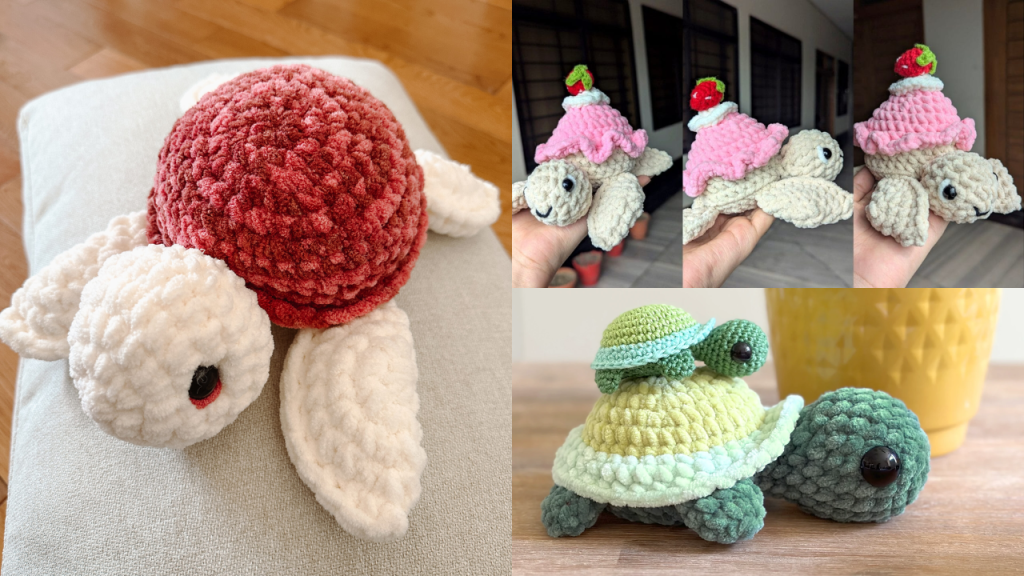
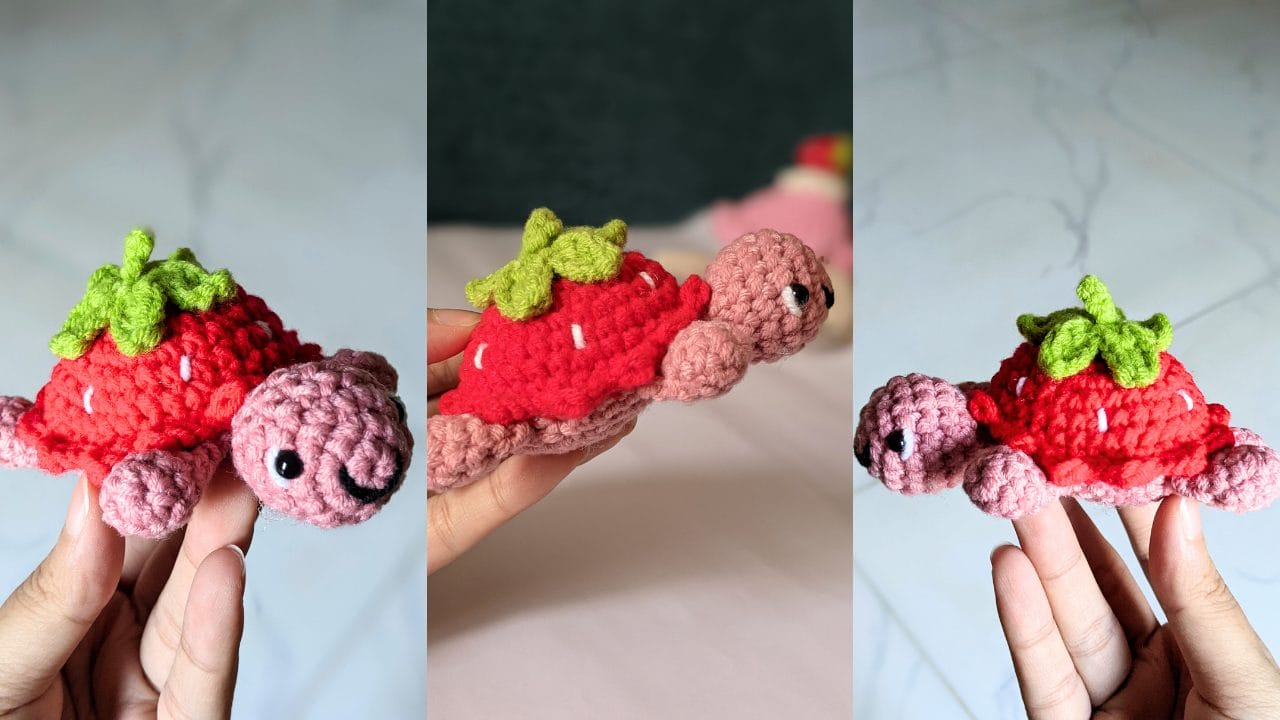
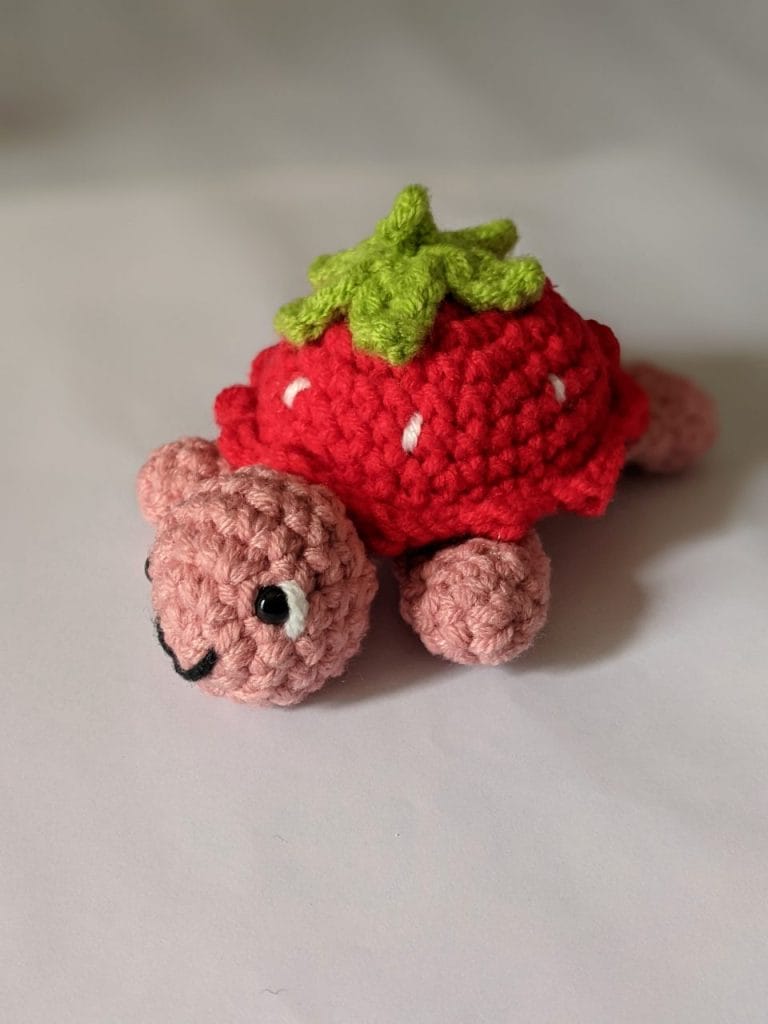
If you’re looking for a crochet project that’s equal parts adorable and rewarding, this strawberry turtle pattern is exactly what you need.
Combining the charm of amigurumi with the sweet appeal of everyone’s favorite berry, this little guy is sure to steal hearts wherever he goes.
This expert-crafted pattern creates a perfectly sized strawberry turtle that’s ideal for gifting, decorating, or adding to your growing collection of handmade treasures.
While it requires some intermediate skills, the detailed instructions will guide you through every step of the process.
What You’ll Learn
By the end of this tutorial, you’ll have mastered several important crochet techniques:
- Working with front loop only (FLO) and back loop only (BLO)
- Creating decorative shell edges
- Attaching multiple parts during construction
- Professional finishing techniques
These same FLO and BLO techniques are used across several of our turtle patterns, including the sunflower turtle amigurumi which takes them further with dimensional petal construction.
Pattern Details
Skill Level
Intermediate – This pattern requires familiarity with basic crochet stitches (such as single crochet, increase, and decrease), working in the round, and attaching multiple parts together.
Finished Size
Approximately 11.5 cm (4.5 inches) – Size may vary depending on yarn thickness, hook size, and your individual tension.
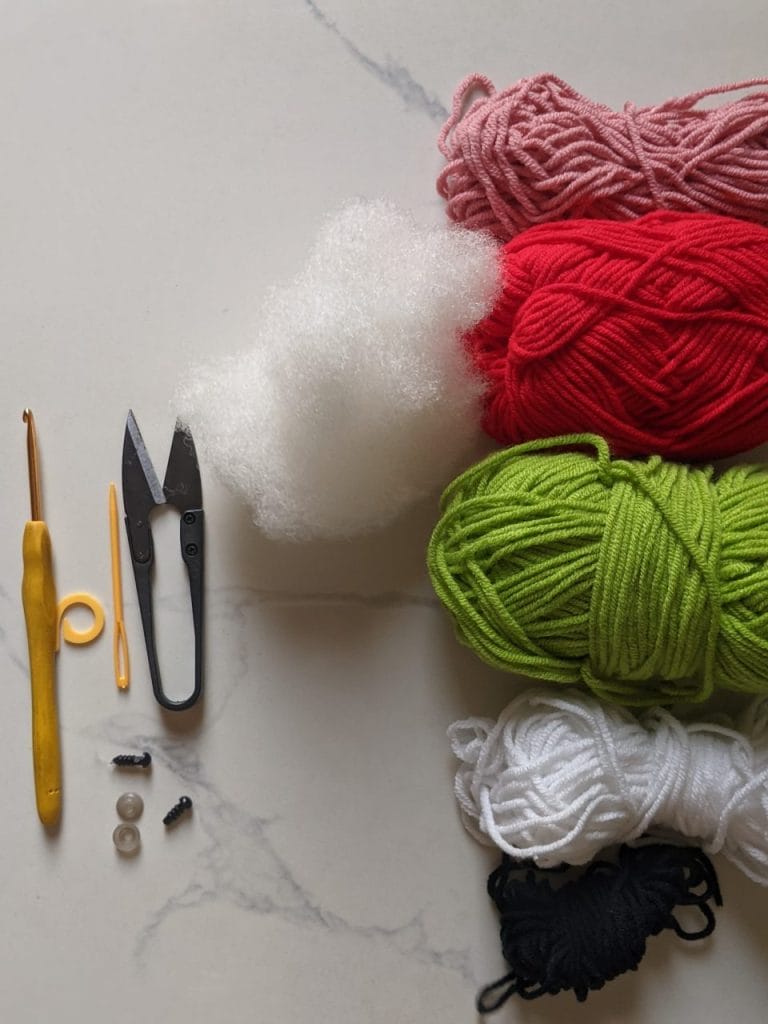
Materials Needed
Yarn:
- Milk cotton yarn (my pick: 24-pack milk cotton yarn) (4-ply) in:
- Red (for the strawberry shell)
- Green (for the leafy top)
- Dusty pink (for the turtle body)
- Black (for facial features)
- White (for eye highlights and seeds)
Tools & Notions:
- 3.5 mm crochet hook (my pick: Clover Amour set)
- 5 mm safety eyes (or small black beads)
- Fiberfill stuffing
- Tapestry needle
- Scissors
Pro Tip: Milk cotton yarn gives this project the perfect texture and stitch definition. If you can’t find milk cotton, any worsted weight cotton yarn will work beautifully.
Abbreviations Guide
- MR = Magic Ring
- ch = Chain
- sc = Single Crochet
- inc = Increase (2 sc in one stitch)
- dec = Decrease (2 sc together)
- sl st = Slip Stitch
- R = Round/Row
- BLO = Back Loop Only
- FLO = Front Loop Only
Your Yarn Stash Called. It Wants to Be a Turtle.
Look, you could spend another weekend scrolling Pinterest for the “perfect” turtle pattern.
Or you could grab one that’s already perfect.
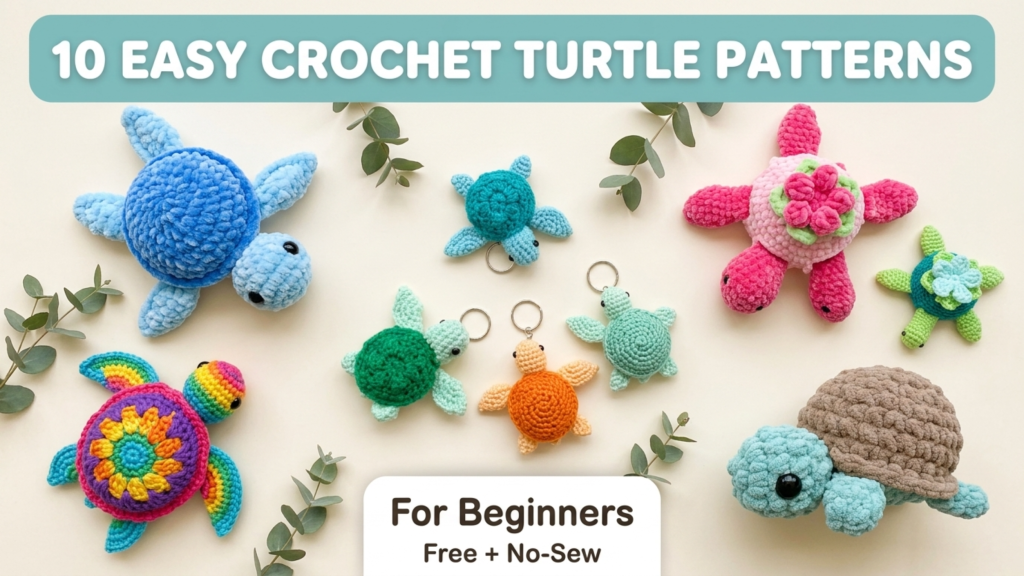
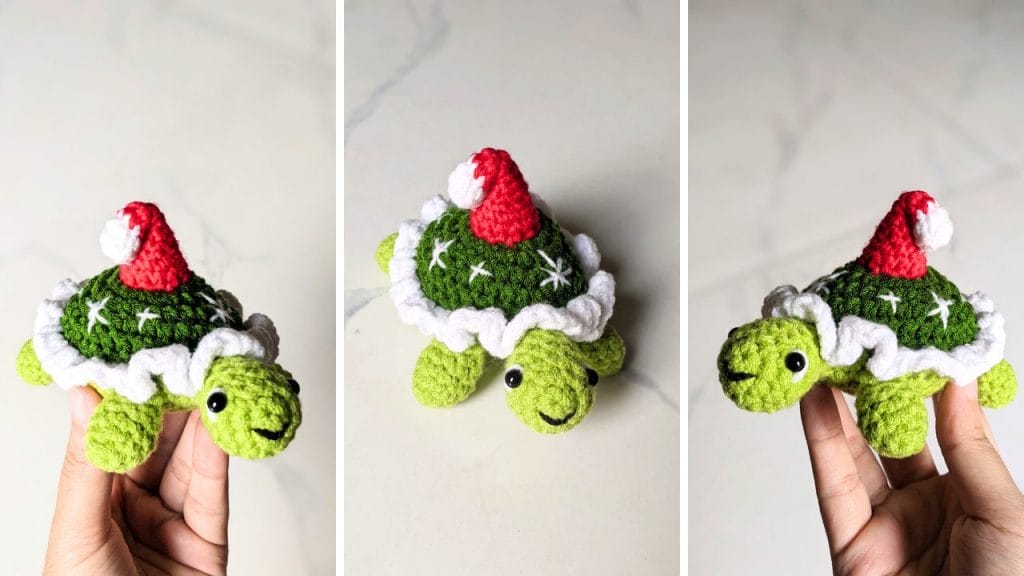
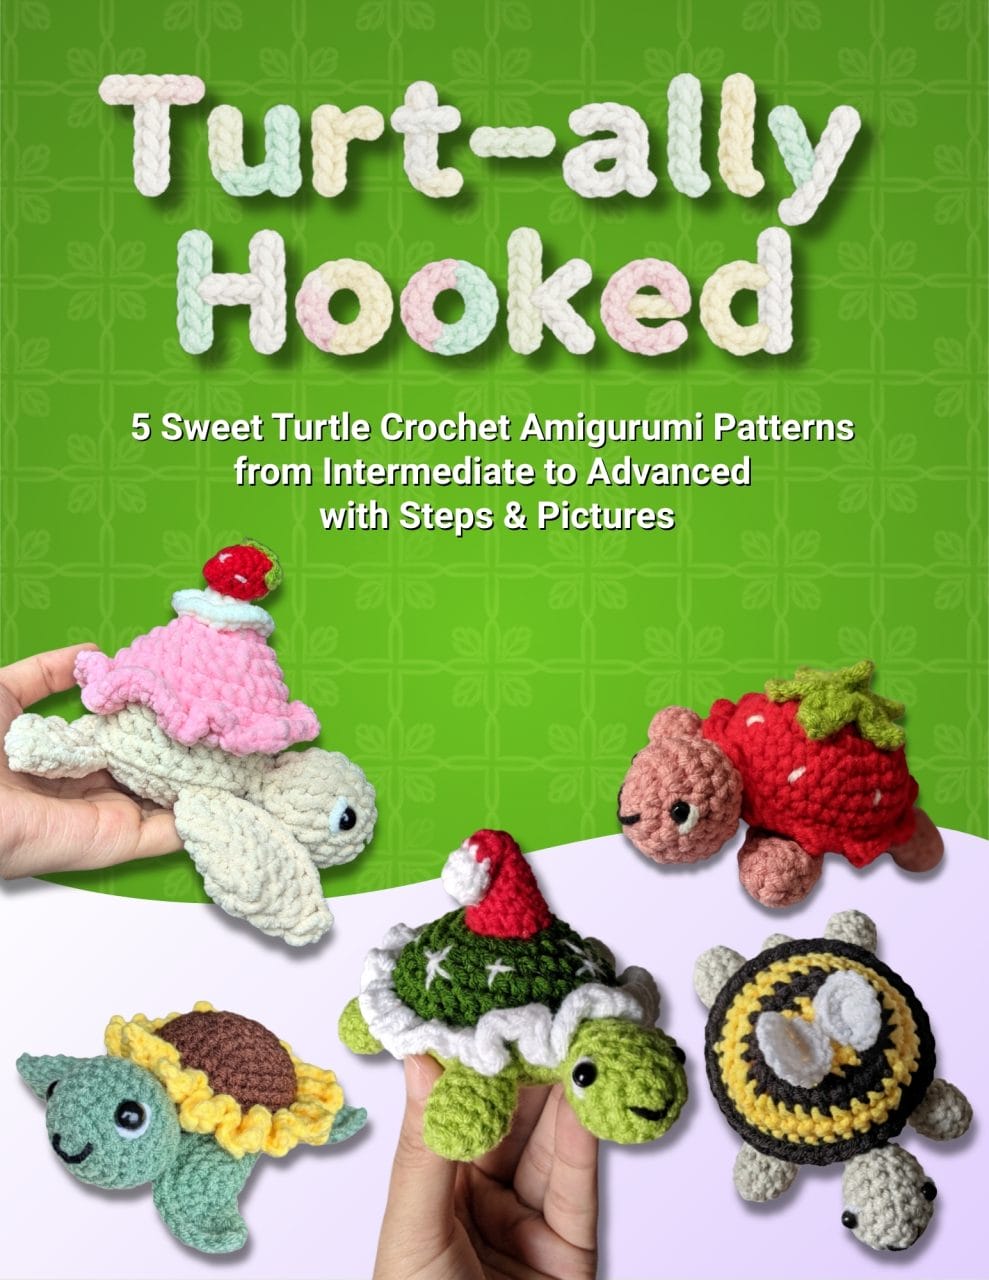
Turt-ally Hooked gives you 5 complete turtle patterns—each with a different theme, personality, and skill level.
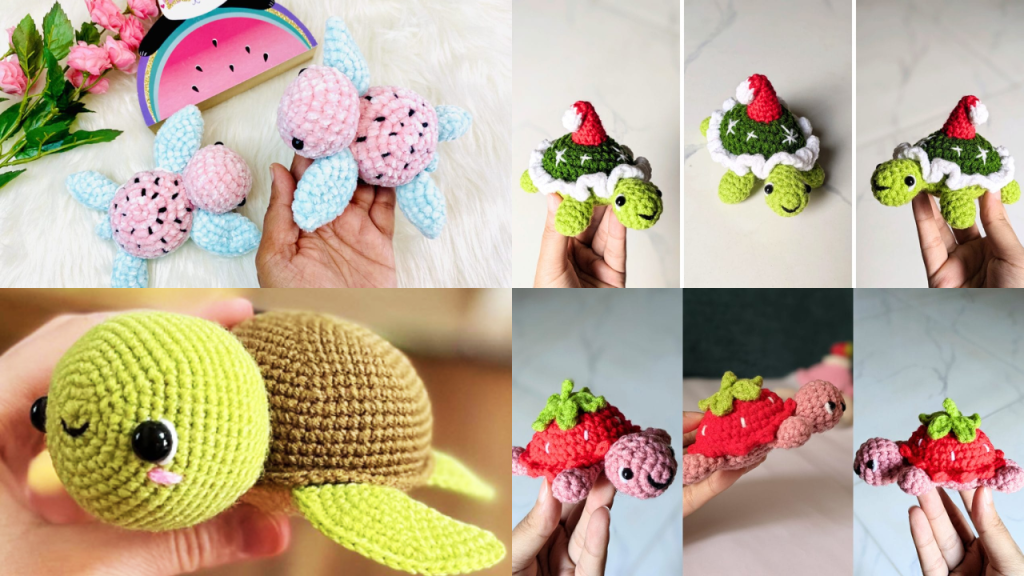
Bee, strawberry, sunflower, Christmas, and cupcake. All adorable. All doable.
It’s straightforward, it’s cute, and if you’ve been meaning to make something other than another scarf—here’s your chance.
Step-by-Step Pattern
Head (Dusty Pink Yarn)
Start with the turtle’s sweet little head using dusty pink yarn.
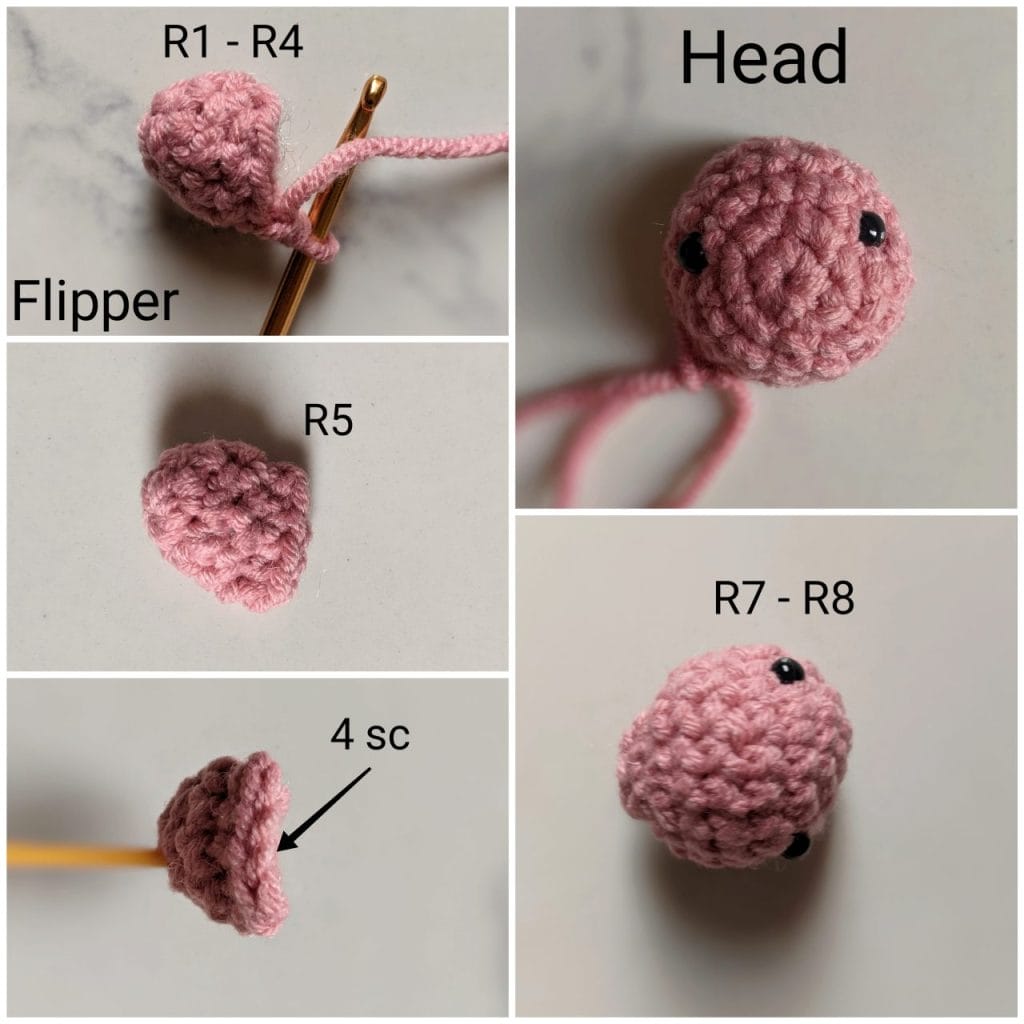
R1: 6 sc in MR [6]
R2: 6 inc [12]
R3: (1 sc, 1 inc) × 6 [18]
R4 – R6: sc around [18]
Eye Placement: Insert safety eyes between Rounds 3 and 4, approximately 7 stitches apart. This spacing gives your turtle the perfect sweet expression.
Stuff the head lightly – you want it firm but not overstuffed.
R7: (1 sc, 1 dec) × 6 [12]
R8: 6 dec [6]
Do not close the gap completely. Fasten off and weave in the end.
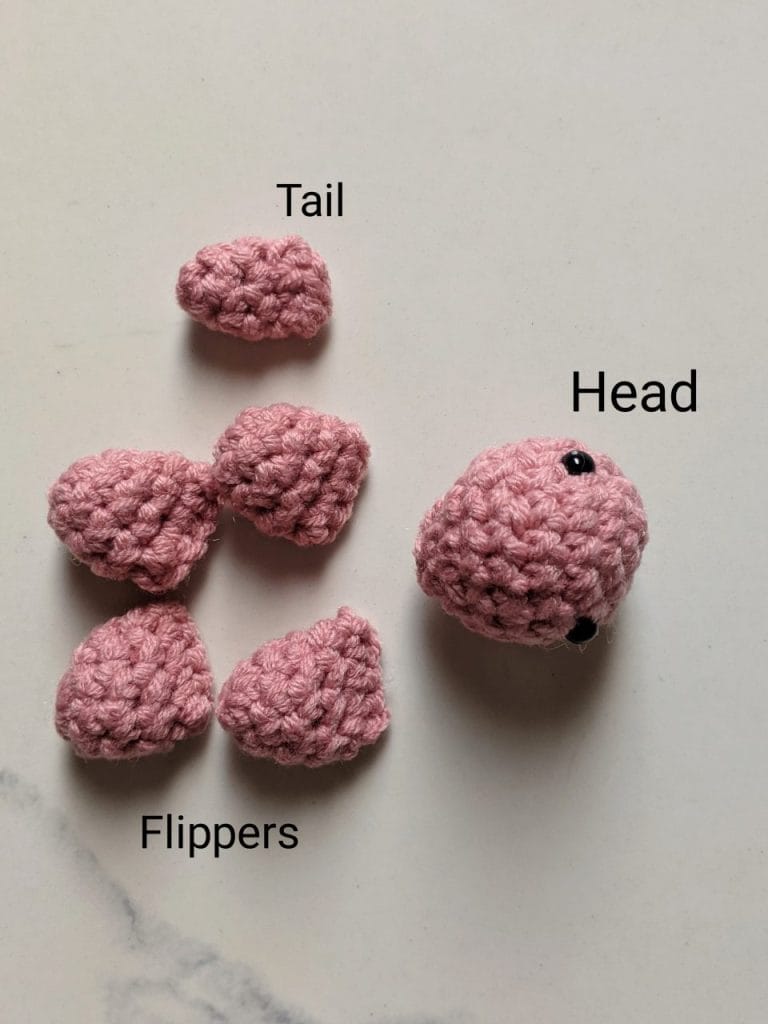
Flippers (Make 4, Dusty Pink Yarn)
These little flippers will give your turtle that authentic sea turtle look.
R1: 8 sc in MR [8]
R2 – R4: sc around [8]
Stuff lightly, then fold the flipper in half and crochet across both sides with 4 sc. This creates a flat, flipper-like shape that’s perfect for attachment.
Fasten off and weave in the end.
Tail (Dusty Pink Yarn)
A tiny tail adds the finishing touch to your turtle’s body.
R1: 3 sc in MR [3]
R2: 3 inc [6]
R3 – R4: sc around [6]
Stuff lightly (this is optional for such a small piece).
R5: Fold tail and sc across both sides [3]
Fasten off and weave in the end.
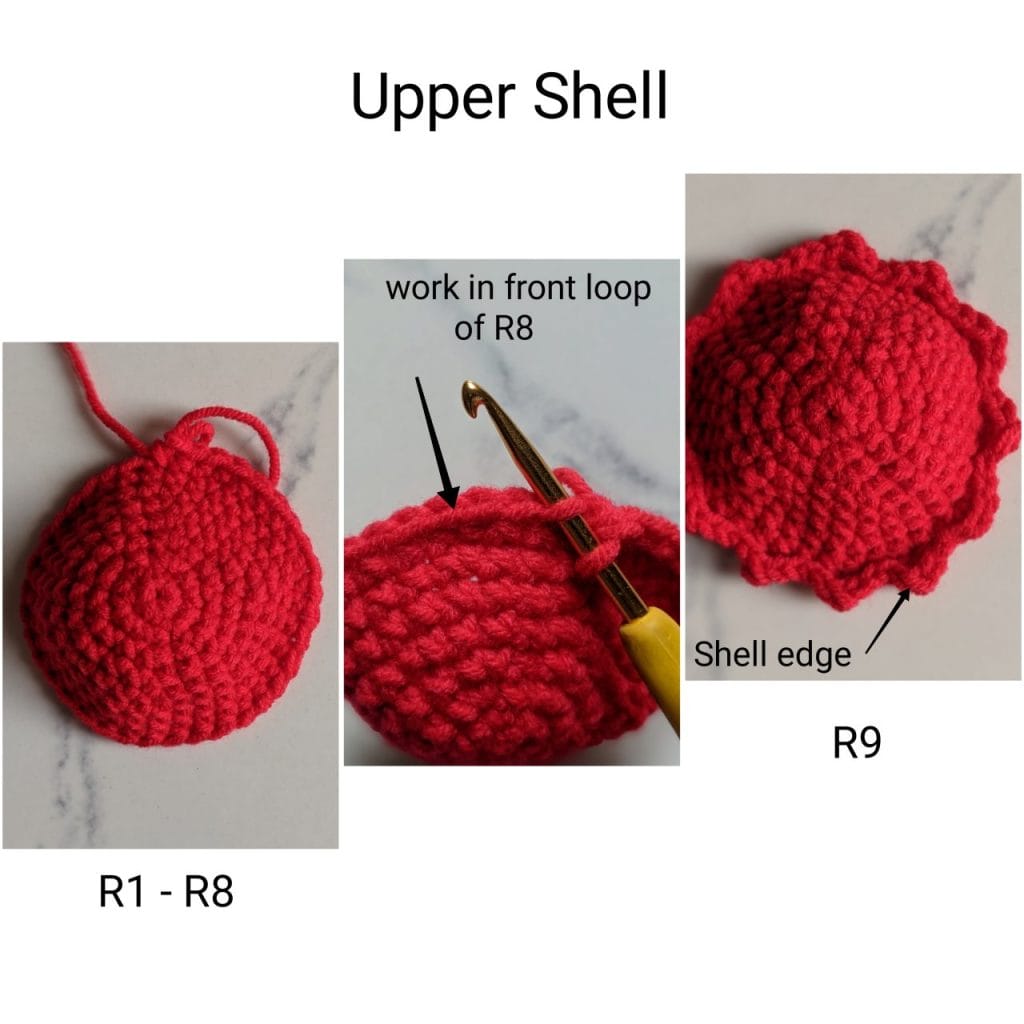
Upper Shell (Red Yarn)
Now for the star of the show – the strawberry shell! This is where your turtle really comes to life.
R1: 6 sc in MR [6]
R2: 6 inc [12]
R3: (1 sc, 1 inc) × 6 [18]
R4: (2 sc, 1 inc) × 6 [24]
R5: (3 sc, 1 inc) × 6 [30]
R6: sc around [30]
R7: (4 sc, 1 inc) × 6 [36]
R8: sc around [36]
Creating the Shell Edge: R9: FLO, {sl st, (1 sc, 1 hdc, 1 sc), sl st} × 12 [60]
This decorative edge gives your strawberry shell that realistic, textured appearance. Working in front loops only creates a natural ridge.
Fasten off and weave in the end.
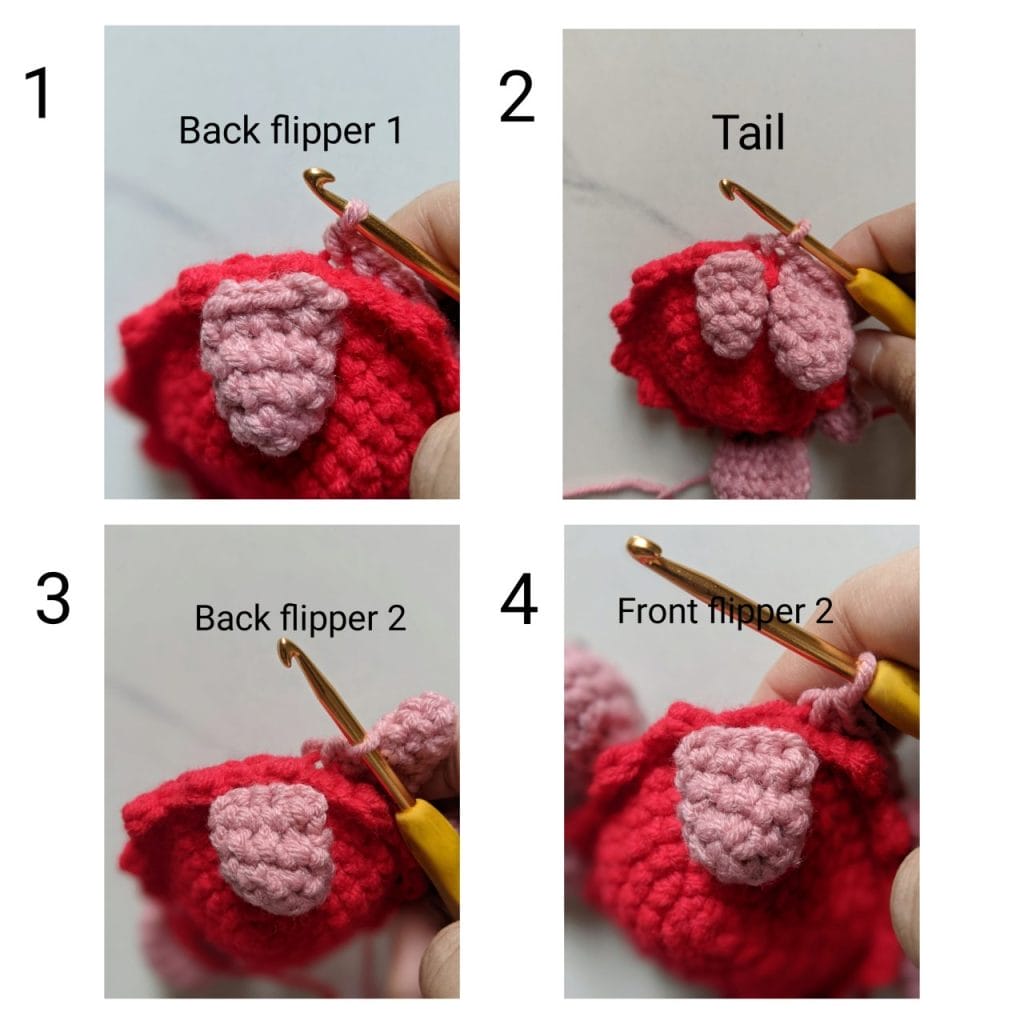
Bottom Shell (Dusty Pink Yarn)
Here’s where the magic happens – you’ll attach all the body parts while creating the bottom of the shell.
Attach yarn to BLO of Round 8 of the upper shell. While working this round, you’ll attach the head and flippers. Important: Place each part outside the shell.
Insert the hook through the part first, then through the back loop of the shell, and complete the sc.
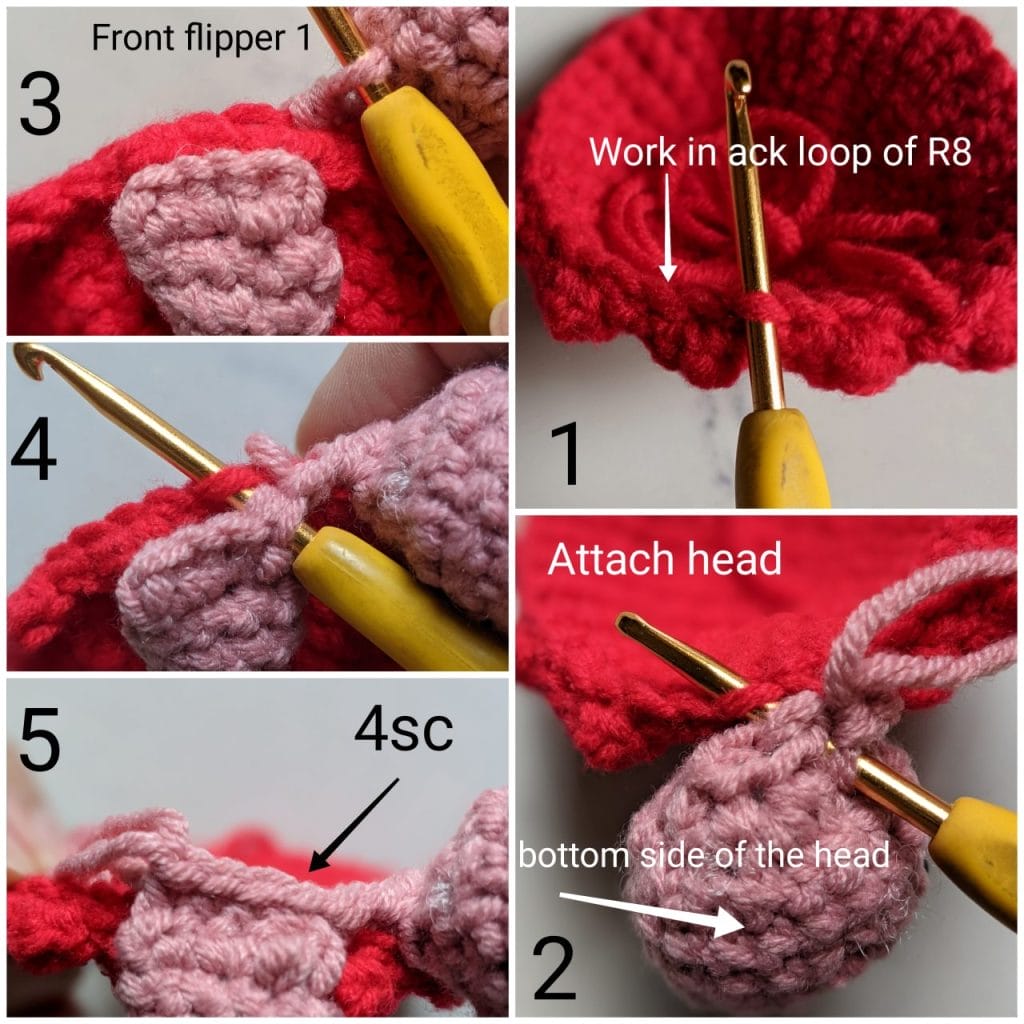
R1: 1 sc, attach head with 3 sc, 1 sc, attach front flipper with 4 sc, 5 sc, attach back flipper with 4 sc, 1 sc, attach tail with 3 sc, 1 sc, attach back flipper with 4 sc, 5 sc, attach front flipper with 4 sc. [36]
R2: (2 sc, 1 dec, 2 sc) × 6 [30]
R3: (3 sc, 1 dec) × 6 [24]
R4: 12 dec [12]

Stuffing Time: Fill your turtle with fiberfill, making sure to get into all the corners for a nice, plump shape.
R5: 6 dec [6]
Fasten off, then close the gap by weaving through the front loops only of the remaining 6 stitches. Pull tight to close and hide the tail.
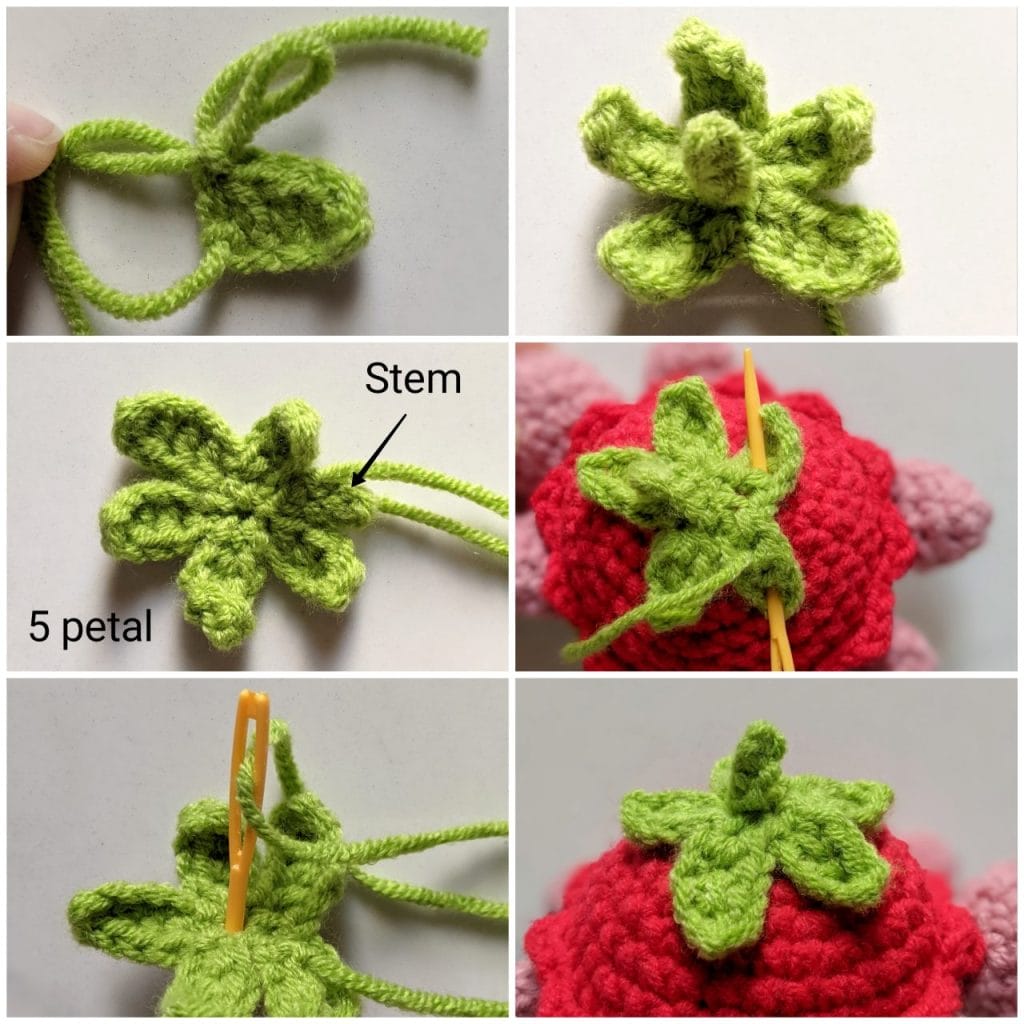
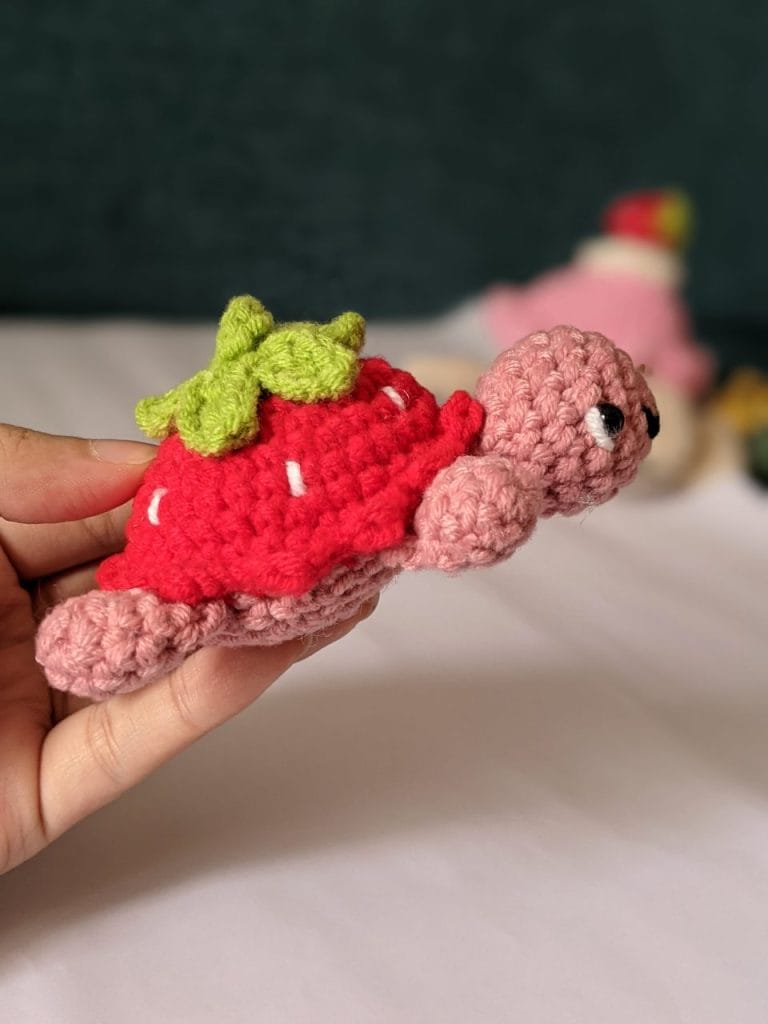
Strawberry Top (Green Yarn)
The leafy crown that makes this turtle unmistakably strawberry-themed.
Make a magic ring.
Repeat the following 5 times into the MR: (ch 5, sc in 2nd ch from hook, hdc, dc, dc, sl st into MR)
Then: ch 5, skip the 5th ch, sl st into next 5 ch.
Cut the yarn and leave a long tail for sewing. Pull the long tail through the MR using a needle. Sew securely onto the center of the upper shell.
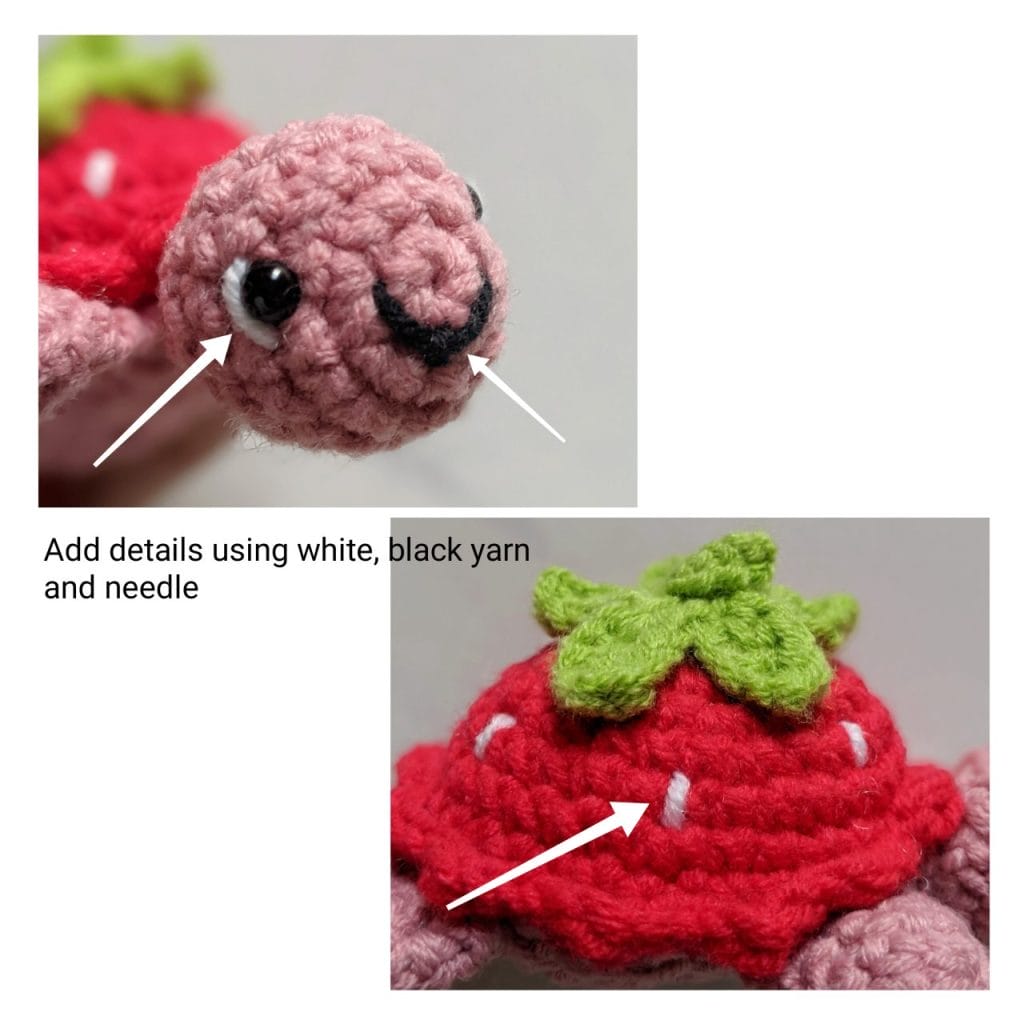
Finishing Touches
These details transform your turtle from cute to absolutely irresistible:
Adding Personality
- Embroider a small mouth using black yarn – just a tiny curved line for that sweet smile
- Add white highlights on each eye with white yarn for that sparkly, lively look
Strawberry Details
- Stitch small white lines randomly on the red shell to resemble strawberry seeds
- Space them naturally – real strawberries don’t have perfectly organized seeds!
Troubleshooting Tips
If your turtle looks uneven: Don’t worry! Handmade charm includes slight imperfections. As long as all parts are securely attached, your turtle is perfect.
If stitches seem loose: Check your tension. Amigurumi works best with slightly tighter stitches than regular crochet.
If parts won’t stay attached: Use a longer tail when fastening off, and make sure to sew through multiple stitches for security.
Variations to Try
Once you’ve mastered this strawberry turtle, consider these fun variations:
- Blueberry turtle – Use blue yarn and add small dark blue dots
- Orange turtle – Create a citrus version with orange shell and green sections
- Mini version – Use thinner yarn and a smaller hook for keychain-sized turtles
Want to explore entirely different turtle themes? Try our cupcake sea turtle plushie for a dessert-inspired design, or our Christmas tortoise for a festive holiday version.
Care Instructions
Your finished strawberry turtle can be:
- Hand washed in cool water if needed
- Air dried flat to maintain shape
- Spot cleaned for minor dirt
Final Thoughts
This strawberry turtle pattern combines the satisfying challenge of intermediate crochet techniques with an absolutely adorable result.
The expert construction method – particularly attaching parts during the bottom shell creation – ensures a professional finish that will last.
The combination of detailed instructions and creative design makes this pattern a perfect stepping stone for crocheters ready to tackle more complex amigurumi projects.
Plus, there’s something undeniably satisfying about creating something so uniquely charming with just yarn and a hook.
Happy crocheting, and enjoy your new strawberry turtle friend!
The combination of detailed instructions and creative design makes this pattern a perfect stepping stone for crocheters ready to tackle more complex amigurumi projects, like our sunflower turtle amigurumi with its intricate peacock-stitch petals.

About Author
Muntaseer Rahman started keeping pet turtles back in 2013. He also owns the largest Turtle & Tortoise Facebook community in Bangladesh. These days he is mostly active on Facebook.