DIY Above Ground Turtle Pond Setup Guide For Beginners [Step by Step]
This post was created with help from AI tools and carefully reviewed by a human (Muntaseer Rahman). For more on how we use AI on this site, check out our Editorial Policy.
I built my first above ground turtle pond on a Saturday morning with a stock tank, a $30 filter, and zero idea what I was doing.
By Sunday night, my turtle was already swimming laps. Three weeks later, the water turned to soup because nobody told me you have to cycle a pond before stocking it.
This is the guide I wish I had then. Real numbers, real timing, and the steps in the order that actually works for a beginner.

Tools and Materials You’ll Need
Most of this fits in one trip to a hardware store plus a pet supply run.
| Item | Why You Need It |
|---|---|
| Pond container or frame | Stock tank, wooden box with liner, or preformed pond liner (my pick: 10x15 FT 20 Mil HDPE pond liner) |
| Pond liner (if needed) | EPDM or PVC, only required for custom wooden frames |
| Water dechlorinator (recommended: reptile water conditioner) | Tap water has chlorine and chloramine, both toxic to turtles |
| Filter (canister or submersible) | Sized for 2 to 3 times the actual water volume |
| Basking platform (my pick: floating basking platform) | Dry, warm spot the turtle can fully climb out onto |
| Smooth rocks or bricks | For edge stability and basking ramps, no sharp corners |
| Aquarium-safe silicone | For sealing seams or holding rocks if you build custom |
| Outdoor thermometer | Tracks water temperature in summer and winter |
| Shade cloth or tarp | For ponds in full afternoon sun |
| Live plants (optional) | Anacharis, water lettuce, hornwort. Skip toxic species. |
| Water testing kit | Ammonia, nitrite, nitrate, pH. Non-negotiable for cycling. |
| Mesh cover or netting | Predator deterrent for outdoor builds |
| UVB (my pick: Zoo Med ReptiSun 10.0) tube | Required if the basking spot lacks direct sunlight |
Quick Sizing Rules Before You Start
Lock these numbers in before buying anything. They decide every other choice in the build.
- Water volume. 10 gallons per inch of shell, doubled if you keep more than one turtle.
- Depth. 12 to 18 inches for hatchlings and small species, 18 to 24 inches for adult sliders, cooters, and map turtles.
- Filter rating. 2 to 3 times the actual water volume. Turtles produce far more waste than fish.
- Basking surface. 90 to 95°F under the lamp, big enough for the turtle’s whole body to dry off.
- UVB. Required unless the basking spot gets unfiltered direct sunlight several hours a day.
This Hilarious Turtle Book Might Know Your Pet Better Than You Do
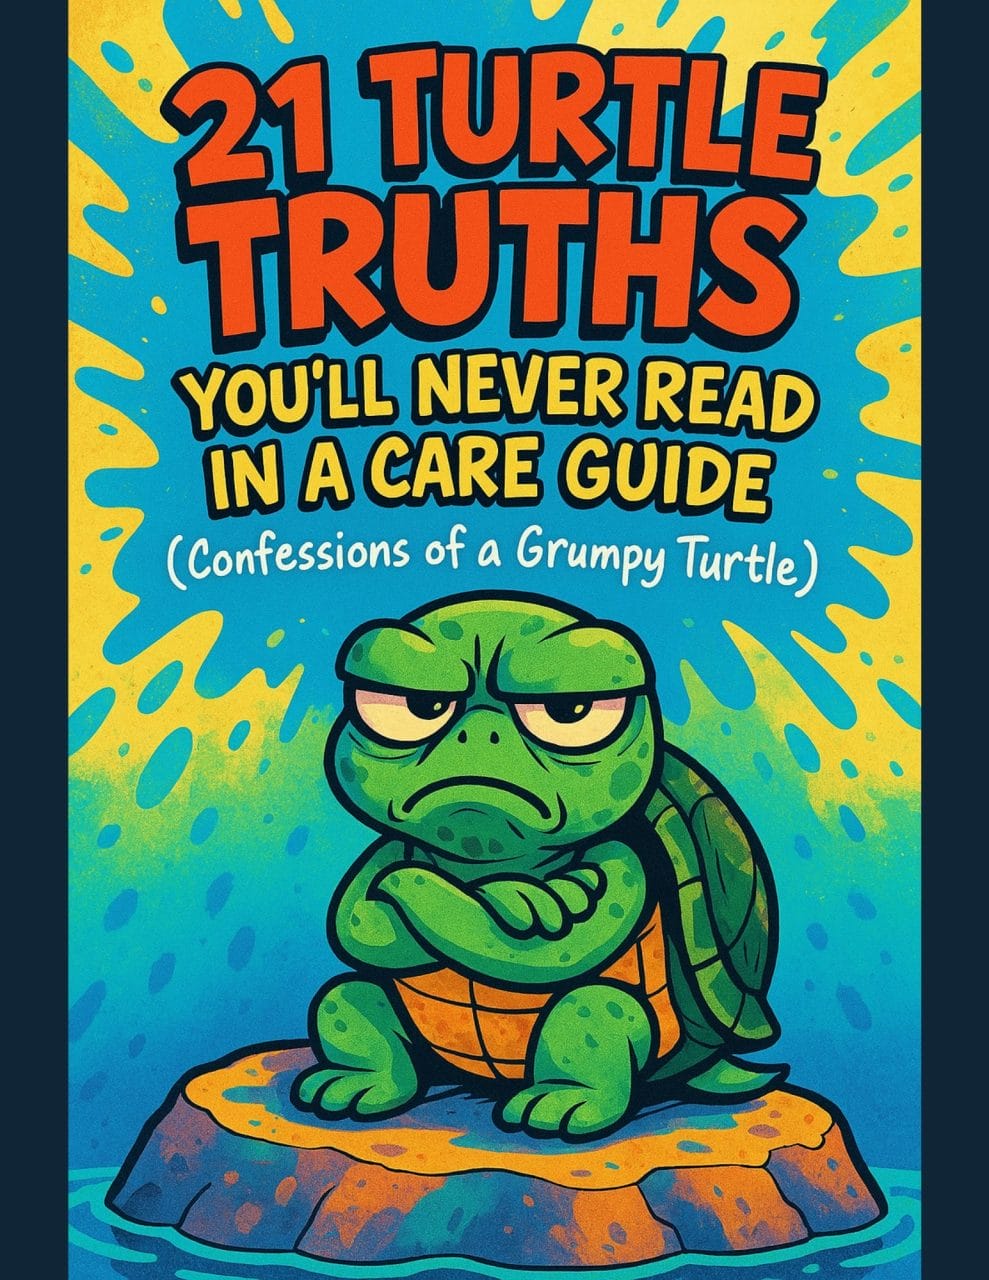
Let’s be real—most turtle care guides feel like reading a textbook written by a sleep-deprived zookeeper.
This one’s not that.
Told from the snarky point of view of a grumpy, judgmental turtle, 21 Turtle Truths You’ll Never Read in a Care Guide is packed with sarcasm, sass, and surprisingly useful insights.
And hey—you don’t have to commit to the whole thing just yet.
Grab 2 free truths from the ebook and get a taste of what your turtle really thinks about your setup, your food choices, and that weird plastic palm tree.
It’s funny, it’s honest, and if you’ve ever owned a turtle who glares at you like you’re the problem—you’ll feel seen.
Step 1. Pick the Right Spot
Look for a place with a mix of morning sun and afternoon shade. All-day full sun overheats the water fast, especially in metal or dark plastic stock tanks.
Avoid spots directly under trees that drop heavy leaf litter, sap, or fruit. Cleaning gunk every weekend will make you regret the build.
If you plan to run a filter or heater, pick a spot within reach of an outdoor outlet. Long extension cords across a wet lawn are a fire and shock hazard.
Step 2. Choose Your Container
You have three realistic options. Each one trades cost for either looks or flexibility.
| Option | Cost | Best For | Trade-off |
|---|---|---|---|
| Galvanized stock tank | $80 to $250 | Speed, durability | Limited shapes, heats up in sun |
| Wooden frame + EPDM liner | $150 to $400 | Custom size, premium look | Build time, requires cuts |
| Preformed pond liner | $60 to $150 | Budget, easy install | Brittle, can crack if unsupported |
If you want it running this weekend, grab a stock tank. If you want it to look like landscaping, build a wooden frame with a pond liner.
Step 3. Plan Size and Depth
The cleanest way to size your pond is the 10-gallon-per-inch rule. A 6-inch slider needs at least 60 gallons of swimming water, doubled for a second turtle.
For depth, hatchlings can do 12 inches, but adults of common species (red-eared slider, painted, cooter, map) want 18 to 24 inches.
Wider beats deeper. Surface area drives gas exchange and gives turtles room to bask, swim, and bolt from each other.
Don’t forget cleaning logistics. A 300-gallon pond is glorious until you realize a 25% water change means hauling 75 gallons by hand.
Step 4. Add the Pond Liner (If Needed)
Skip this step if you’re using a stock tank or preformed liner.
For a wooden frame, use 45-mil EPDM rubber liner sized at least 2 feet larger than your frame on every side. PVC liners work but tear easier.
Lay the liner inside the frame, smooth out folds, and weight the corners with smooth rocks. Trim excess after filling, not before.
Avoid blue tarps, painters’ plastic, or roofing membranes. They leach chemicals and fail under UV.
Step 5. Install the Filter
The single biggest reason DIY ponds turn into swamps is undersized filtration. Match the filter to your water volume, not the manufacturer’s “tank rating.”
Rule of thumb: pick a filter rated for 2 to 3 times your actual water volume. A 100-gallon pond needs a filter rated for at least 200 to 300 gallons.
Canister filters (my pick: Penn-Plax Cascade) are the gold standard for above ground builds. They handle big bioload, run quiet, and the media is easy to swap.
Submersible pond filters work for builds under 100 gallons but get noisy and need cleaning more often.
If you go planted-pond style with no filter, double the water volume per turtle and test water weekly. Skipping that is how beginners end up with toxic ammonia spikes.
Step 6. Build the Basking Area
Turtles need to dry off completely every day. Wet shells lead to shell rot and fungal infections.
The basking surface should hit 90 to 95°F under the lamp and be large enough for the turtle’s whole body to fit.
Use flat slate, large smooth river rocks, or a sloped wooden ramp. Avoid floating docks that flip when the turtle climbs on.
For outdoor ponds with full sun on the basking spot, you don’t need a heat lamp (my pick: heat lamp). For shaded or covered builds, run a basking bulb (my pick: Zoo Med PowerSun) plus a UVB tube during daylight hours.
For more on bulb selection, see our turtle basking light guide.
Step 7. Add Plants and Hides
Plants pull nitrate out of the water, oxygenate it during the day, and give shy turtles places to hide.
Turtle-safe options include anacharis, hornwort, water lettuce, duckweed, water hyacinth, and Java fern. They tolerate being chewed and are non-toxic.
Skip pothos, lily-of-the-valley, oleander, and azalea anywhere near the pond. All toxic if a leaf drops in and gets nibbled.
For hides, use overturned terracotta pots, large hollow logs, or stacked flat stones. Avoid small decor items the turtle could swallow or get stuck under.
Step 8. Cycle the Pond Before Adding Your Turtle
This is the step most beginner guides skip. Cycling builds the bacteria colony in your filter media that converts toxic ammonia into harmless nitrate.
Without cycling, your turtle’s first week of waste poisons its own pond. Water turns cloudy or yellow, the turtle stops eating, and you scramble for an explanation.
Two ways to cycle: a fishless cycle takes 4 to 6 weeks using pure ammonia drops, while a seeded cycle uses filter media from an established tank and finishes in days.
Target water parameters before stocking: ammonia 0 ppm, nitrite 0 ppm, nitrate under 40 ppm, pH 6.5 to 7.5. Test with a liquid kit, not strips.
Step 9. Introduce Your Turtle
Once the pond is cycled and water tests come back clean, you’re ready.
Match the new pond’s water temperature to whatever the turtle is coming from, within 2 to 3°F. Sudden swings stress turtles into respiratory infections.
Place the turtle on the basking area first, not in the water. Let it choose when to slide in.
Don’t feed for the first 24 hours. The turtle will hide, and that’s normal. Most emerge to bask within a day or two.
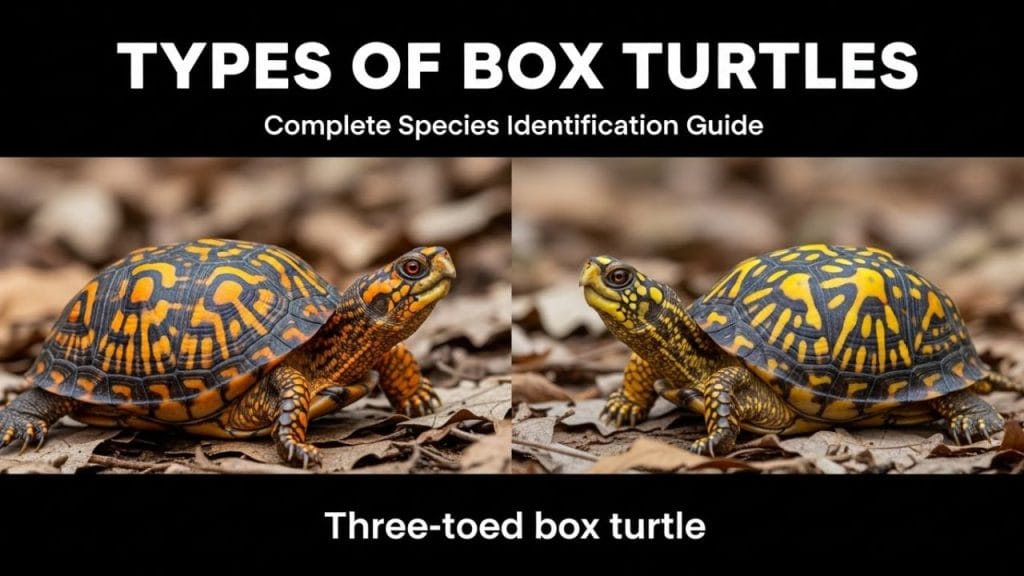
Choose the Right Species for Your Climate
Not every turtle handles outdoor pond life year-round. The wrong species in the wrong climate ends in a freeze or a heat-stroke fatality.
Hardy outdoor pond candidates include red-eared sliders, painted turtles, common map turtles, and cooters. They tolerate seasonal swings and can hibernate in deep water with unfrozen substrate.
Tropical species like razorback musks, mata matas, and most softshells need to come indoors for winter or stay in heated setups year-round.
For a full breakdown, see our list of turtle species perfect for outdoor ponds.
Winterizing and Predator Protection
Winter (cold climates)
For hardy species hibernating outdoors, the pond needs at least 24 inches of water depth and a soft substrate of leaves or mulch on the bottom.
Run a pond de-icer or a small pump to keep one section of the surface ice-free for gas exchange. Otherwise, gases build under the ice and the turtle suffocates.
If you’re below USDA zone 6 or your pond is shallow, bring the turtle indoors for winter. A heated indoor tub or a large indoor tank works fine for 3 to 4 months.
Predators
The biggest threats to outdoor pond turtles are raccoons, herons, hawks, and neighborhood dogs. Hatchlings are also taken by crows and snakes.
Cover the pond with a sturdy metal mesh top or a hardware-cloth dome. Plastic netting tears.
Add hides under rocks or logs so the turtle has a place to bolt when something flies overhead.
Cost Breakdown
Realistic pricing for a pond housing one to two adult sliders, before tax.
| Tier | Container | Filter | Other | Total |
|---|---|---|---|---|
| Budget | Kiddie pool or 100-gal stock tank ($30 to $100) | Submersible ($30 to $50) | Basking rocks, dechlorinator, mesh cover ($30) | $90 to $180 |
| Mid | 150-gal stock tank ($180) | Canister rated 350 gph ($90) | Slate basking, plants, water test kit ($50) | $320 |
| Premium | Custom wooden frame + EPDM liner ($350) | Canister rated 600 gph ($160) | Slate, plants, UVB, mesh dome ($120) | $630 |
Maintenance Schedule
- Daily. Skim leaves and uneaten food. 30 seconds.
- Weekly. 25% water change, dechlorinate the new water, test parameters.
- Monthly. Rinse filter media in pond water (never tap), trim plants, scrub the basking platform.
- Seasonally. Full filter teardown in spring, deep clean before winterizing in fall.
- Annually. Replace UVB tube, inspect liner for cracks, refresh substrate if used.
Real DIY Above Ground Turtle Pond Ideas
Seven real builds from turtle keepers, with what makes each one work.
If you want more inspiration that crosses indoor and outdoor styles, browse our roundup of 17 indoor and outdoor turtle pond ideas.
1. Wooden Frame with Polished Top
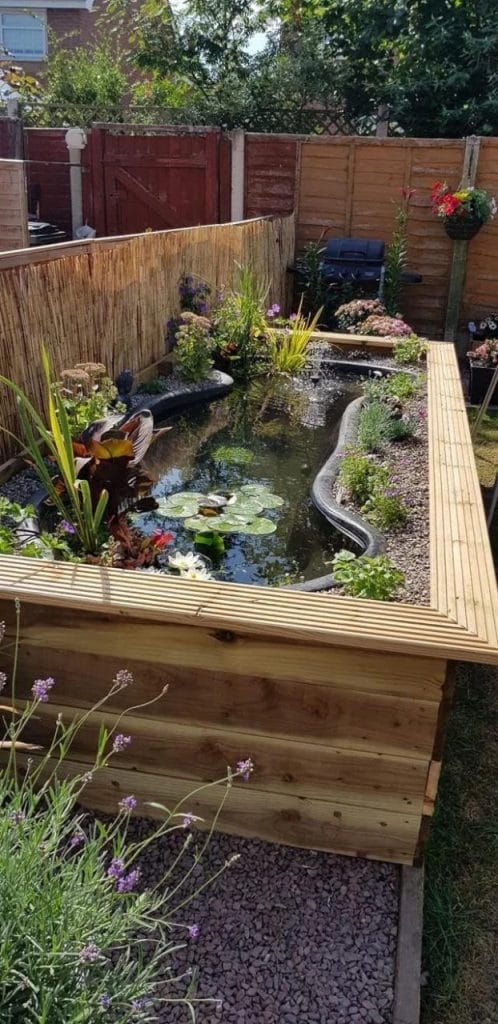
A tall wooden frame lined with EPDM and stocked with floating plants. The polished top doubles as a sit-on edge.
What works: the wide capped border hides the liner edge and keeps the build looking like landscaping. Achievable with basic 2x4s and a pond liner.
2. Japanese Garden Style with Waterfall
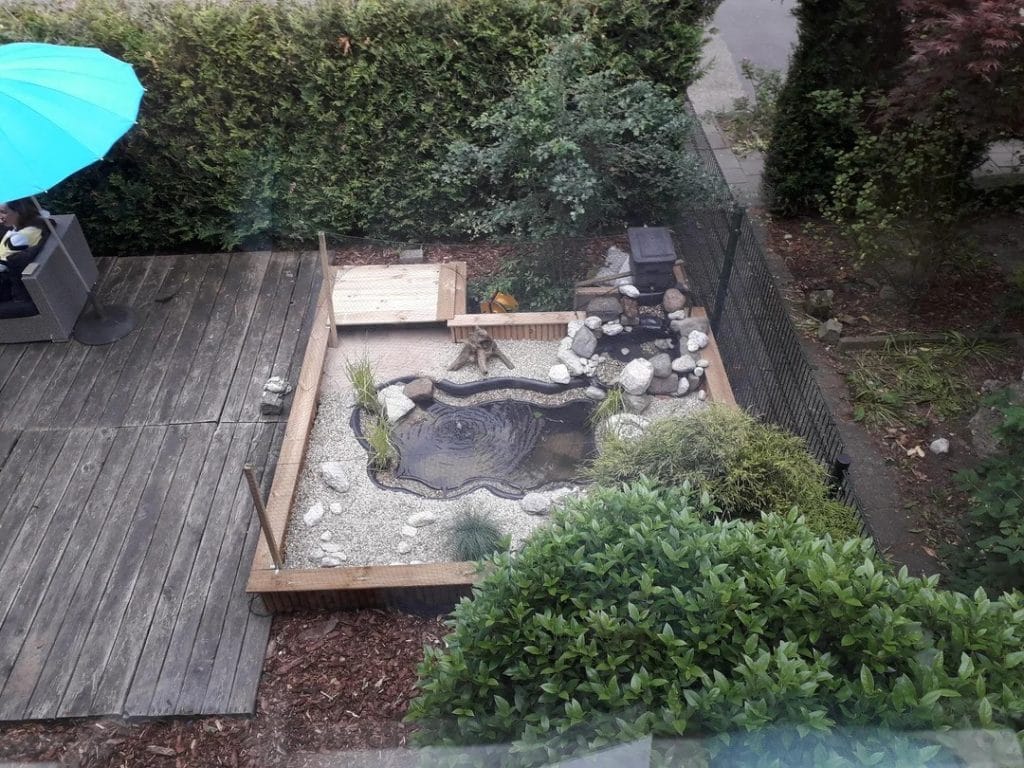
Square outer shape with a curved inner pond, white gravel border, and a small waterfall feature.
What works: the waterfall doubles as oxygenation, and the gravel hides cables. Build it by shaping a flexible liner inside a wooden box and adding a small fountain pump.
3. Galvanized Tub Mini Pond
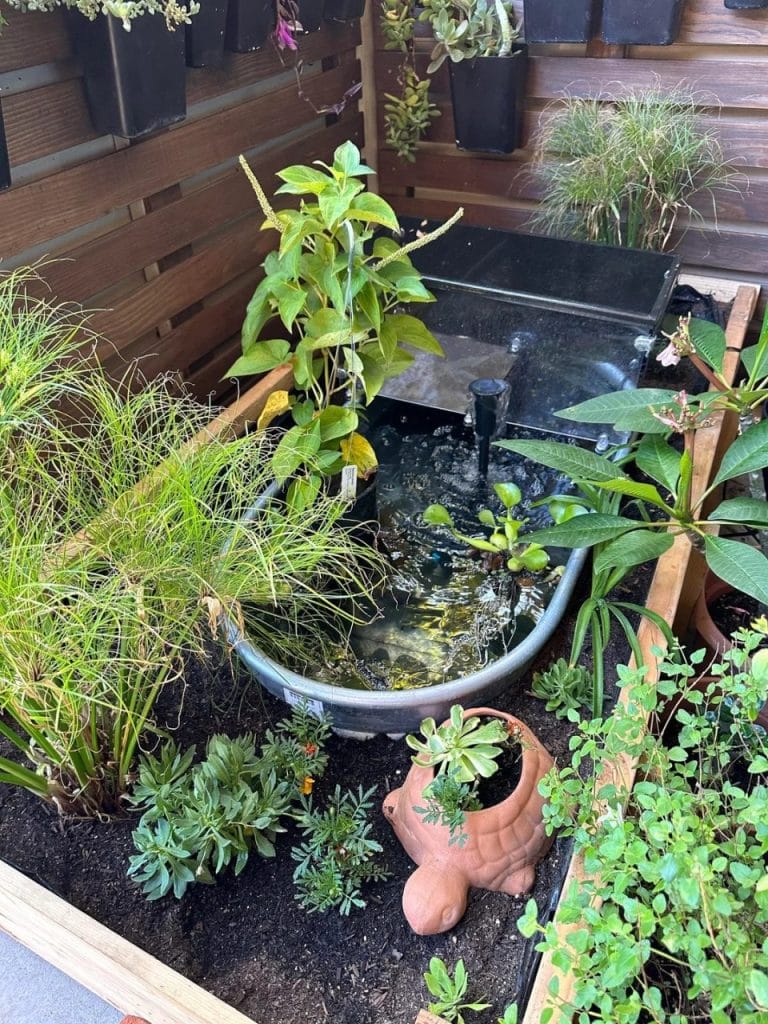
A small galvanized tub set into garden soil and surrounded with low-maintenance plants.
What works: fits a tight patio or balcony footprint. Best for a single small turtle, not adults. Add a small water pump for circulation.
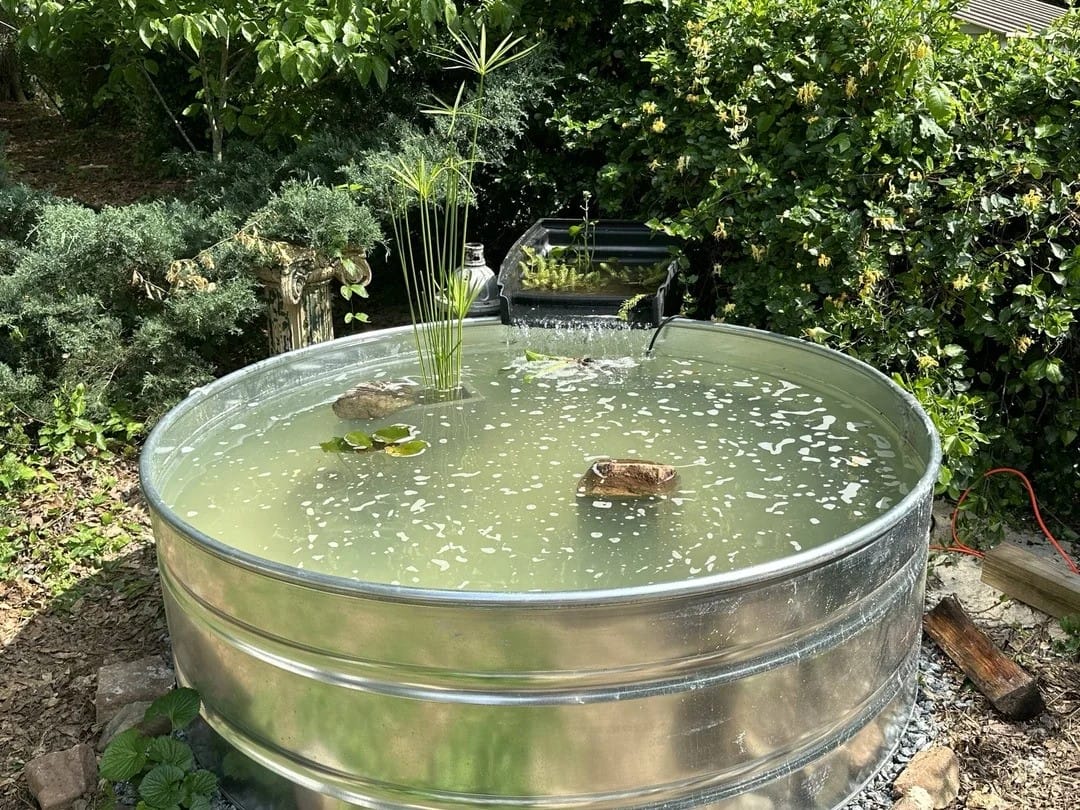
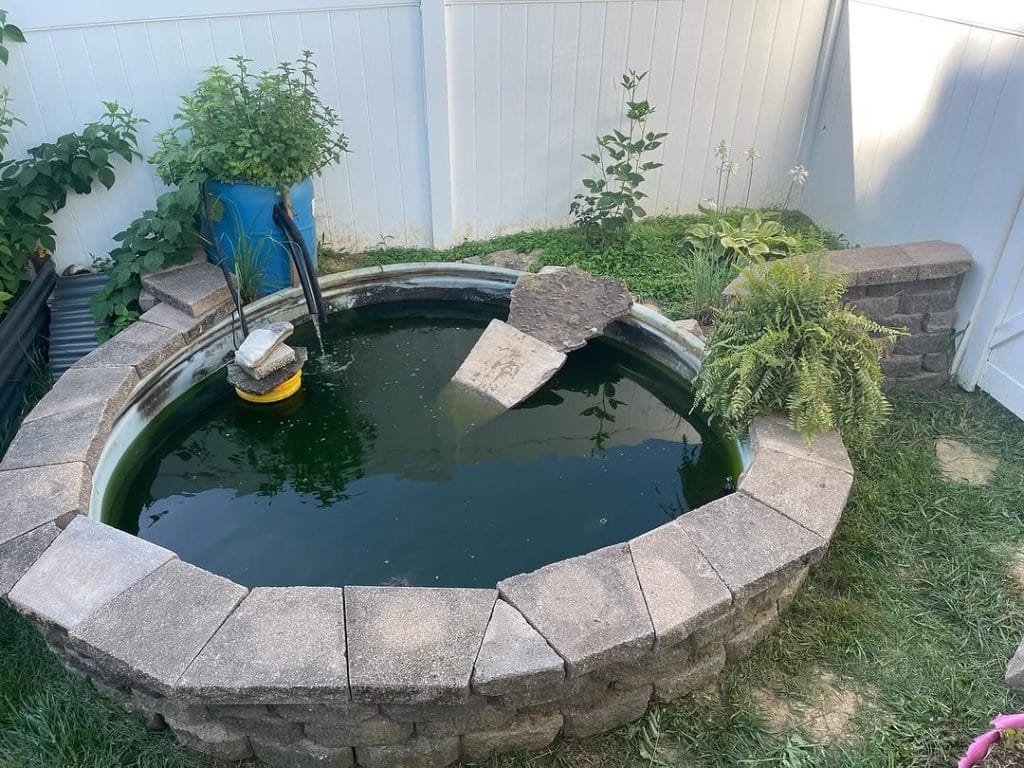
4. Round Stock Tank (Easiest Build)

A round 100 to 150-gallon galvanized stock tank from a farm supply store with a brick basking spot inside.
What works: zero build time. Drop the tank, add water, dechlorinate, hook up a filter, done. The metal walls heat up in summer though, so park it in partial shade.
5. Corrugated Metal L-Shape
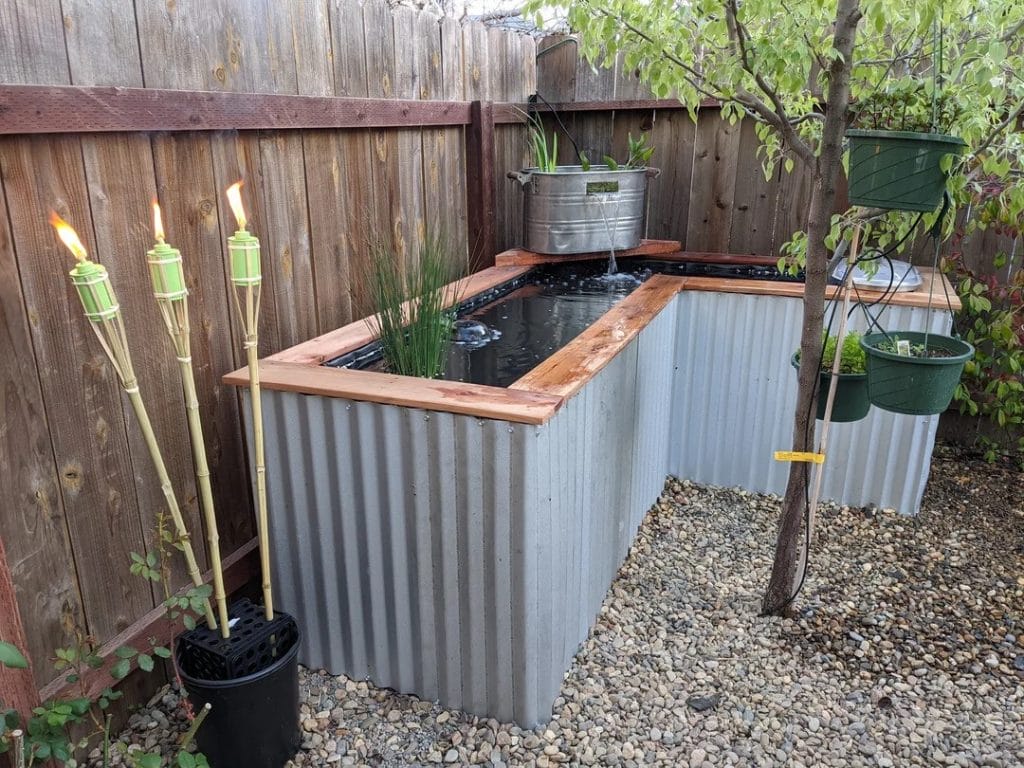
Corrugated metal sheets framed with cedar trim, in an L-shape with an upper tier feeding a waterfall into the main pond.
What works: the L-shape adds swimming room without a giant footprint, and the upper tier handles biological filtration. More work, but doable in a weekend with a circular saw.
6. Cinder Block Build (Cheapest)
A circle of stacked cinder blocks holding a kiddie pool or stock tank, with a barrel filter to one side.
What works: zero tools, easy to dismantle, and the blocks insulate the tank from temperature swings. The barrel filter is a brilliant cheap upgrade for a budget build.
7. Preformed Liner in a Wooden Box
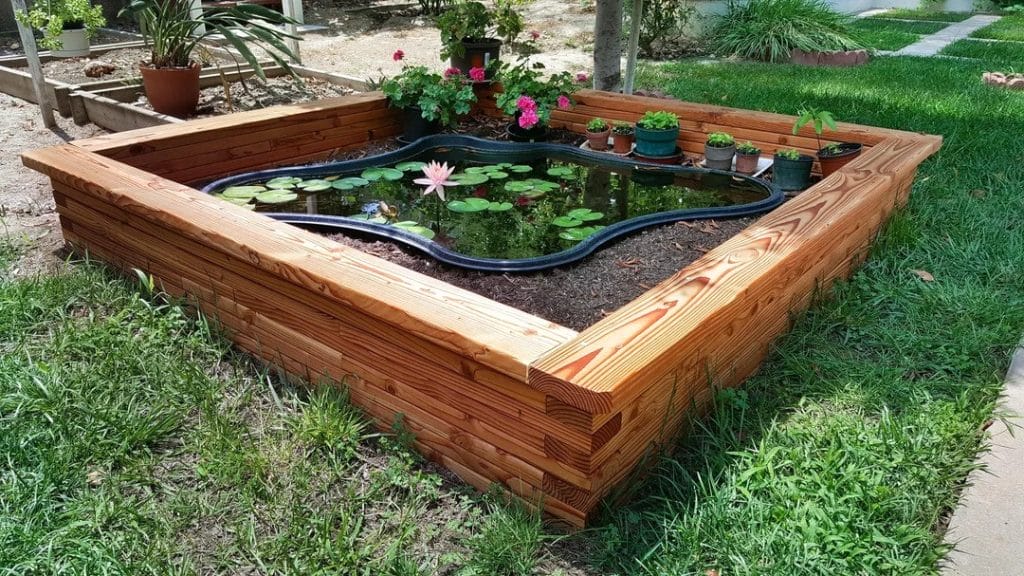
A preformed plastic pond liner dropped into a wooden box, packed with garden soil and plants around the edges.
What works: the wooden frame supports the liner walls so they don’t crack, and the surrounding garden integrates the build into the yard.
Common Mistakes to Avoid
- Skipping the cycle. The number-one cause of mystery deaths in week 1 to 3.
- Undersizing the filter. A “100-gallon” filter on a 100-gallon pond is half the rating you actually need.
- Full-sun placement. Stock-tank water can hit 95°F in summer. Cooks turtles.
- No basking access. Floating logs that flip when climbed on are a drowning risk.
- Pothos and other toxic plants nearby. One leaf falls in, gets nibbled, vet bill follows.
- Untreated tap water. Chlorine and chloramine burn turtle skin and eyes.
- Overstocking. Two adult sliders need at least 120 gallons. Three adults need a small pool, not a stock tank.
Frequently Asked Questions
How deep should an above ground turtle pond be?
12 to 18 inches for hatchlings and small species, 18 to 24 inches for adult sliders, painted turtles, cooters, and map turtles.
For outdoor hibernation, go at least 24 inches with substrate the turtle can bury into.
How long does it take to cycle a new turtle pond?
4 to 6 weeks for a fishless ammonia cycle. 3 to 7 days if you seed the filter with established media from another tank.
Can I use a kiddie pool as a turtle pond?
Yes, for a single small turtle short-term. Plastic kiddie pools degrade in UV within 1 to 2 seasons, so plan to replace or upgrade.
Do I need a heater for an outdoor turtle pond?
Not in summer. In late fall and winter, hardy species can hibernate in deep water without a heater.
For shallow ponds in cold climates, run a pond de-icer or move the turtle indoors.
Can fish live with turtles in a pond?
Sometimes. Fast feeder fish like rosy reds and goldfish can survive if the pond is large enough. Slower fish become snacks at feeding time.
Where should I put the pond, sun or shade?
A mix of both. Aim for morning sun (helps basking and plants) and afternoon shade (prevents overheating).
Looking for indoor pond ideas instead?
See our gallery of 15 aquatic turtle habitat ideas for indoor builds and small-space setups.

About Author
Muntaseer Rahman started keeping pet turtles back in 2013. He also owns the largest Turtle & Tortoise Facebook community in Bangladesh. These days he is mostly active on Facebook.