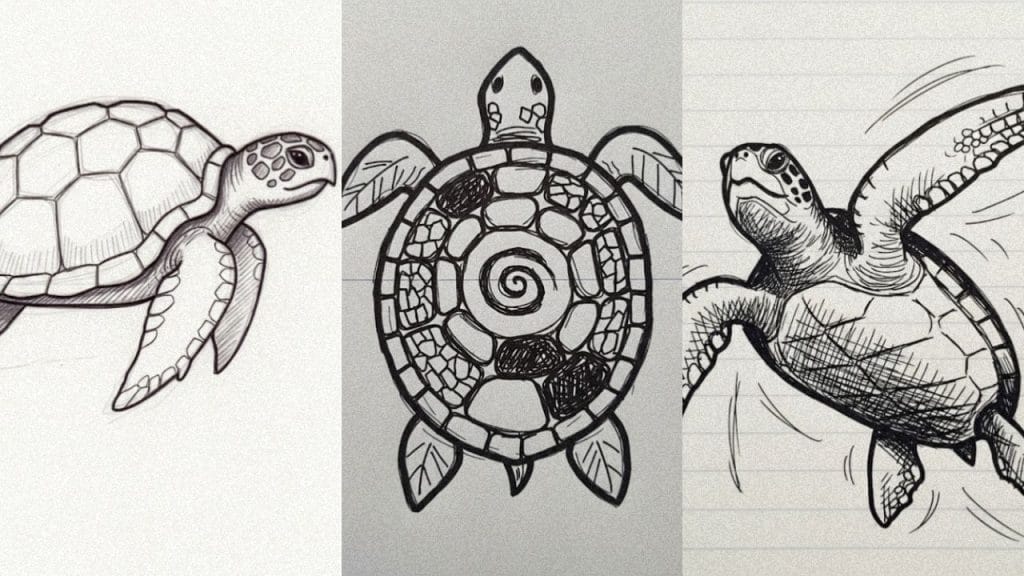
3 Simple and Cute Turtle Drawing Ideas for Kids: Step-by-Step Guide

This post was created with help from AI tools and carefully reviewed by a human (Muntaseer Rahman). For more on how we use AI on this site, check out our Editorial Policy.
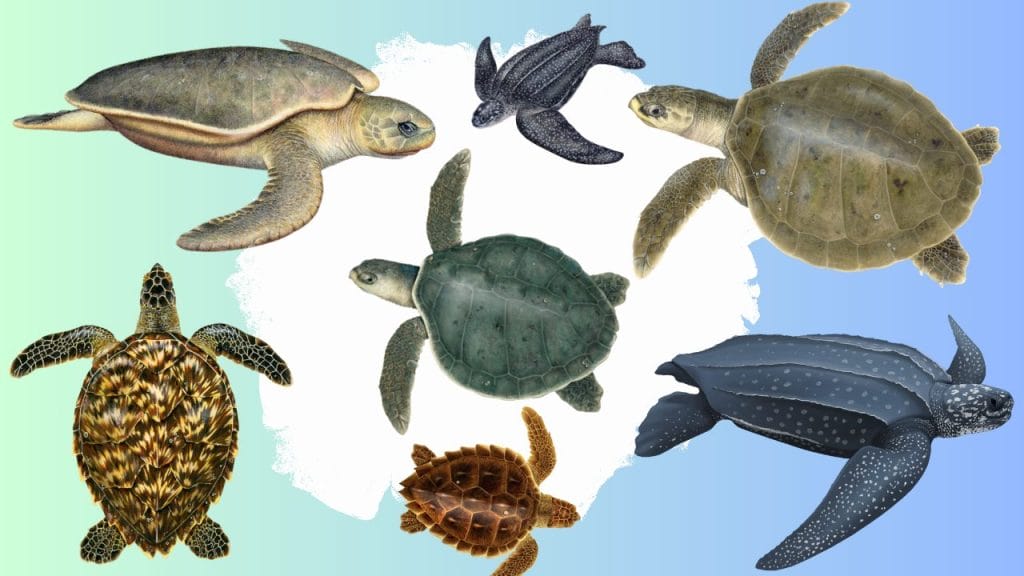
Looking for fun and adorable turtle drawing ideas for kids? Look no further!
In this step-by-step guide, we’ll explore 3 simple and cute turtle drawing ideas that are perfect for young artists to try out.
Let’s dive in and get creative!
Once your kids master these basics, they can level up with our 5 easy sea turtle doodles that add fun details like swirl patterns and motion lines.
simple turtle drawing tutorial: method 1
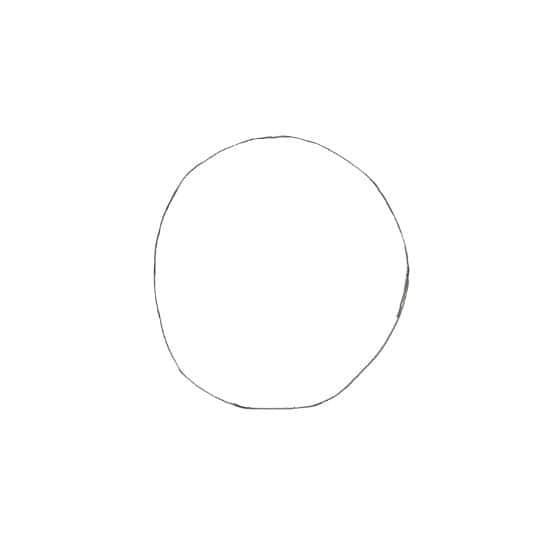
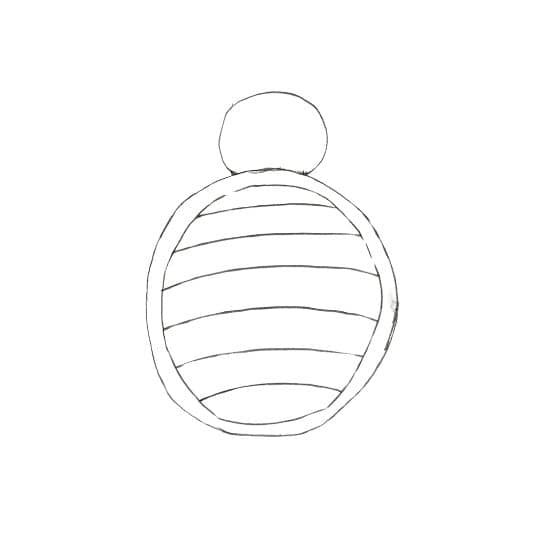
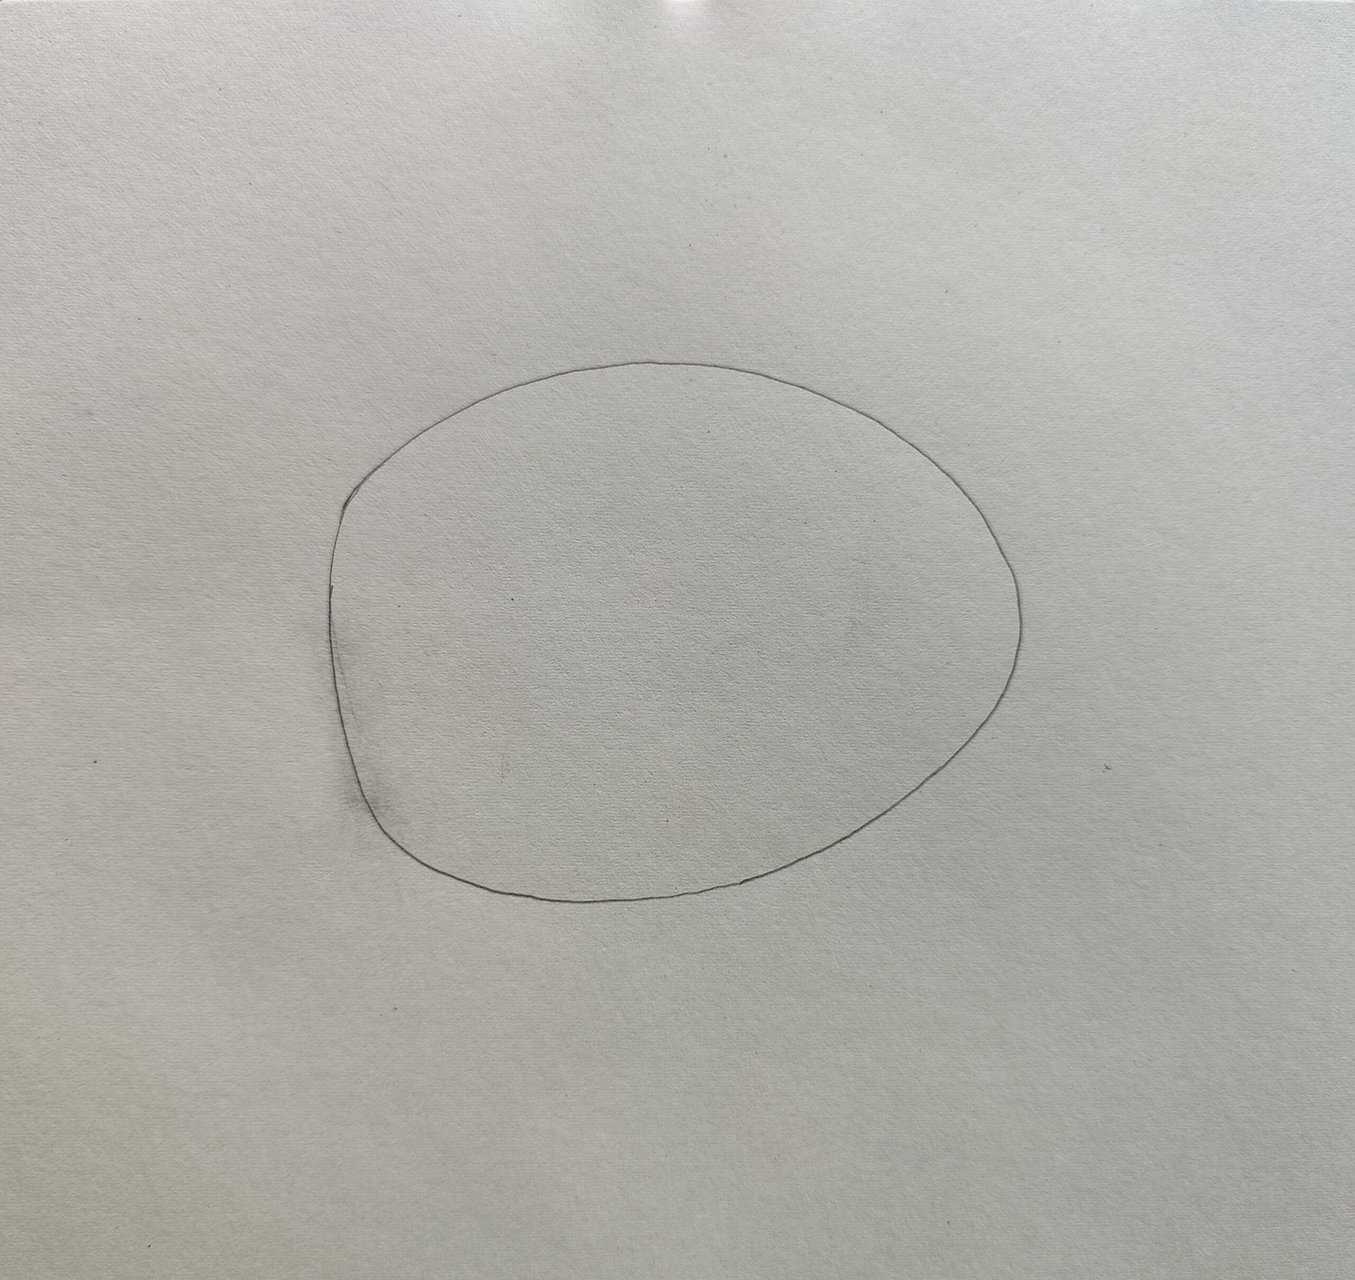
Step 1:
Draw a circle for the turtle’s body
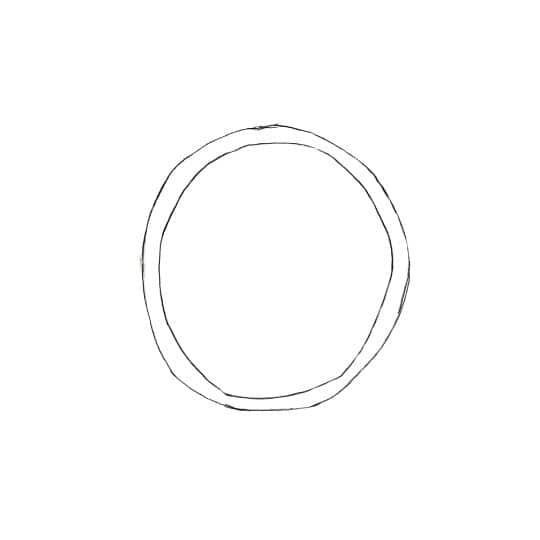
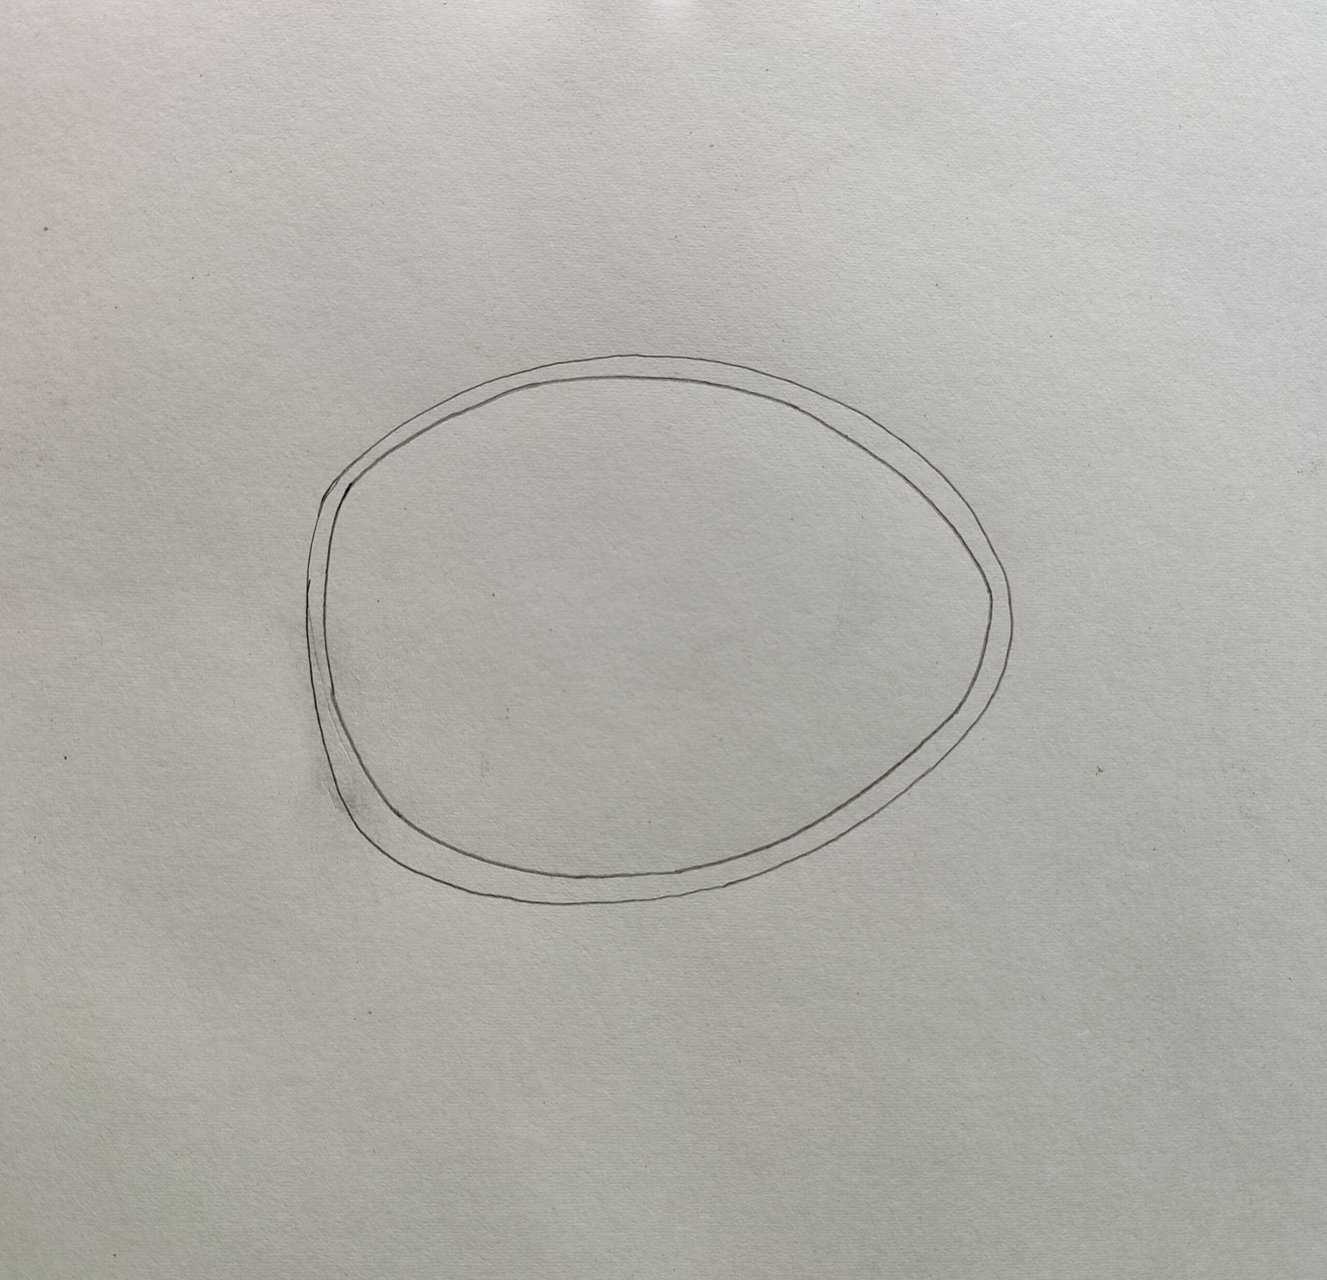
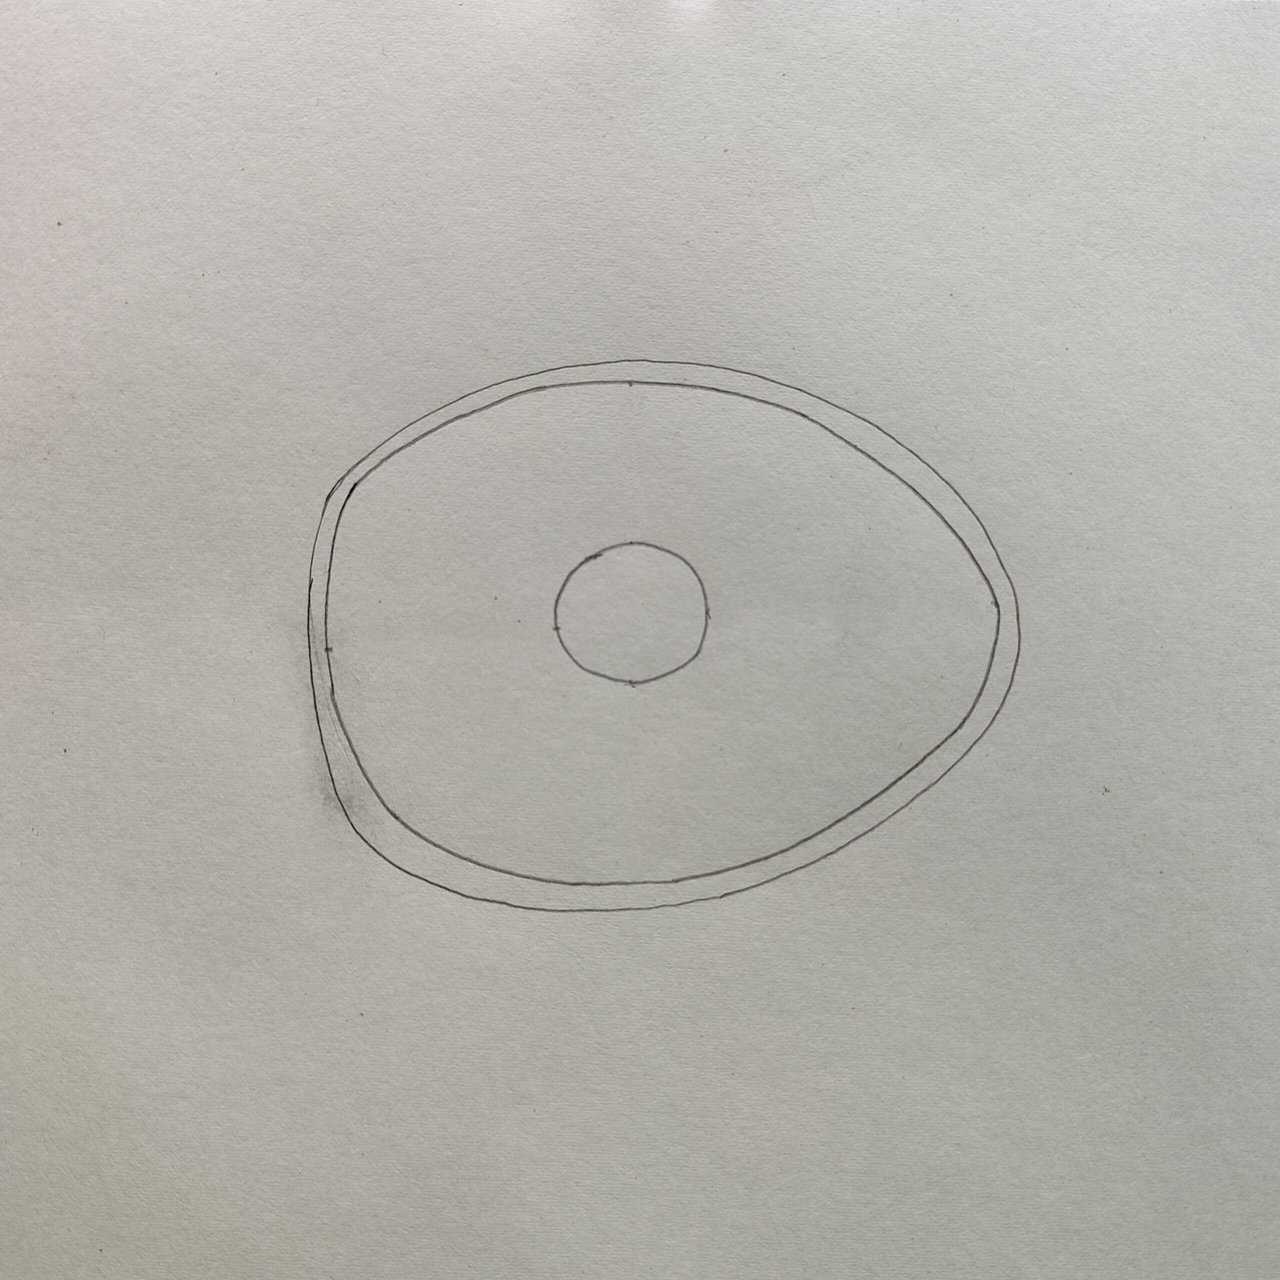
Step 2:
Inside the circle, draw another smaller circle.
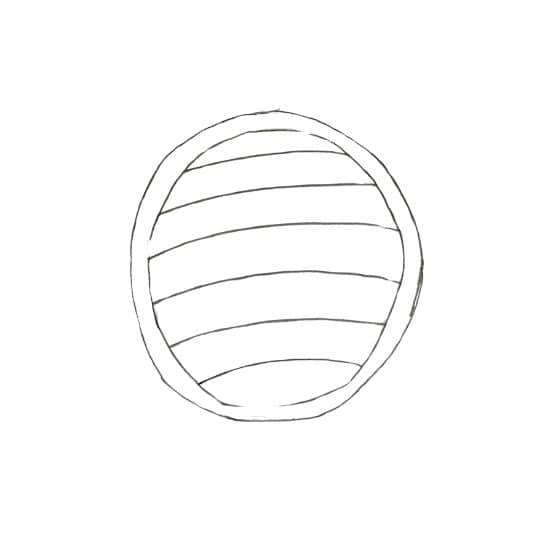
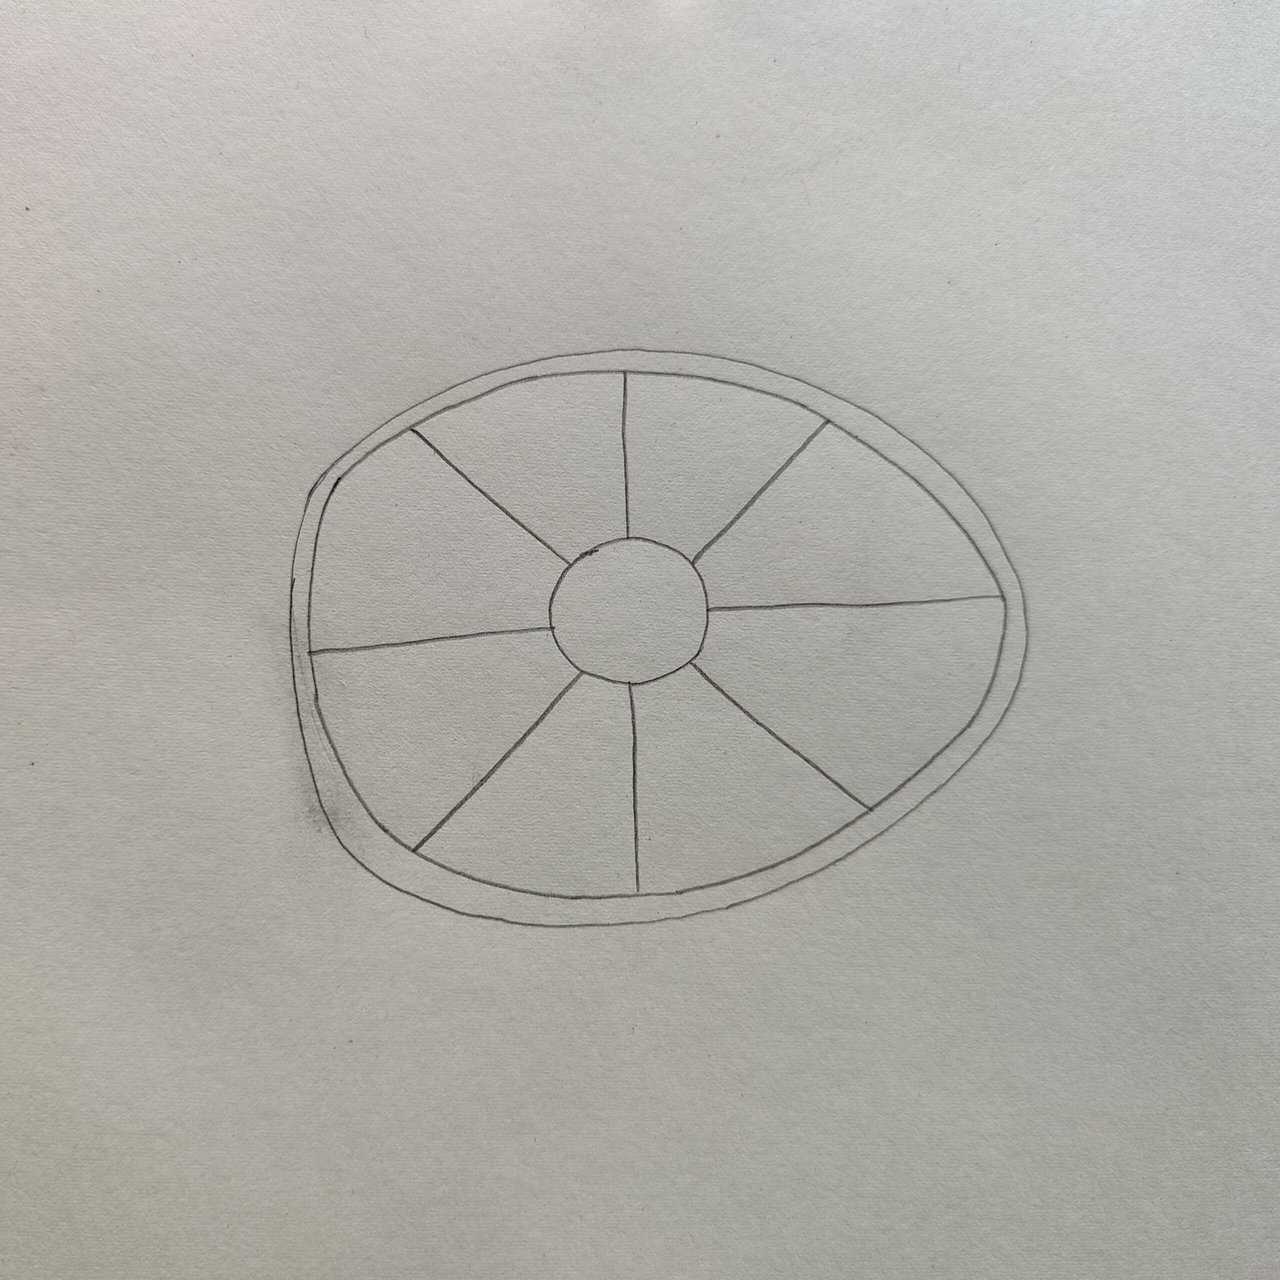
Step 3:
Add parallel lines spanning from one side to the other inside the inner circle.
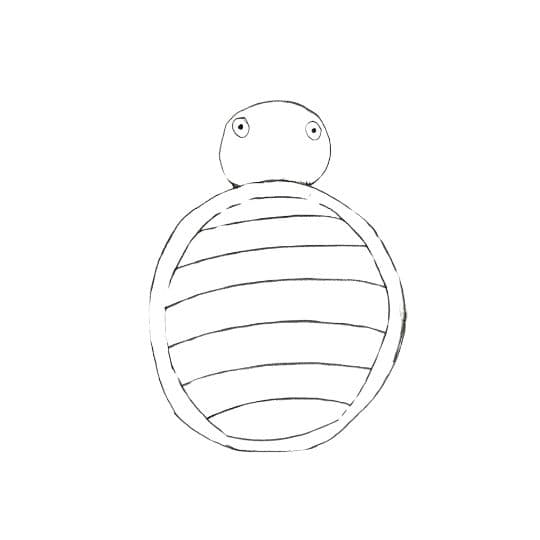
Step 4:
Draw a ¾ circle connected to the outer circle for the turtle’s head.
Step 5:
Mark two smaller circles parallel to each other along the edge of the head circle to indicate eyes.
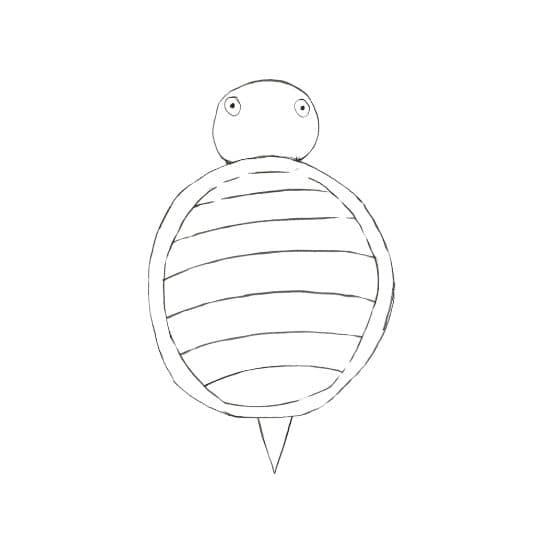
Step 6:
Sketch a small conical shape for the tail, positioned opposite to the head.
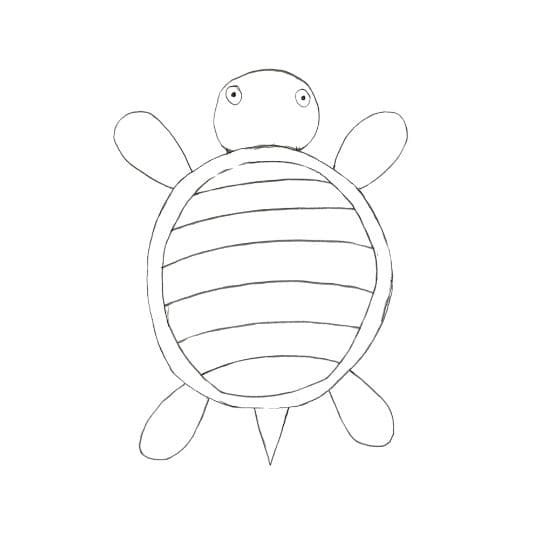
Step 7:
Draw four “U” shapes for the turtle’s flippers, with two near the head and two near the tail, touching the shell. With these steps, our turtle illustration is complete.

Most people think drawing is a talent—you’re either born with it or you’re not.
That’s a lie. The real reason so many struggle? They’re learning it wrong.
This course fixes that. It’s packed with 42 hours of step-by-step lessons made for total beginners. No fluff. No guesswork.
Just real techniques for drawing faces, hair, birds, and more that don’t look like a toddler did it.
Here’s the link if you want to see what it’s about.
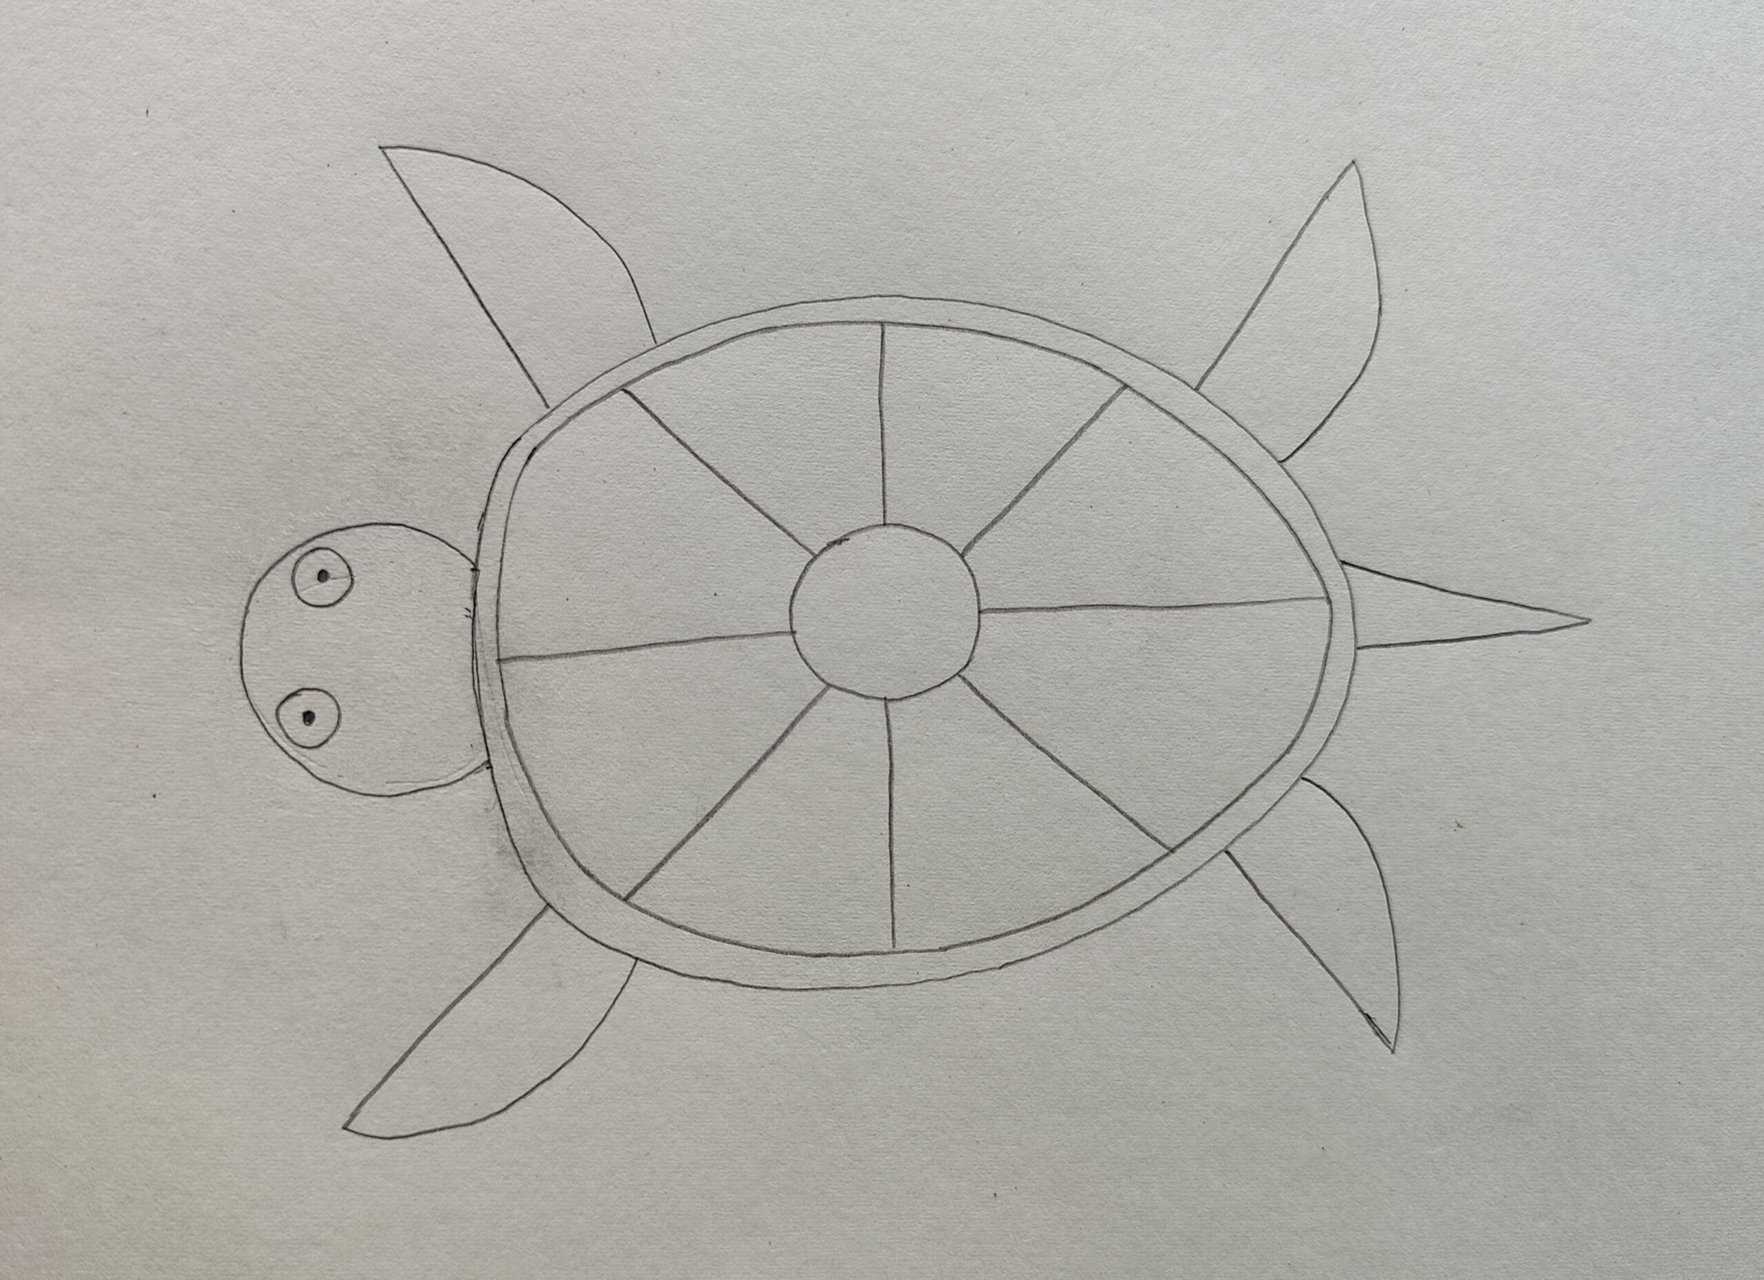
simple turtle drawing tutorial: method 2
Step 1:
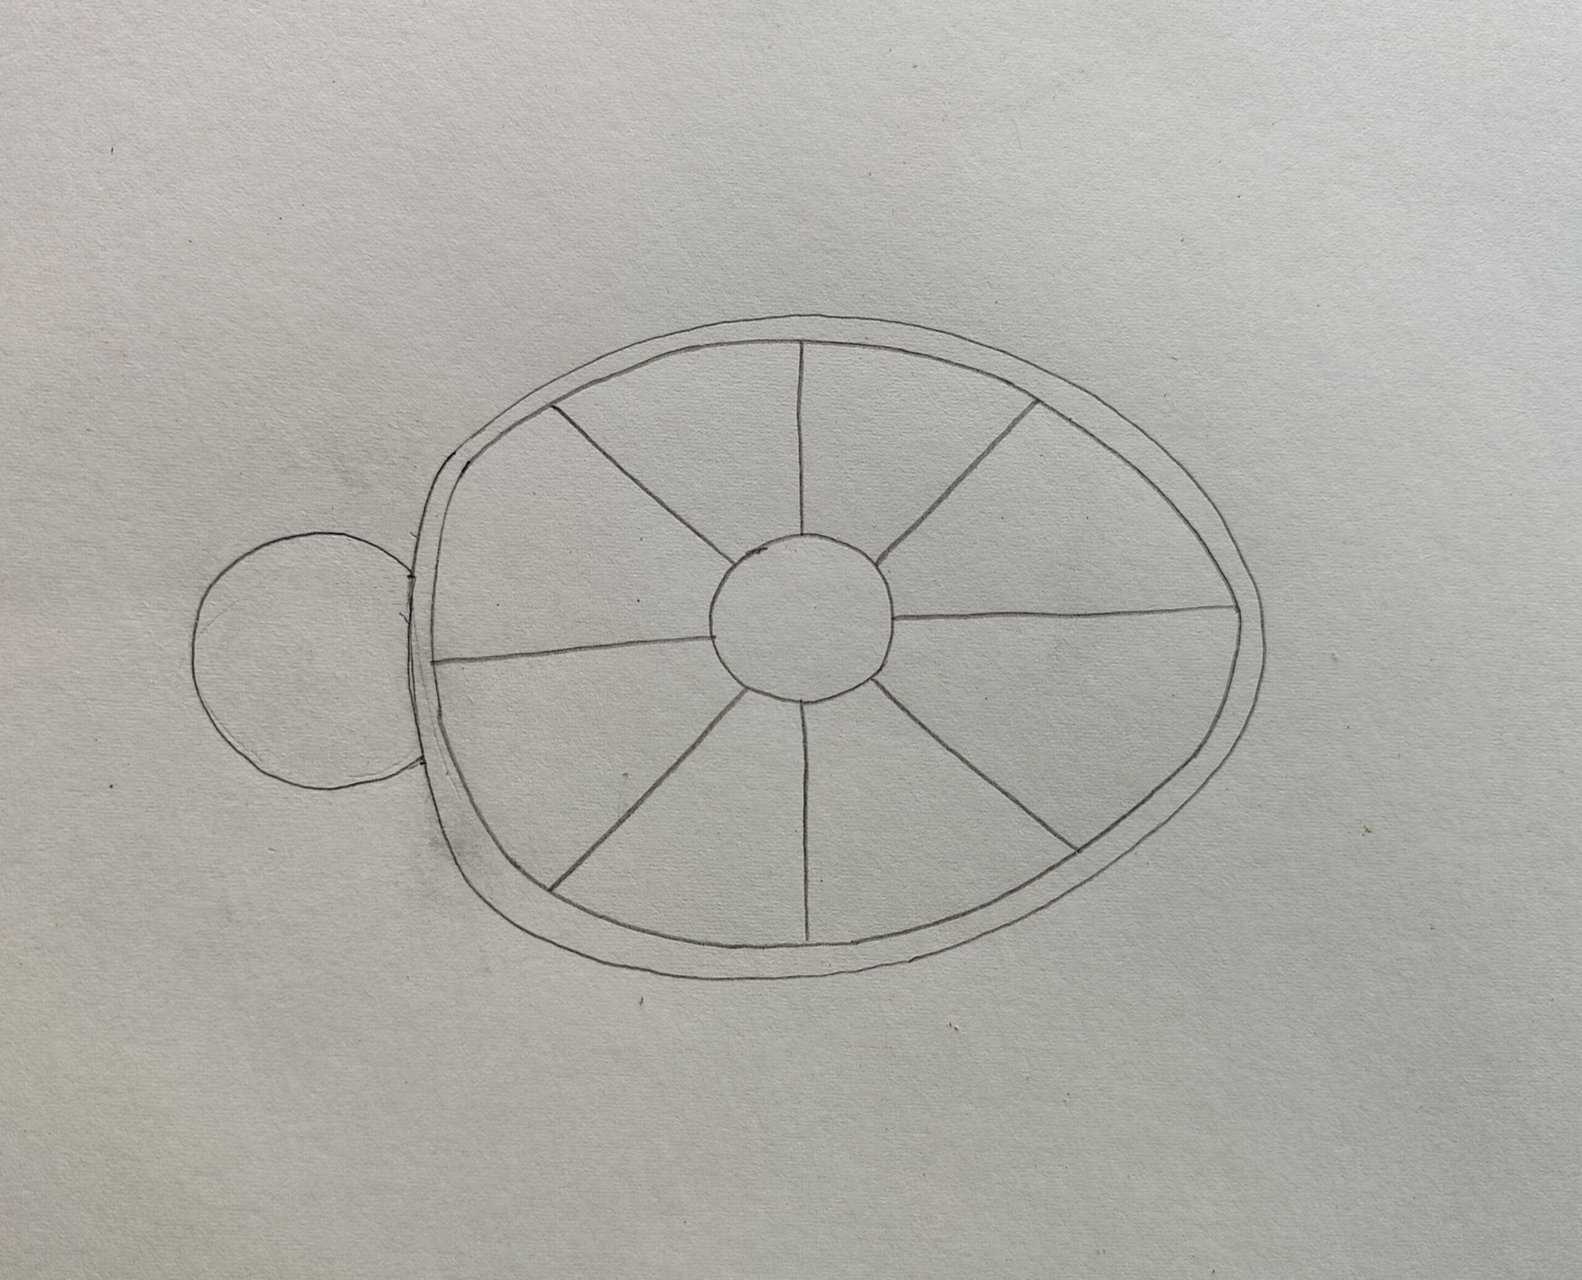
Draw an oval shape for the turtle’s body.
Step 2:
Inside the first oval, draw a smaller oval shape.
Step 3:
Add a small circle inside the ovals.
Step 4:
Draw four straight lines coming out of the circle and touching the inner oval shape.

Step 5:
Add four more lines in between the initial lines.
Step 6:
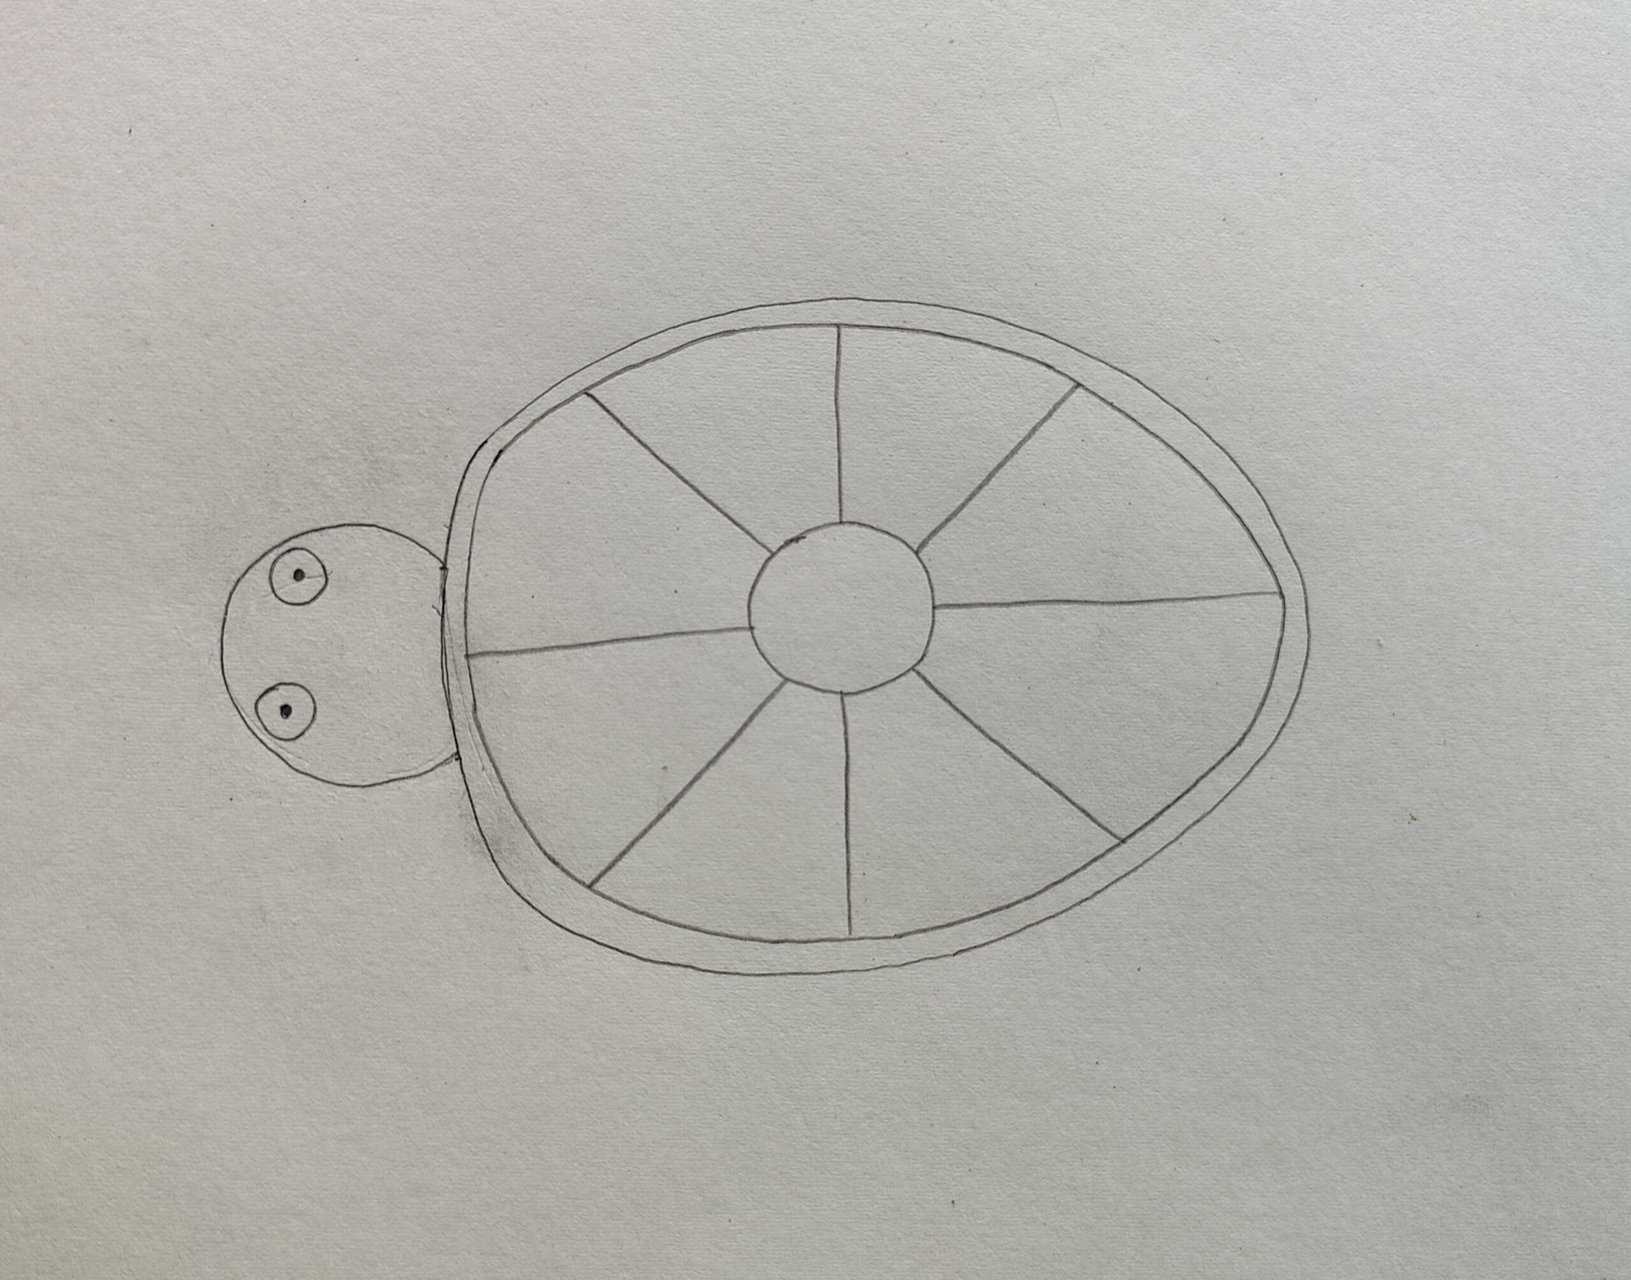
Draw a ¾ circle connected to the outer oval for the turtle’s head.
Step 7:
Make two smaller circles marking their center, near the head circle for the eyes.
Step 8:
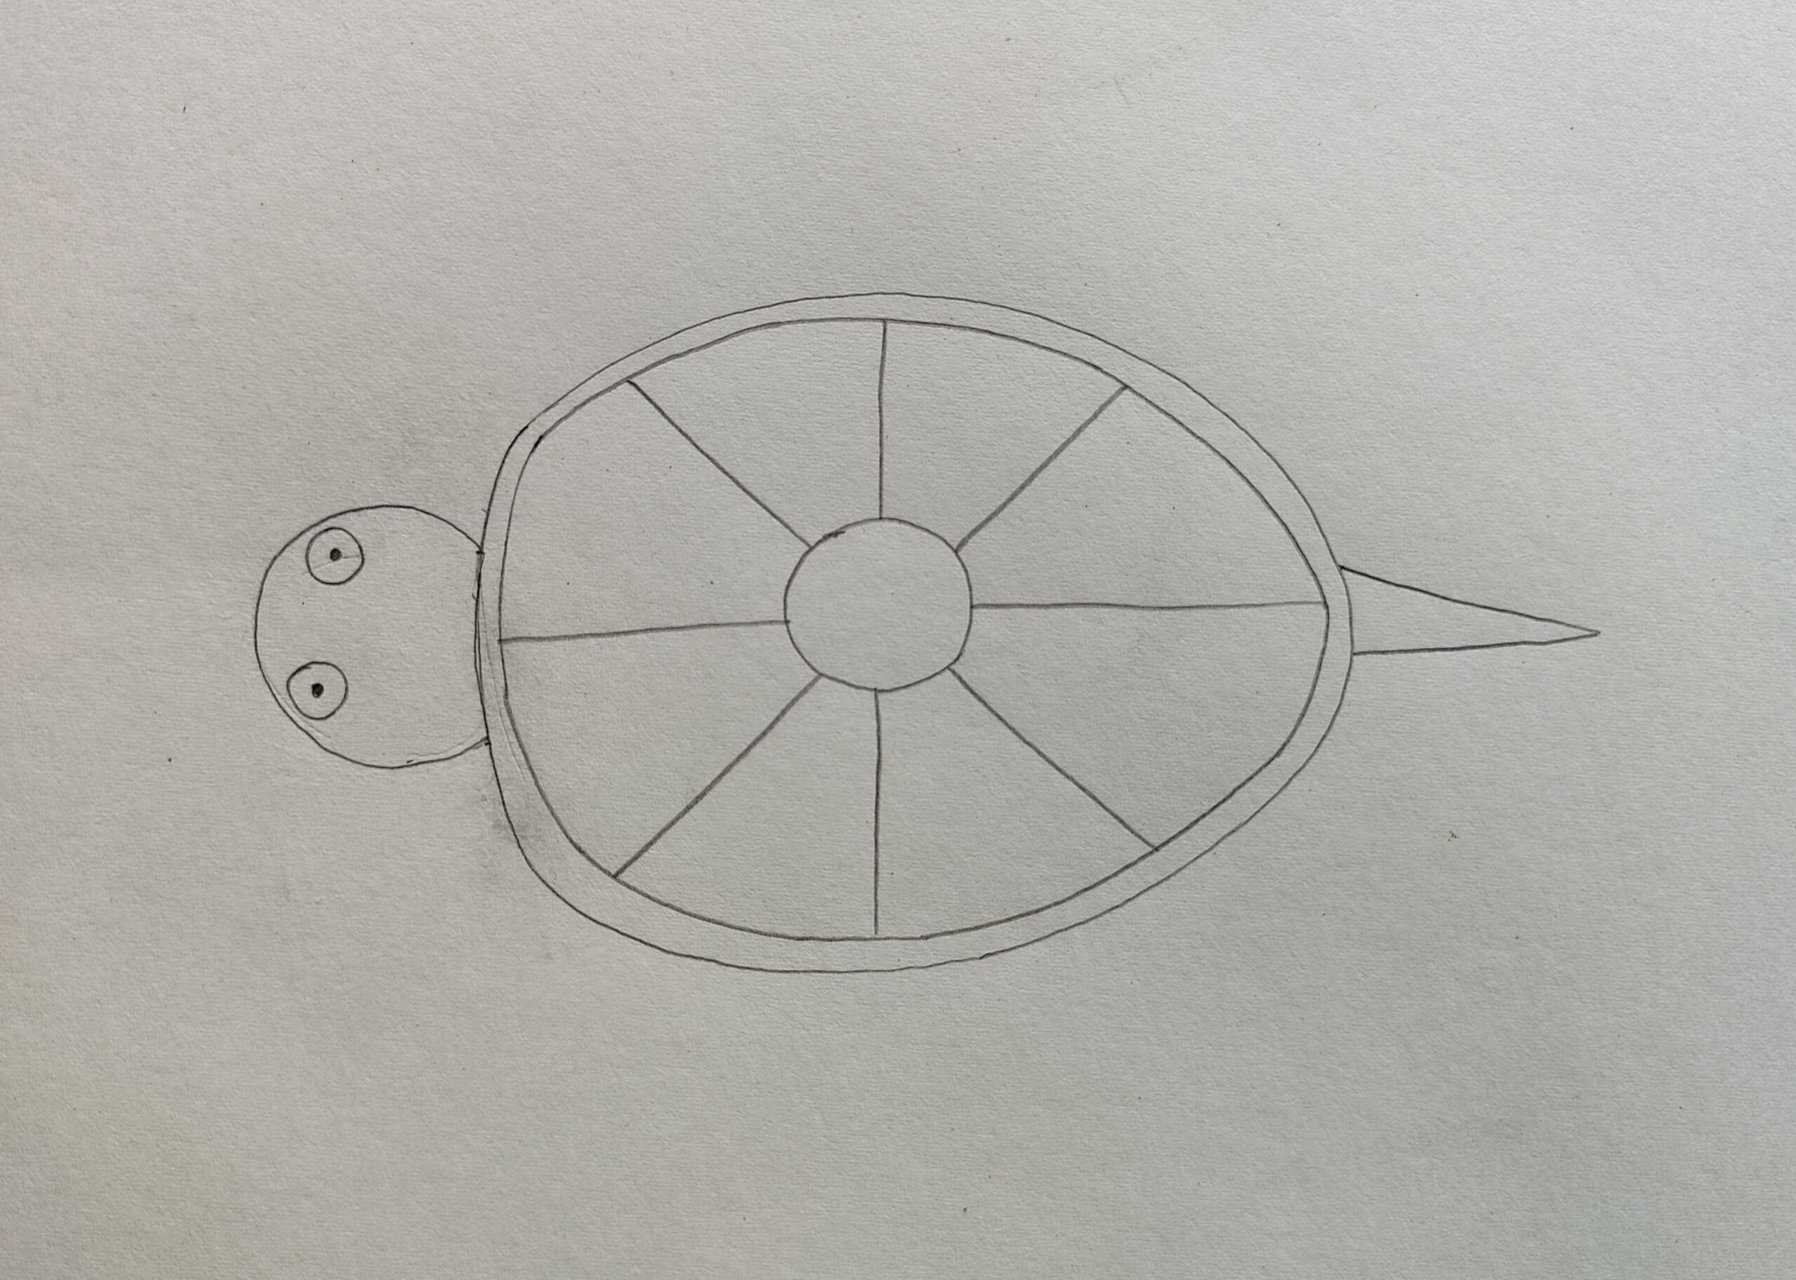
Sketch a small cone shape for the tail, opposite the head.
Step 9:
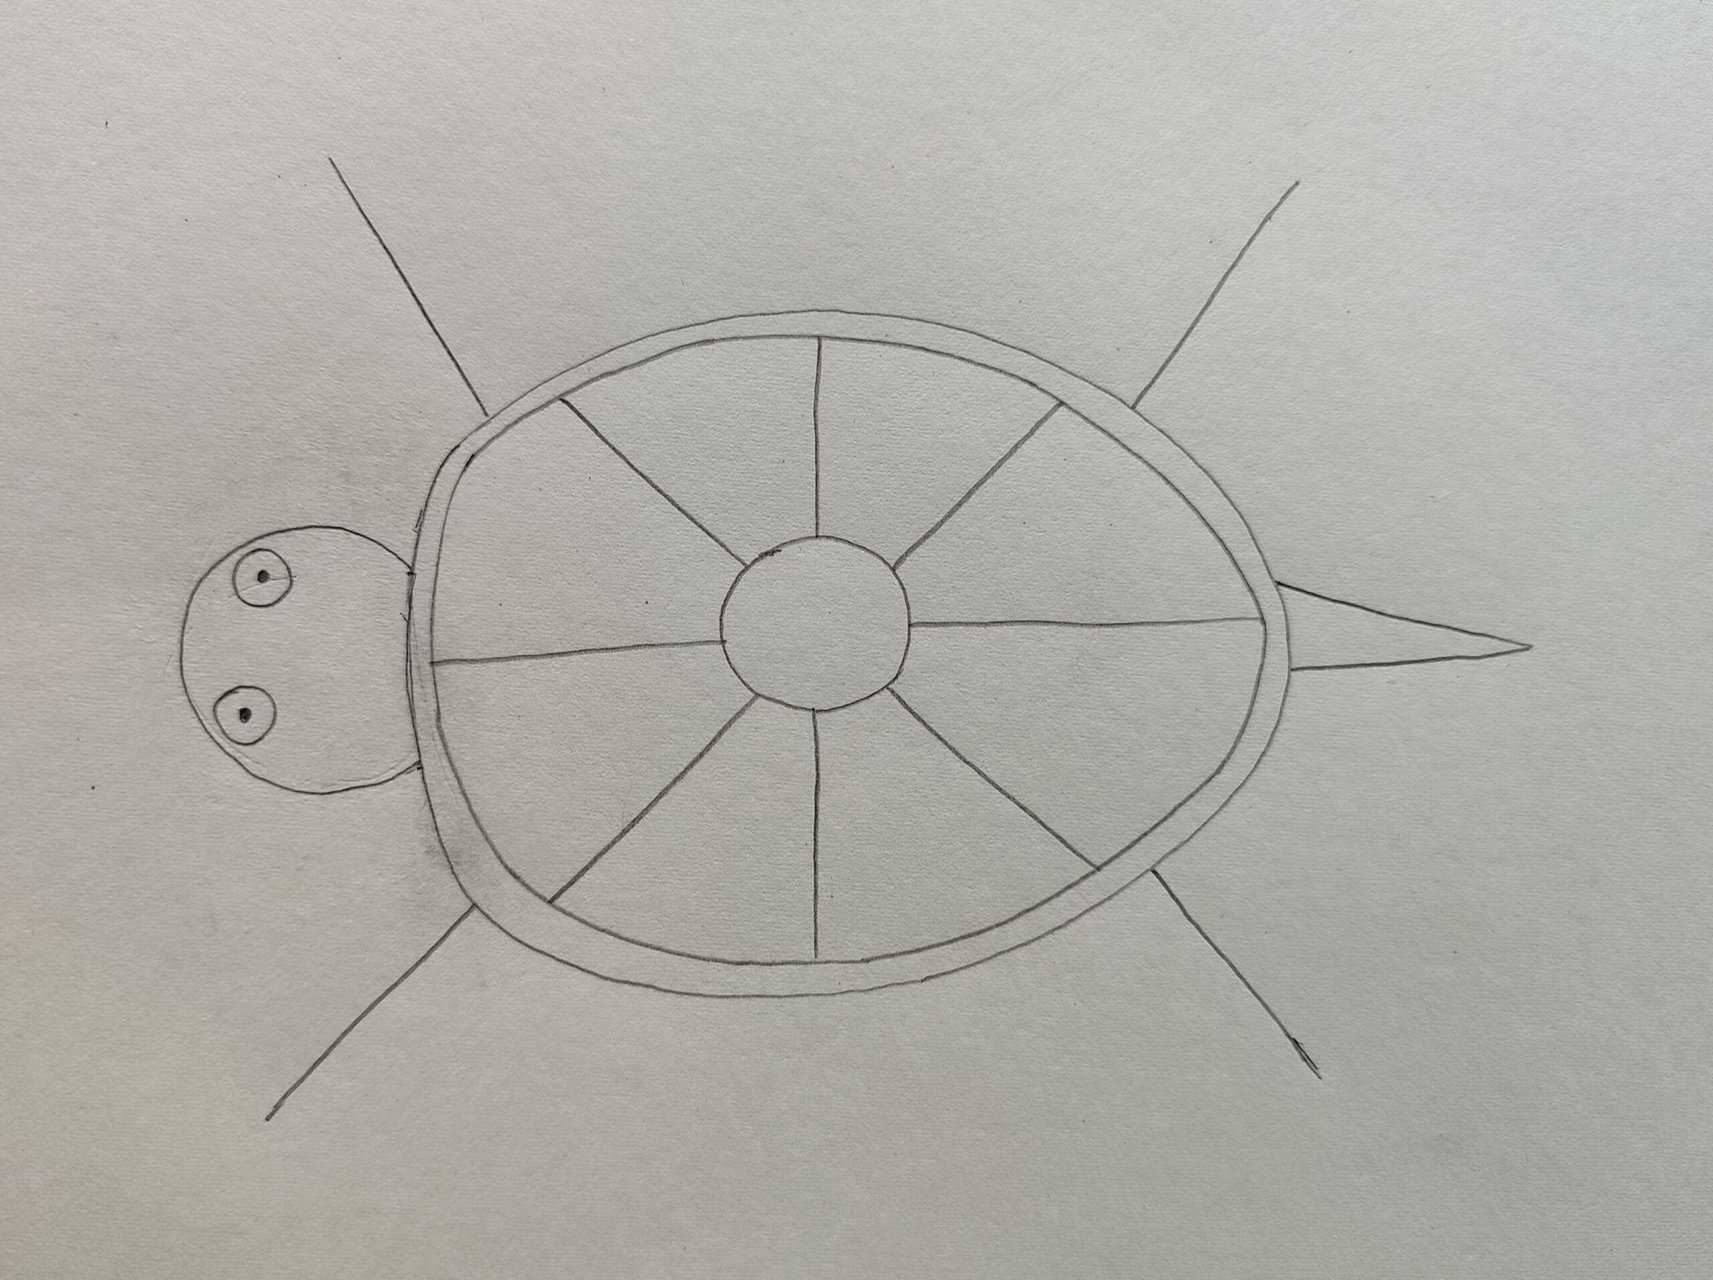
Draw four slanted lines near the head and tail for the flippers.
Step 10:
Connect the slanted lines with the outer oval, forming small circular shapes to complete the turtle.
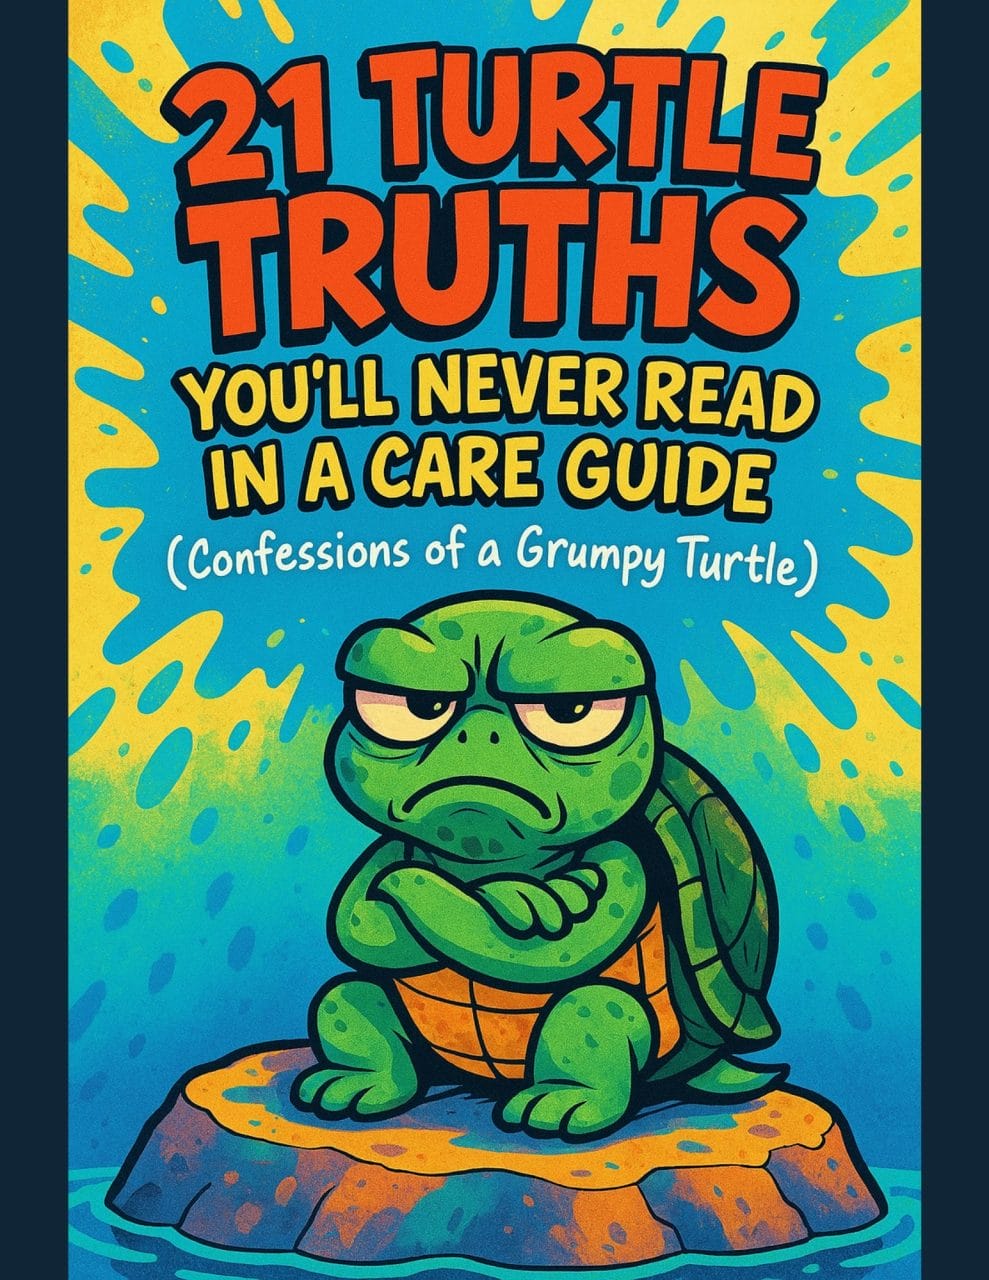
This Hilarious Turtle Book Might Know Your Pet Better Than You Do
Let’s be real—most turtle care guides feel like reading a textbook written by a sleep-deprived zookeeper.
This one’s not that.
Told from the snarky point of view of a grumpy, judgmental turtle, 21 Turtle Truths You’ll Never Read in a Care Guide is packed with sarcasm, sass, and surprisingly useful insights.
And hey—you don’t have to commit to the whole thing just yet.
Grab 2 free truths from the ebook and get a taste of what your turtle really thinks about your setup, your food choices, and that weird plastic palm tree.
It’s funny, it’s honest, and if you’ve ever owned a turtle who glares at you like you’re the problem—you’ll feel seen.
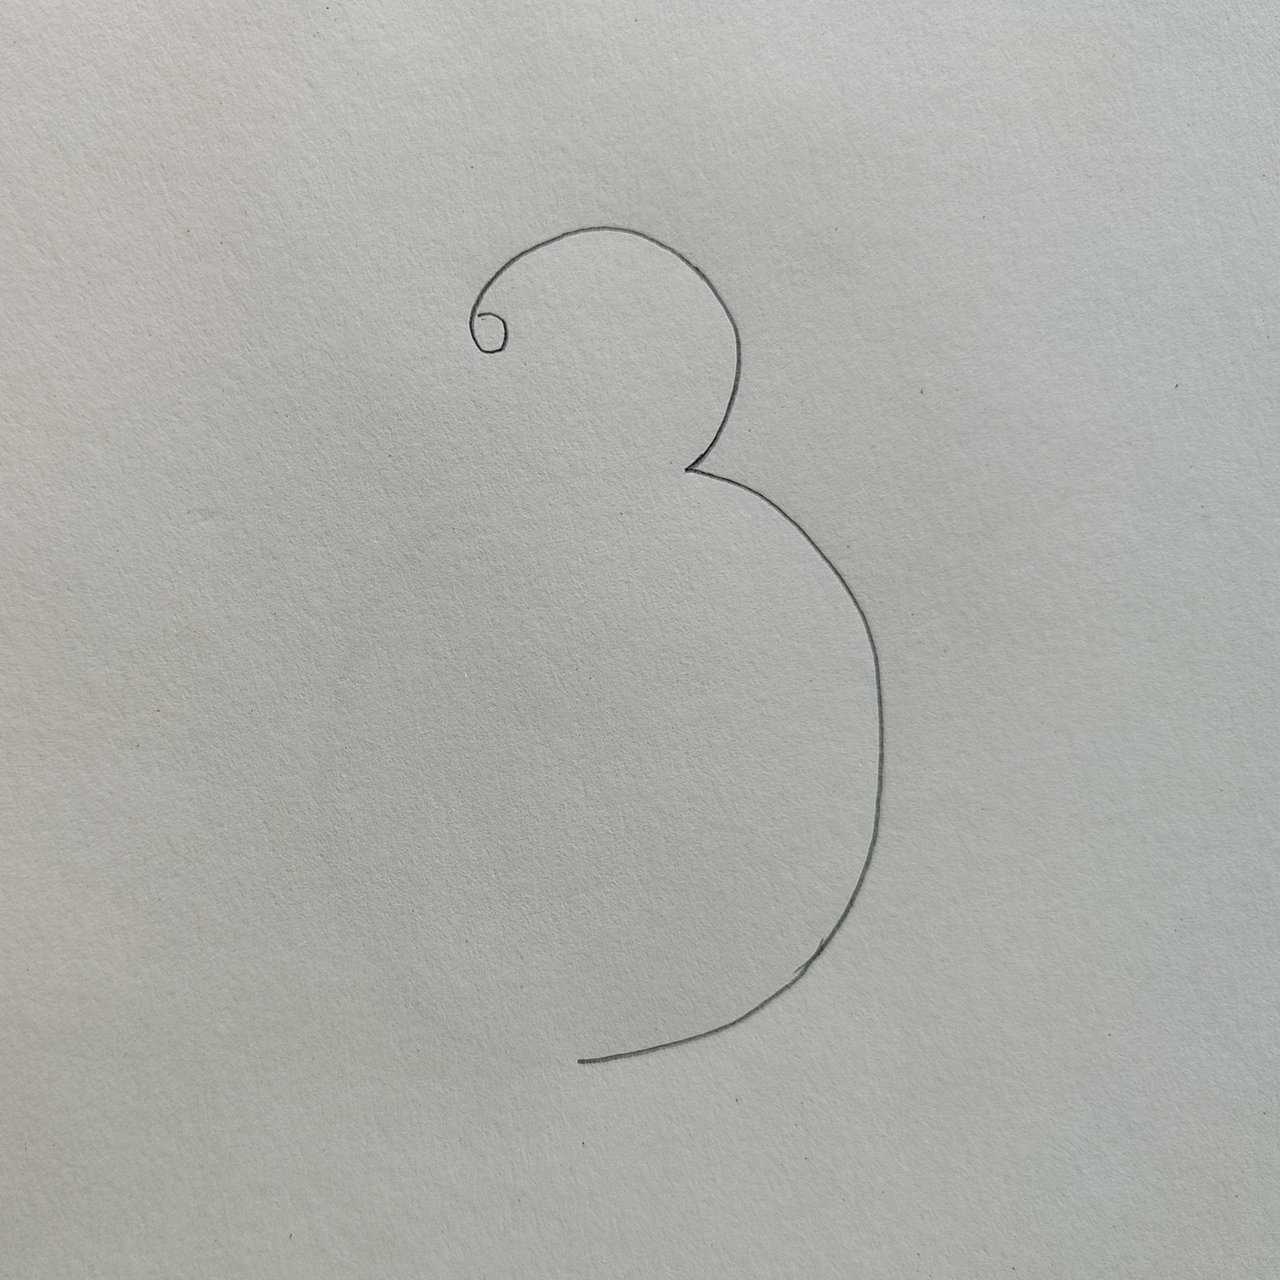
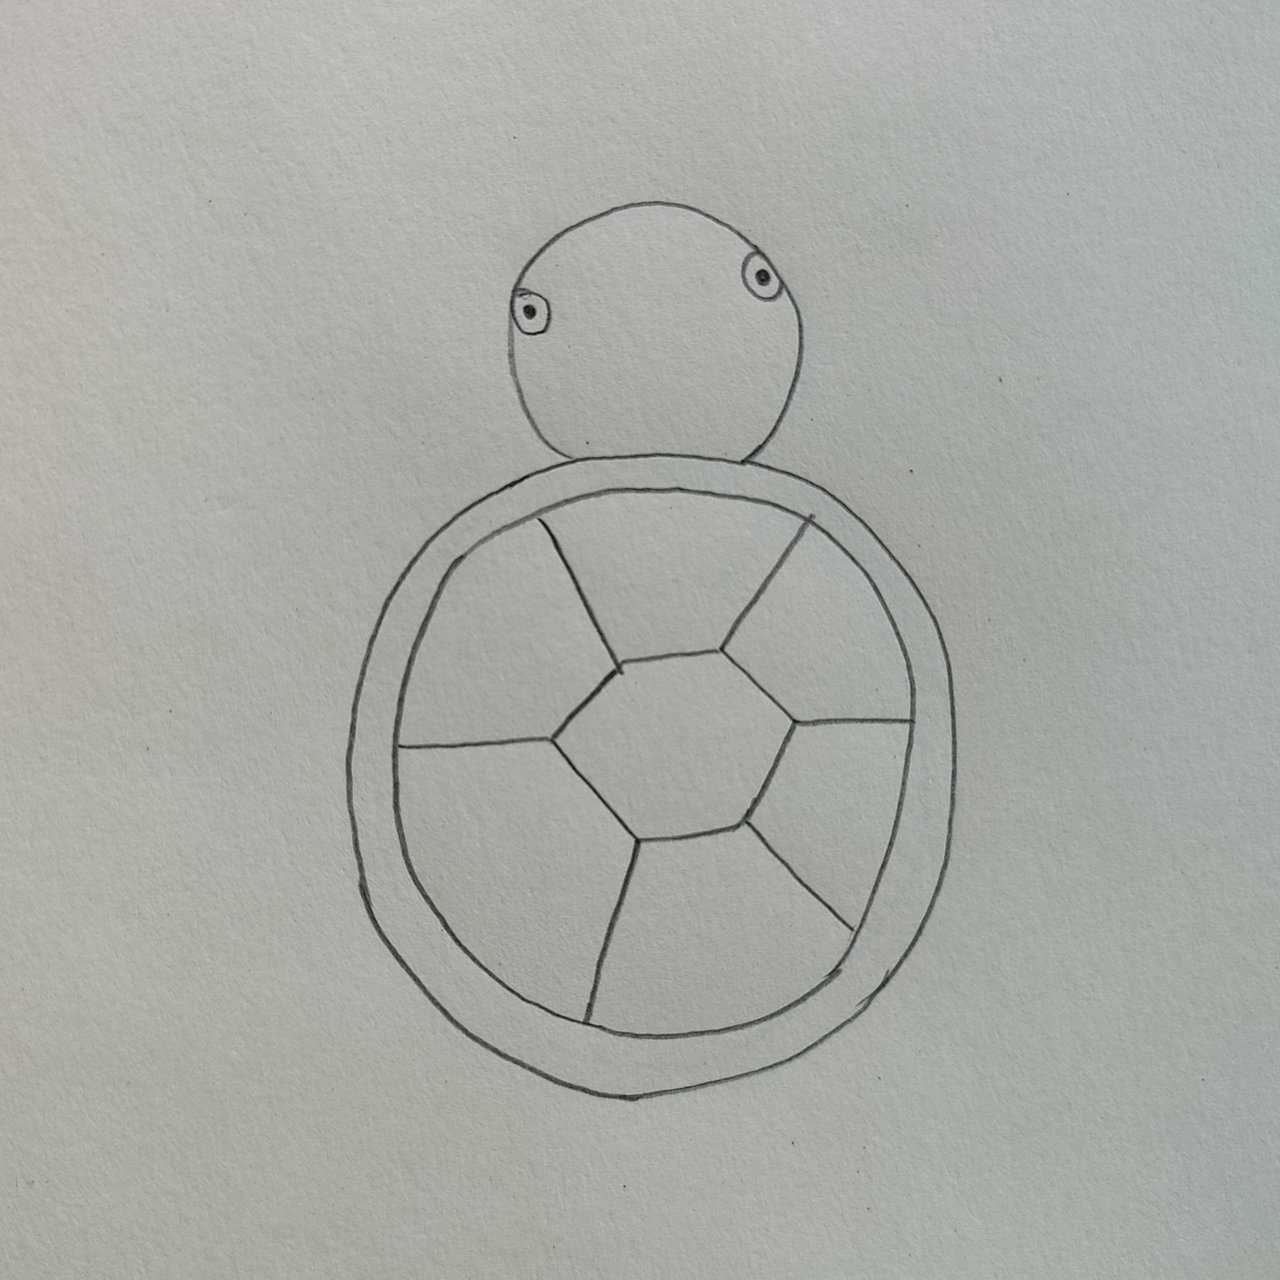
simple turtle drawing tutorial: method 3
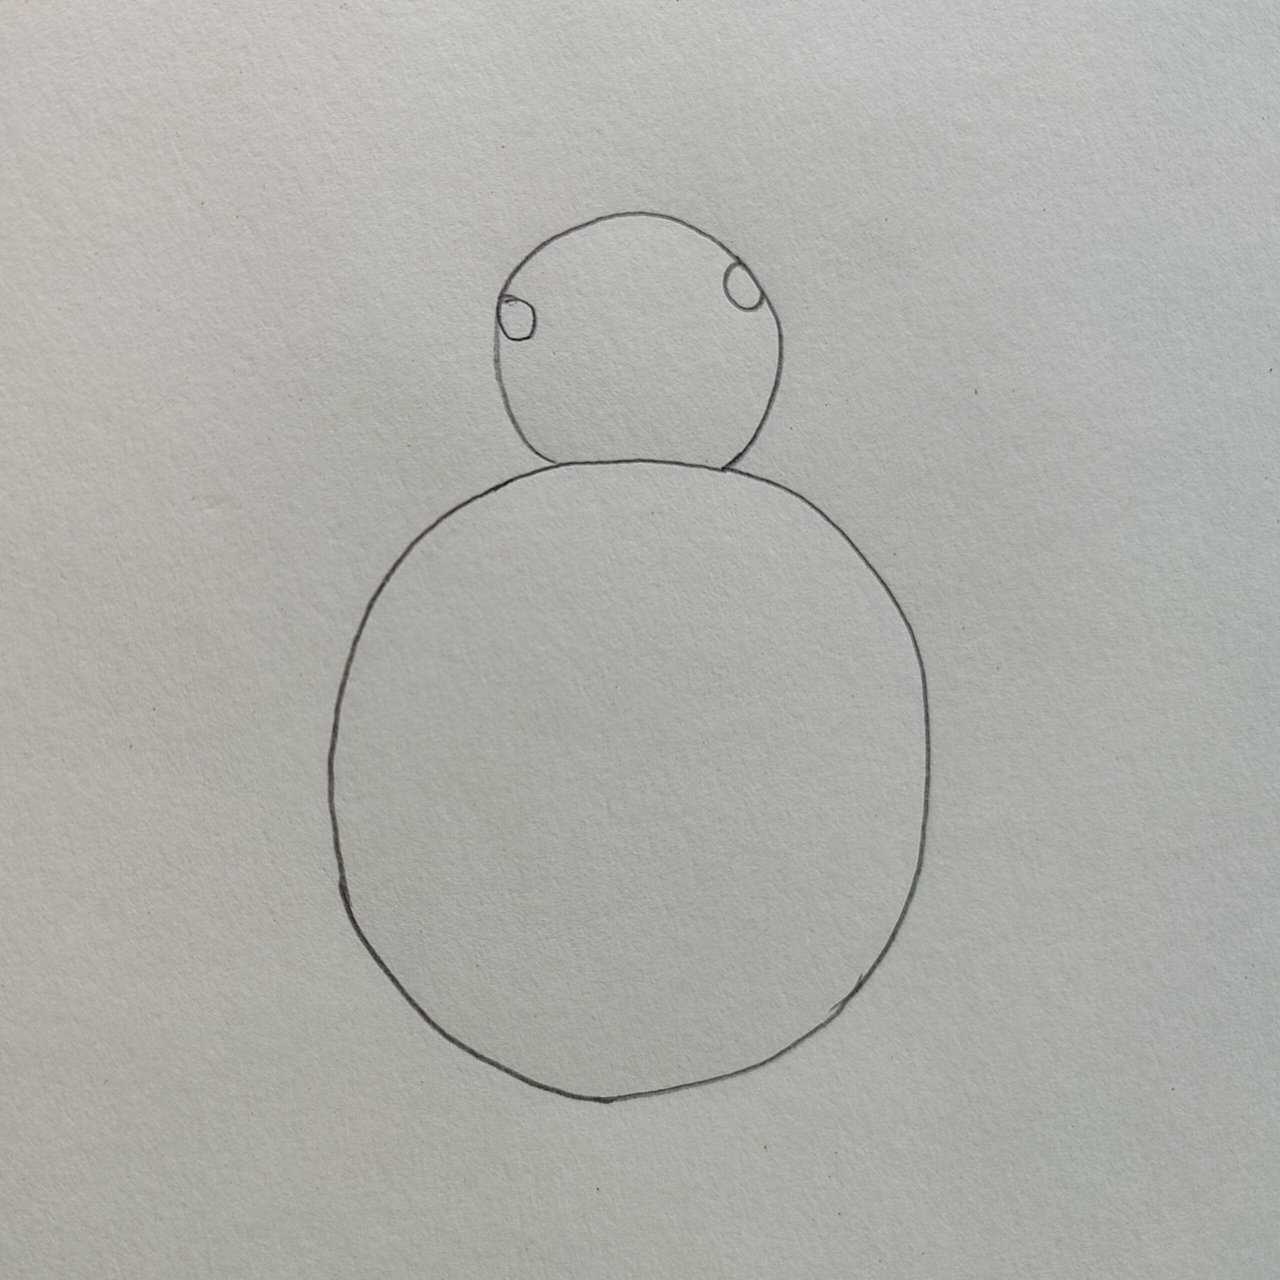
Step 1:
Draw a “3” shape with the second portion larger than the first, indicating the head and body.
Step 2:
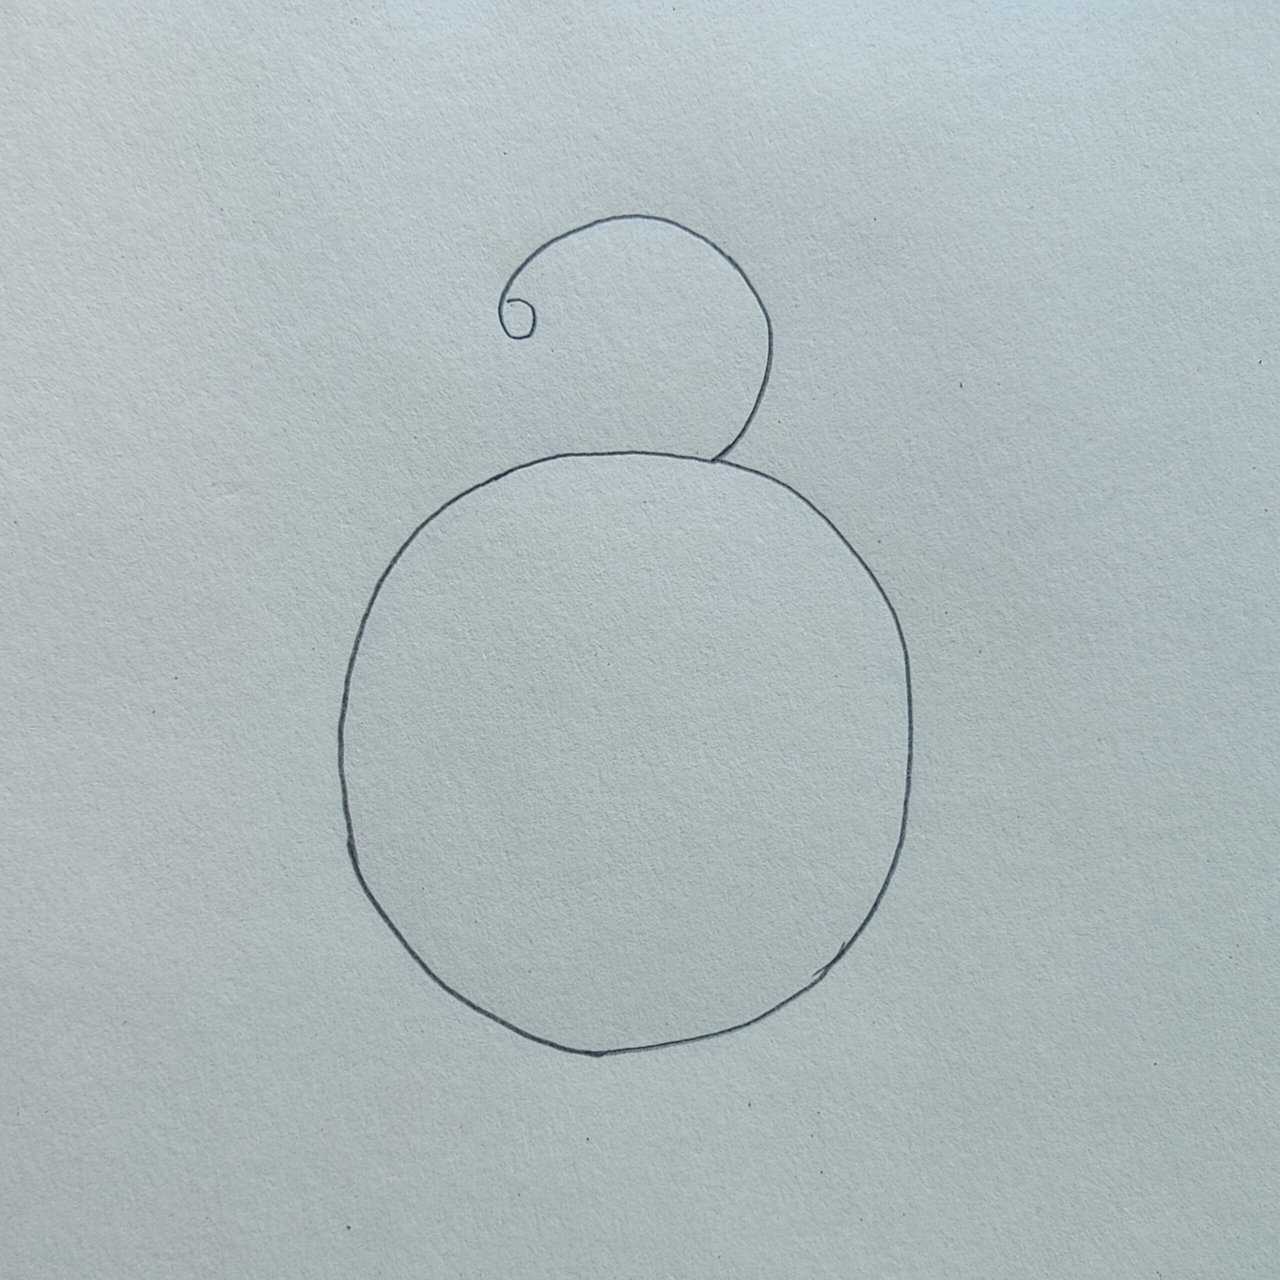
Connect the larger portion of the “3” to form a circle.
Step 3:
Connect the smaller portion of the “3” to the circle, creating a circular line, and add a tiny circle parallel to the starting point of the “3” for the eyes.
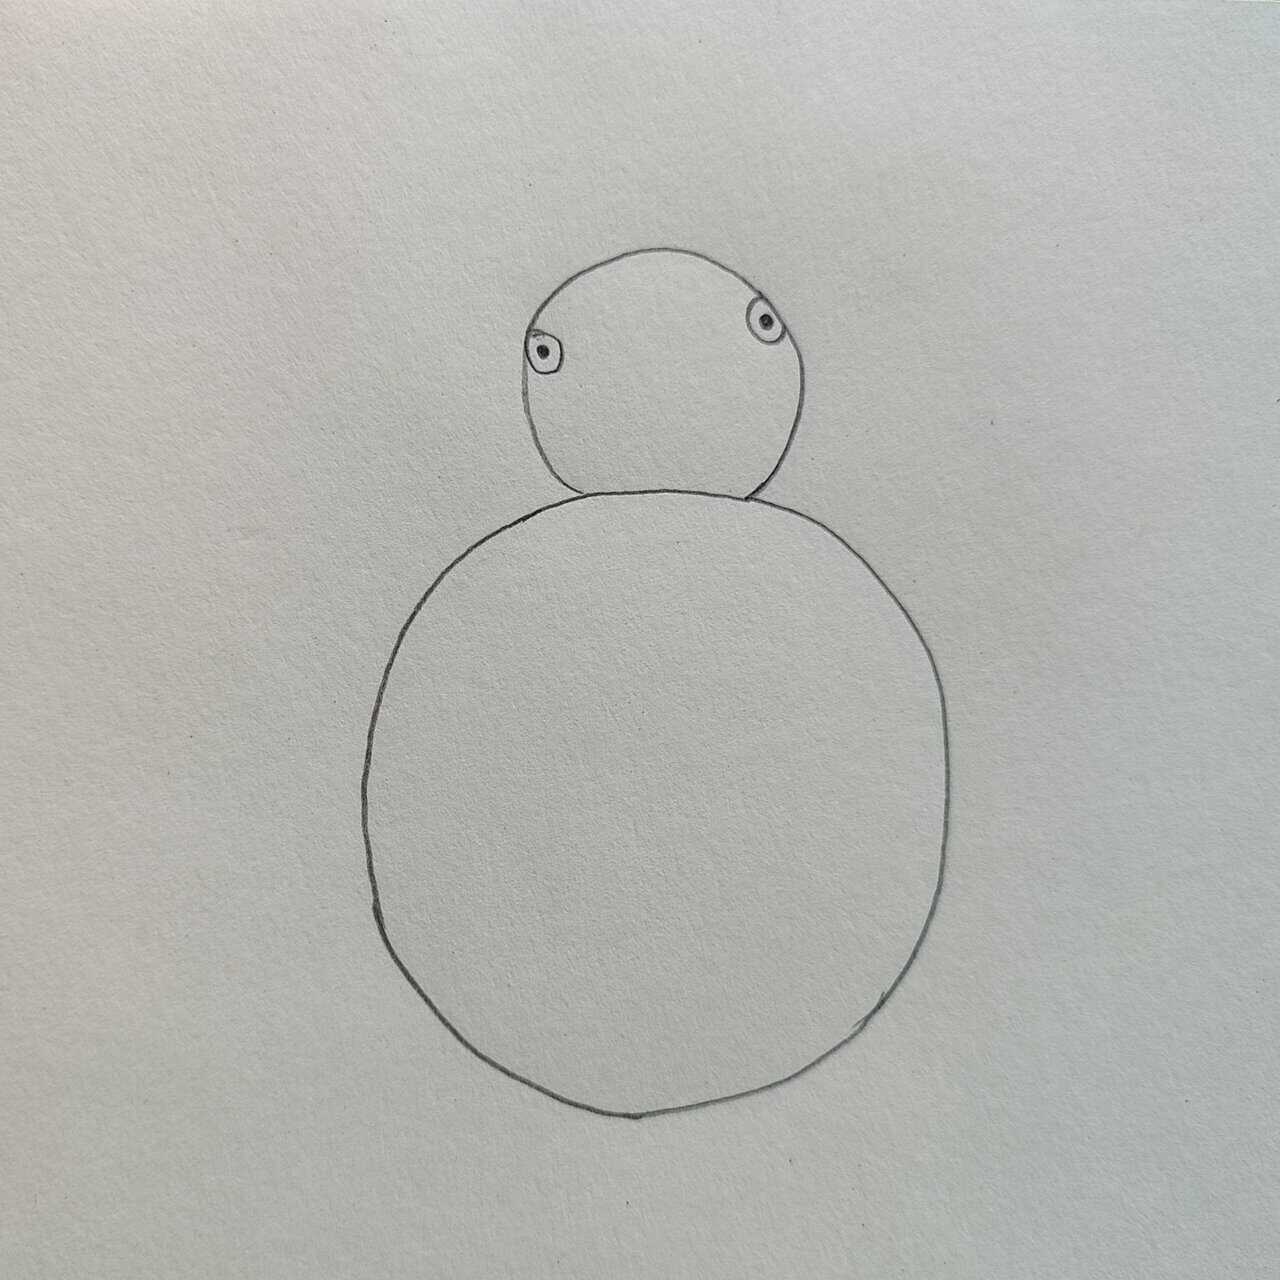
Step 4:
Mark the center points of the tiny circles for the turtle’s eyes.
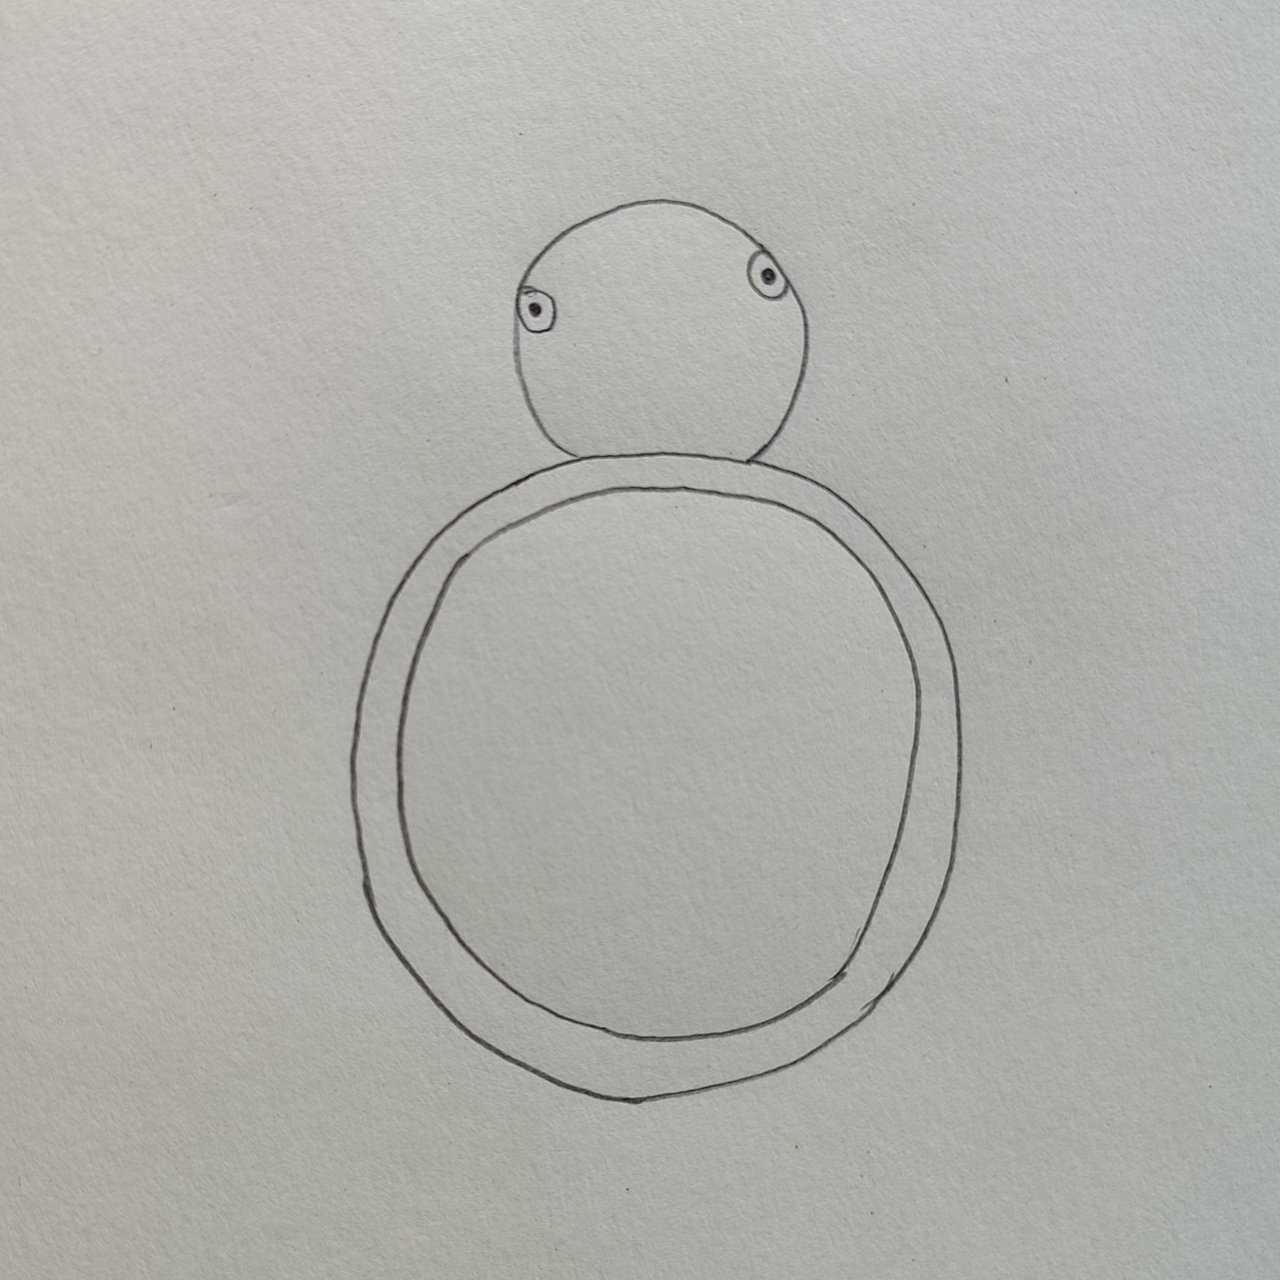
Step 5:
Add a second circle inside the larger circle.
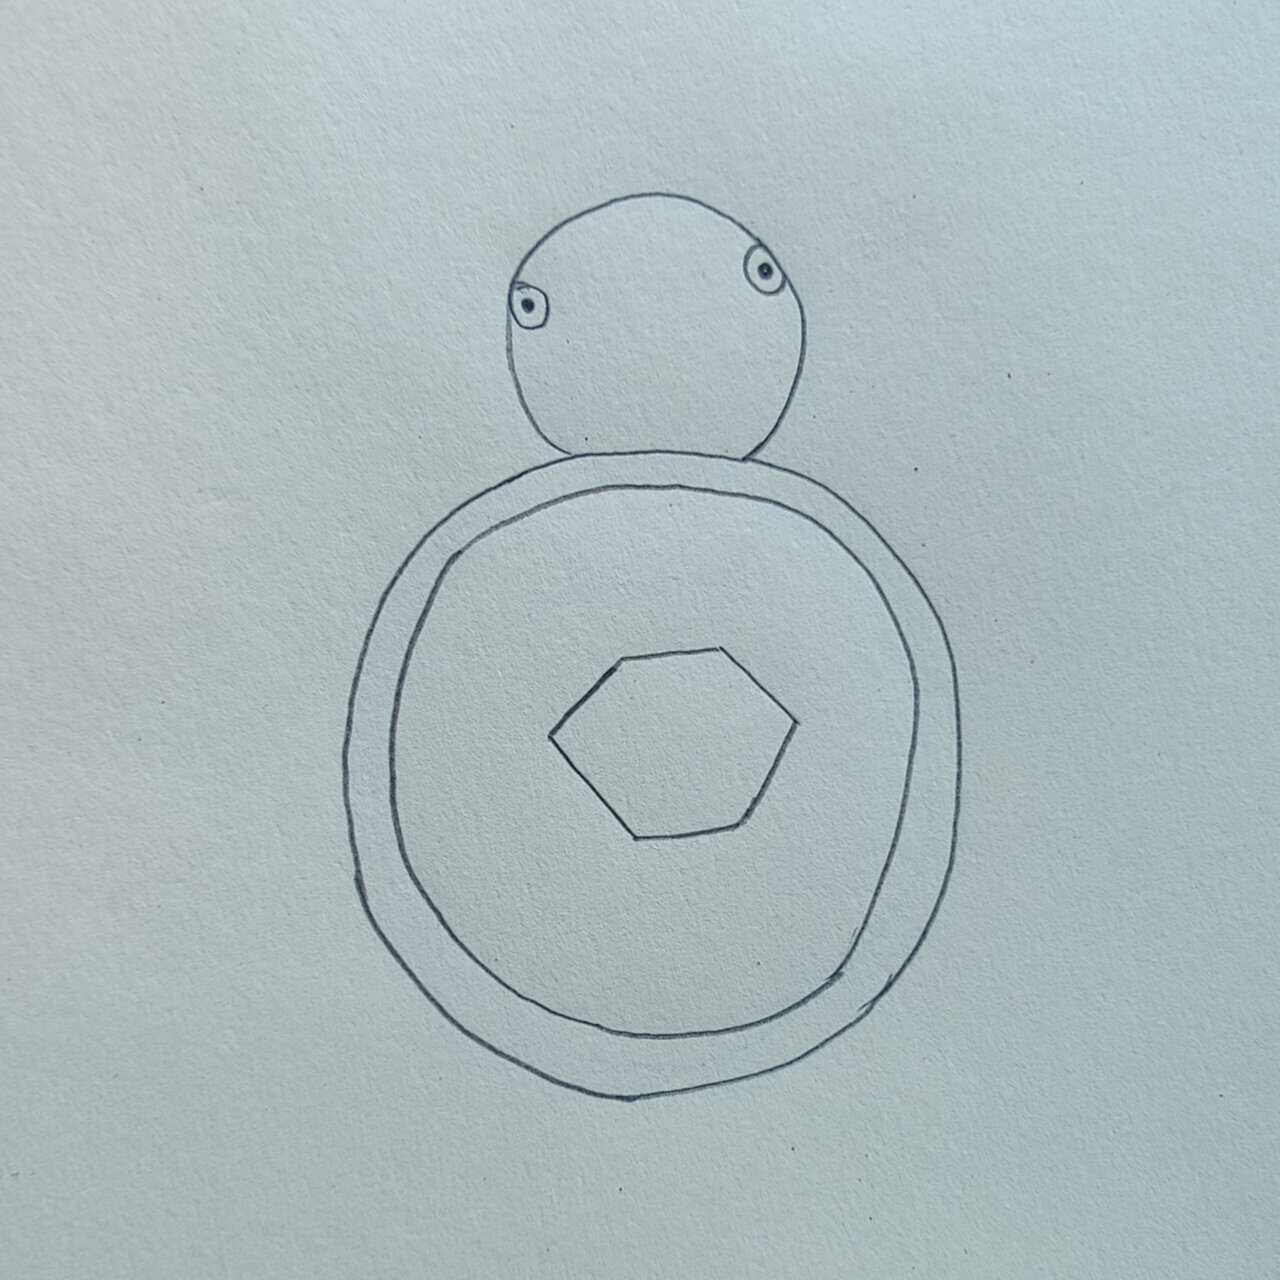
Step 6:
Draw a hexagon inside the larger circle representing the body.
Step 7:
Connect the corners of the hexagon to the inner part of the larger circle with straight lines.
Step 8:
Sketch a small cone shape for the tail opposite the head.

Step 9:
Draw four slanted lines near the head and tail for the flippers.
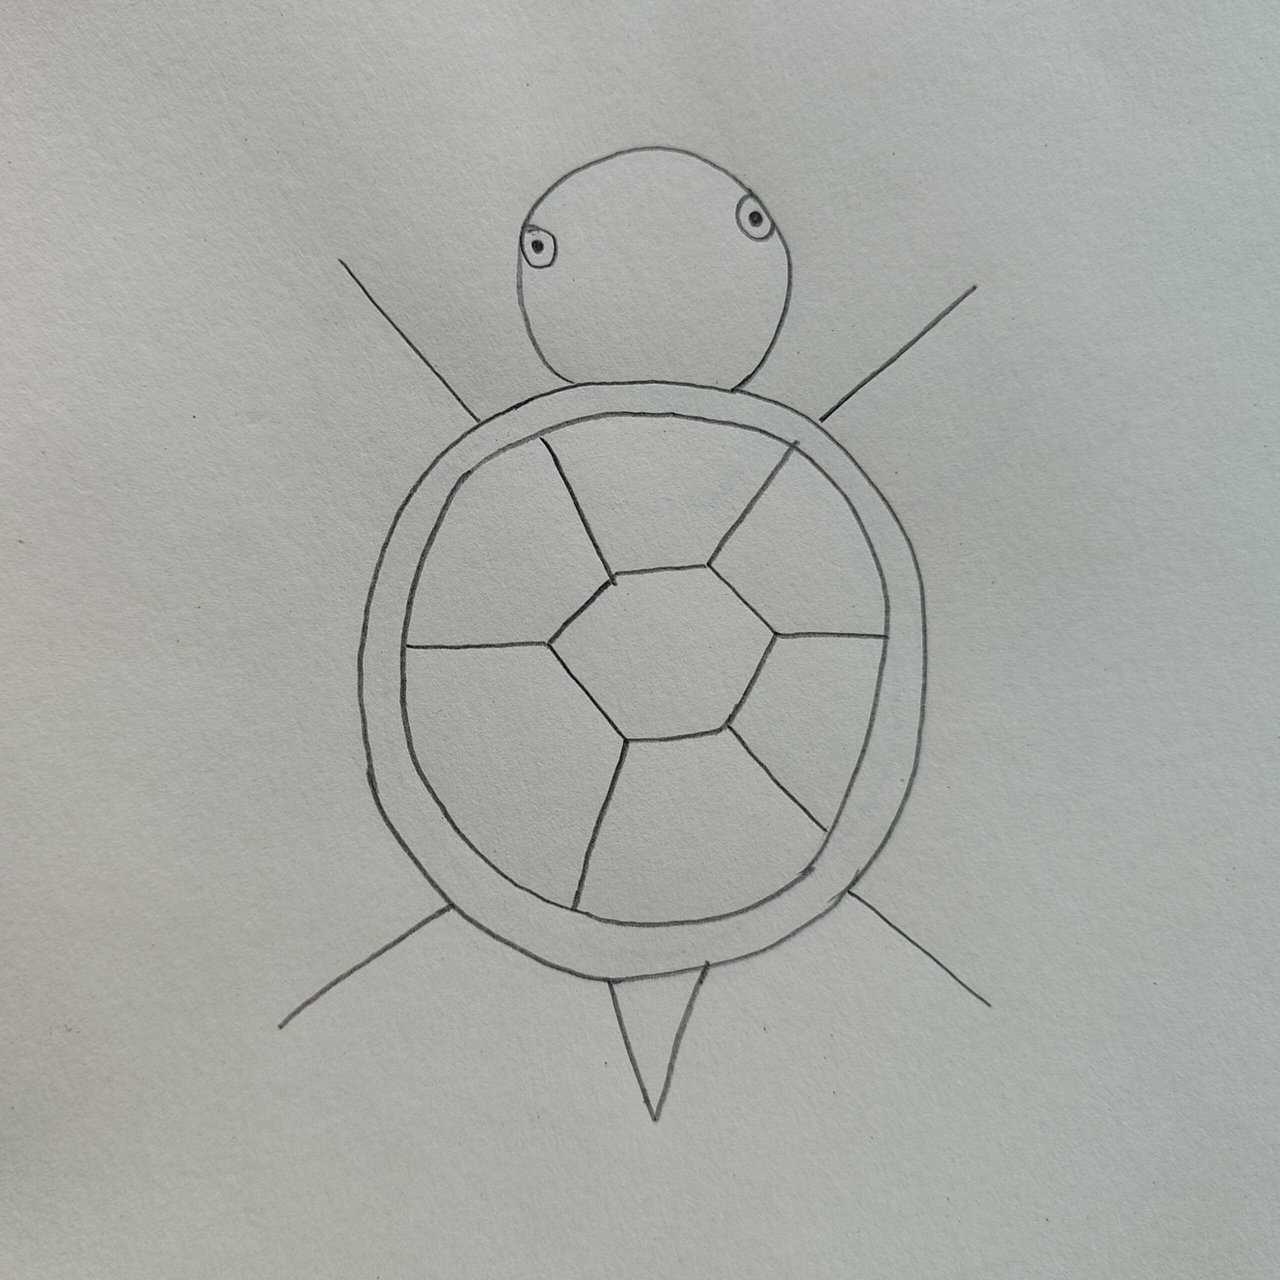
Step 10:
Connect the slanted lines with the outer circle, forming small round shapes to complete the turtle.

For older kids or teens ready for a bigger challenge, our step-by-step turtle drawing guide includes a sea turtle method and a realistic cartoon turtle with shading and texture techniques.

About Author
Muntaseer Rahman started keeping pet turtles back in 2013. He also owns the largest Turtle & Tortoise Facebook community in Bangladesh. These days he is mostly active on Facebook.