The Ultimate Painted Turtle Tank Setup – Do This First!

This post was created with help from AI tools and carefully reviewed by a human (Muntaseer Rahman). For more on how we use AI on this site, check out our Editorial Policy.
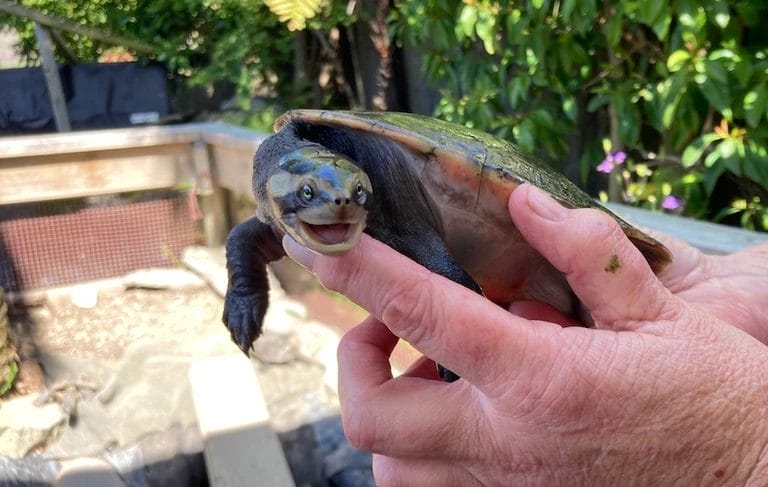
I still remember the first time I brought home a tiny painted turtle — excitement quickly turned into panic when I realized I had no clue how to set up the perfect tank.
Do they need plants?
What about a heat lamp?
After hours of scrolling, I finally cracked the code. If you want to skip the chaos and give your turtle the ultimate home right from the start, here’s exactly what you need to do first.
While painted turtles have specific preferences, understanding universal turtle tank principles first prevents common beginner mistakes.

Step 1: Choosing the Right Tank for painted turtles
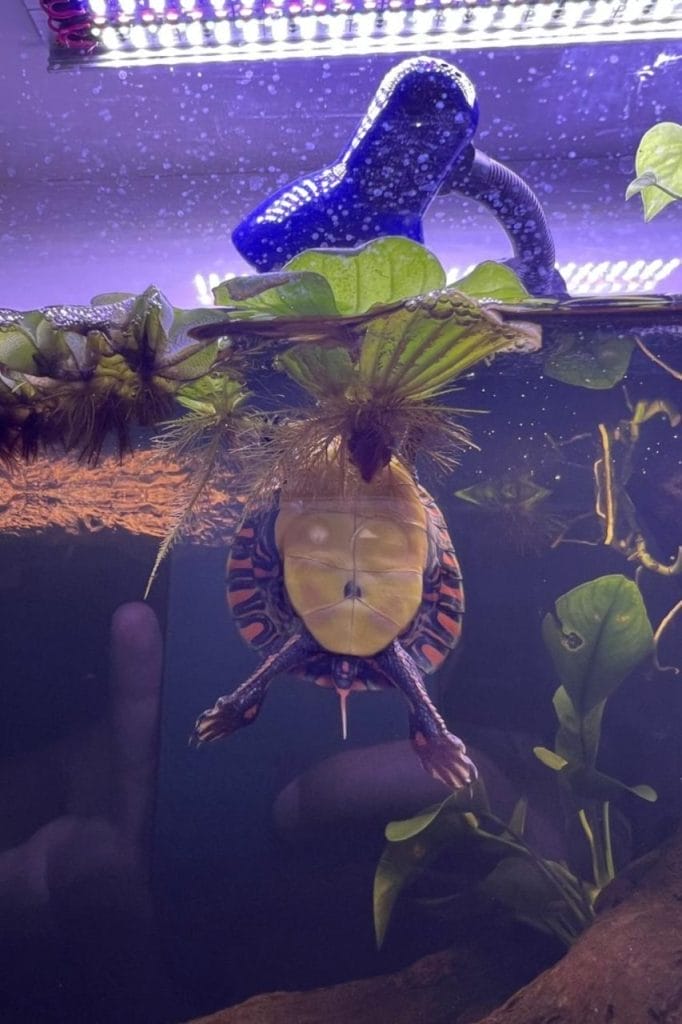
Painted turtles love to swim, and they need space to do it. A tiny tank will make them miserable (and stinkier).
Tank Size Matters
Here’s a quick size guide:
| Turtle Size | Minimum Tank Size |
|---|---|
| Baby (under 4 inches) | 20 gallons (but bigger is better) |
| Juvenile (4-6 inches) | 40+ gallons |
| Adult (6+ inches) | 75-100+ gallons |
Bigger is always better. A small tank gets dirty fast, and your turtle will outgrow it in no time.
Glass vs. Acrylic – What’s Best?
- Glass: Sturdy, scratch-resistant, but heavy
- Acrylic: Lightweight, clear, but scratches easily
I started with an acrylic tank, thinking it was a genius move. Then my turtle scratched it up like a toddler with a crayon. Lesson learned.
Tank Shape – Does It Matter?
Yes! Go for a long, wide tank instead of a tall one. Turtles swim side to side, not up and down.
Do You Need a Lid?
Short answer: Yes.
Long answer: Turtles are escape artists. I once found mine halfway across the living room. Get a screen lid to keep them in and allow airflow.
Start big. Your turtle will thank you. And so will your future self when you don’t have to upgrade tanks every year.
Step 2: Water Setup & Filtration
Let’s talk water.
Painted turtles are messy little creatures. They eat, poop, swim, and repeat — all in the same water. That’s why your water setup and filter matter big time.
How Much Water Do They Need?
Painted turtles love to swim. The more water, the happier they are.
Here’s a quick guide:
- Baby turtles – At least 10 gallons of water
- Juveniles – 20-30 gallons
- Adults – 40 gallons or more
Rule I follow: Water should be at least twice as deep as their shell length.
More water also means it stays cleaner longer. Less scrubbing for me, and I’m all for that.

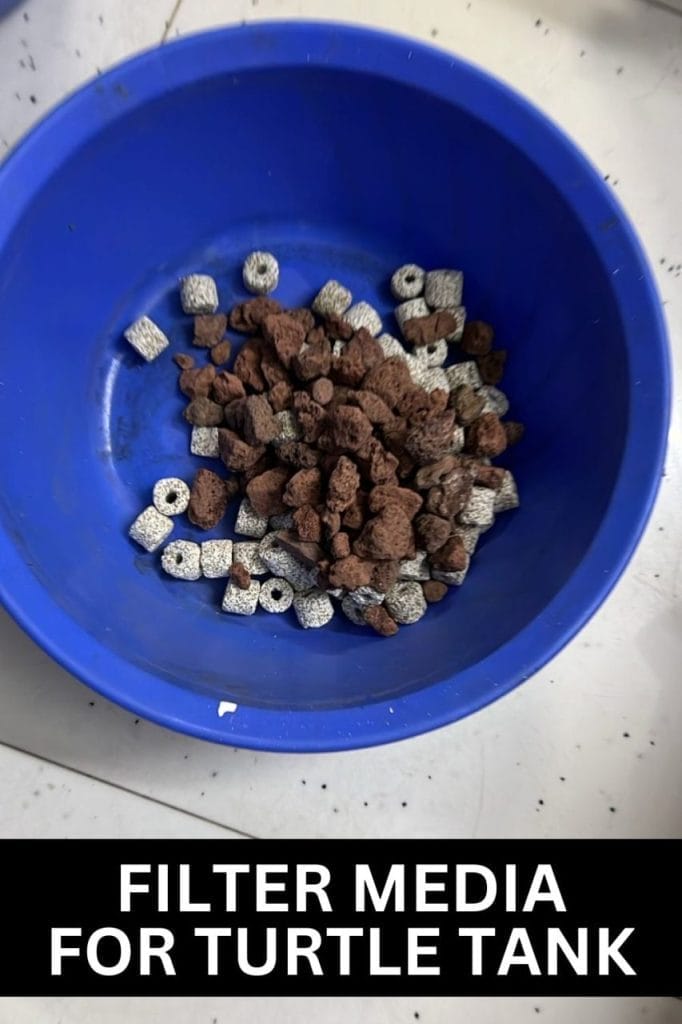
What Kind of Filter Works Best?
This part took me a few tries to figure out.
Filters made for fish tanks aren’t strong enough. Turtles are messier than fish, trust me.
Top 3 Filter Options
| Filter Type | Pros | Cons |
|---|---|---|
| Canister Filter | Super powerful, handles turtle mess like a champ | Bit pricey |
| Internal Filter | Easy to set up, cheaper option | Needs frequent cleaning |
| Hang-on-back Filter | Good for smaller tanks, easy to access | May struggle in big tanks |
Personally, I went with a canister filter. Yes, it cost more, but my water stays clearer, and I don’t have to clean it every two days. Worth it.
Tips for Cleaner Water
- Don’t overfeed. Extra food = cloudy water
- Use a feeding tank if you can
- Add live plants — they look cool and help filter the water
One mistake I made at first — not cycling the water before adding my turtle. Give the filter a few days to get running so bacteria can do their thing.

Water Quality Checks
I also test the water every now and then. It’s not just for fish keepers.
Check for:
- Ammonia
- Nitrates
- pH
Turtles aren’t as sensitive as fish, but clean water = fewer health problems.
Filtration was probably the biggest learning curve for me. Once you get it right, your tank looks better, smells better, and your turtle is healthier.
Plus, no one wants a turtle tank that smells like a swamp in the living room.

This Hilarious Turtle Book Might Know Your Pet Better Than You Do

Let’s be real—most turtle care guides feel like reading a textbook written by a sleep-deprived zookeeper.
This one’s not that.
Told from the snarky point of view of a grumpy, judgmental turtle, 21 Turtle Truths You’ll Never Read in a Care Guide is packed with sarcasm, sass, and surprisingly useful insights.
And hey—you don’t have to commit to the whole thing just yet.
Grab 2 free truths from the ebook and get a taste of what your turtle really thinks about your setup, your food choices, and that weird plastic palm tree.
It’s funny, it’s honest, and if you’ve ever owned a turtle who glares at you like you’re the problem—you’ll feel seen.
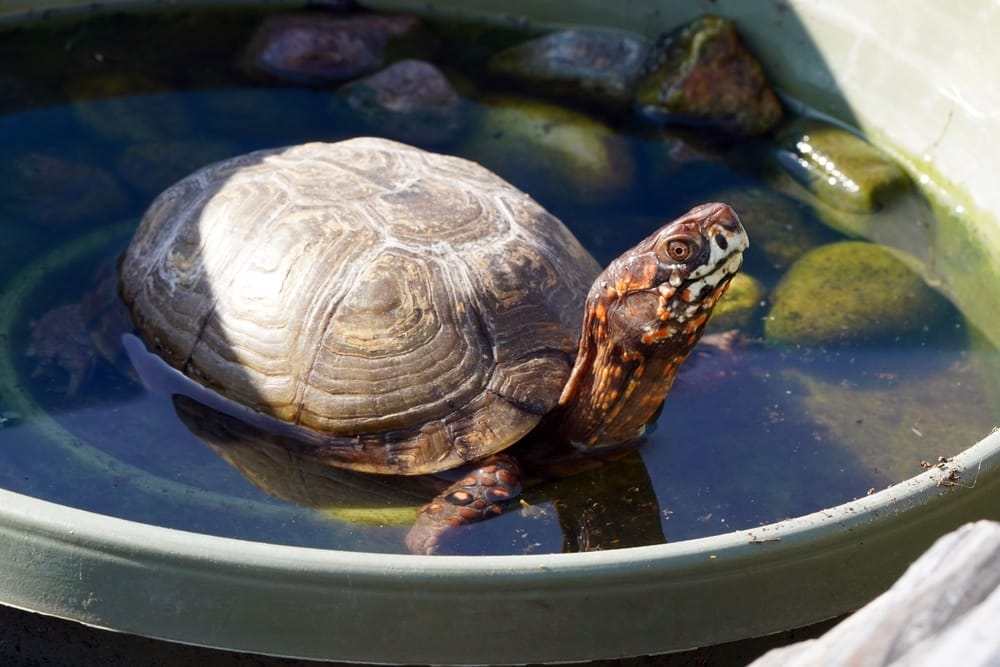
Step 3: Basking Area & Heat Lamp for painted turtles
If there’s one thing I learned fast — turtles love a good sunbath.
Your painted turtle needs a dry, warm spot where they can haul out, stretch those little legs, and soak up some heat.
Why Basking Matters
Basking isn’t just for fun.
It helps:
- Keep their shell healthy
- Prevent infections
- Regulate body temperature
Without a proper basking area, they get stressed and sick. Not a combo anyone wants.
Basking Platforms – What Works Best?
There are tons of options, but I’ll break down the most common ones.
| Platform Type | Pros | Cons |
|---|---|---|
| Floating Dock | Easy to install, adjusts with water level | May sink if your turtle’s chunky |
| DIY Ramp | Customize it however you want | Takes time to build |
| Above-Tank Basking Area | Maximum swimming space | Needs a big tank |
I started with a floating dock. It worked fine for my baby turtle, but once she hit her growth spurt, she sunk that thing like a rock.
Switched to a DIY above-tank basking spot, and it’s been smooth sailing since.

Heat Lamp – Non-Negotiable
Turtles aren’t warm-blooded like us. They need an external heat source to keep their body temp up.
Ideal basking temp: 85-90°F
What you need:
- Basking bulb for heat
- Lamp stand to hold it
- Thermometer so you know it’s warm enough
I made the mistake of using a regular desk lamp at first. Cute idea, bad results. Get a proper basking bulb — your turtle will thank you.
Best Spot for the Lamp
Angle it right over the basking area.
The goal is to create a warm zone where your turtle can dry off and chill.
Pro tip: Don’t heat the whole tank. They need cooler water to swim in.
Check and Adjust
I check my basking temp every couple of days.
Too hot? Move the lamp up.
Too cold? Swap the bulb or move it closer.
It’s not rocket science, but it makes a huge difference for their health.
My turtle’s basking face (eyes half-closed, legs sprawled out) is honestly the cutest thing ever. If you get this setup right, you’ll see that happy face too.

Step 4: UVB Lighting – Essential for painted turtle’s Health
This part confused me when I first got my turtle.
Heat lamps and UVB lamps aren’t the same thing — and both are super important.
What Does UVB Do?
UVB light helps your turtle make vitamin D3.
Without D3, they can’t absorb calcium properly.
Without calcium, their shells get soft, their bones weaken, and things go downhill fast.
Basically, no UVB = serious health problems.
Types of UVB Bulbs
I stood in front of the pet store shelf for way too long trying to figure this out.
Here’s a quick cheat sheet:
| Bulb Type | Pros | Cons |
|---|---|---|
| Tube Bulbs | Great UVB coverage across tank | Needs a fixture to hold it |
| Compact Bulbs | Easy to install, cheaper | Smaller coverage area |
| Mercury Vapor Bulbs | UVB + heat in one bulb | Gets hot, not ideal for small tanks |
I went with a tube bulb. More coverage, less stress.
How Long Should UVB Be On?
Turtles don’t need light 24/7.
I keep mine on 10-12 hours a day to mimic natural sunlight.
At night, all lights go off so my turtle can snooze.
Placement Matters
This part tripped me up at first.
The UVB bulb needs to be right over the basking area.
That way, they get UVB while they’re drying off under the heat lamp.
No plastic or glass between the bulb and the turtle — UVB can’t get through it.
Replacing the Bulb
Even if the bulb still looks fine, the UVB fades over time.
Most bulbs need replacing every 6-12 months.
I mark my calendar because I can’t trust myself to remember.
Signs Your Turtle Needs More UVB
- Soft shell
- Weird shell shape
- Lethargy (aka super lazy turtle)
If you catch those signs early, fixing the lighting can turn things around.
UVB felt confusing at first, but once you nail the setup, it’s easy.
Think of it as their personal sunshine — happy shell, happy turtle.

Step 5: Substrate or Bare Bottom?
This one gave me a headache when I first set up my tank.
Some people swear by fancy substrate. Others say skip it and go bare. I’ve tried both, so here’s the real talk.
Bare Bottom – Simple and Easy
This is what I started with.
Pros:
- Super easy to clean
- No risk of your turtle eating something they shouldn’t
- Water stays clearer longer
Cons:
- Looks kinda plain
- Turtles can slip around if the bottom’s too smooth
My first turtle didn’t seem to care. He just zoomed around, happy as could be.
Substrate – Looks Nice but More Work
If you want that natural pond look, substrate can be gorgeous.
Options:
- Large river rocks – Too big to swallow
- Fine sand – Looks great, but can get messy
- Gravel – Not recommended (turtles love to eat it, which = bad news)
Pros:
- Looks natural
- Turtles can dig and explore
- Hides waste better (kinda)
Cons:
- Way more cleaning
- Some turtles eat small pieces (trust me, I caught mine chewing on rocks once)
- Food can disappear into the sand and rot
What I Use Now
I ended up doing a mix.
Bare bottom in most of the tank for easy cleaning.
A little pile of large rocks in one corner so my turtle can dig around if she’s in the mood.
Best of both worlds — easy cleaning plus enrichment.
If You Want Substrate
Go big or go tiny.
- Big rocks they can’t eat.
- Fine sand they can pass if they accidentally swallow some.
Skip the gravel. Trust me on this one.
Which One’s Right for You?
If you love low-maintenance, go bare. If you love decorating and don’t mind extra cleaning, add some substrate.
Either way, your turtle will be fine — as long as the water’s clean and they have plenty of space to swim.
On a budget but want natural aesthetics? Discover how to build beautiful turtle habitats using recycled materials—perfect for creating naturalistic painted turtle environments.

Step 6: Decoration & Hiding Spots For Painted Turtle Habitat
Turtle tanks aren’t just about water and a basking spot.
Decorations make the tank look better and help your turtle feel safe.
Why Hiding Spots Matter
Even bold turtles need a break sometimes.
A good hiding spot gives them a place to:
- Chill out when they’re stressed
- Feel safe when they’re shedding
- Just be weird little turtles
My painted turtle likes to wedge herself under her driftwood like a turtle burrito.
Best Decorations for Turtle Tanks
Not everything you see in the fish aisle works for turtles. Here are some safe options:
Rocks and Driftwood
- Natural look
- Easy to clean
- Great for climbing and hiding
Live or Fake Plants
- Adds color
- Live plants help with water quality
- Fake plants are no-maintenance (and turtles can’t eat them)
Caves and Logs
- Instant hiding spot
- Easy to move around
Things to Avoid
Some decorations look cool but aren’t turtle-safe.
Skip these:
- Sharp decorations (turtles bump into stuff a lot)
- Small gravel (they love to eat it)
- Anything with small holes (turtles can get stuck — learned that one the hard way)
Looking for creative inspiration beyond the basics? Our 11 turtle habitat design ideas showcase professional setups that maximize both aesthetics and functionality.
Keep It Simple
Turtles are swimmers first.
Leave plenty of open space so they can zoom around without bumping into stuff.
I stick to:
- One big basking area
- A couple hiding spots
- A few plants for looks
Switch It Up
Every now and then, I move things around.
Turtles are curious, and a new layout gives them something to explore. It’s like redecorating their bedroom — keeps things fresh.
A decorated tank isn’t just for you. It makes your turtle’s world way more interesting — and that means a happier, healthier turtle.
Step 7: Water Temperature & Heating for painted turtle tank
This is one of those things I thought I could ignore at first.
Spoiler: I was wrong.
Why Water Temperature Matters
Painted turtles can’t control their own body temperature.
If the water’s too cold, they get sluggish and stop eating. Too warm? They get stressed and grumpy.
Keeping the water just right helps their digestion, immune system, and overall mood.
Ideal Water Temperature
| Turtle Age | Ideal Temp |
|---|---|
| Baby Turtles | 76-78°F |
| Juveniles | 74-76°F |
| Adults | 72-74°F |
I keep my baby turtle’s tank closer to 78°F — she’s tiny and needs that extra warmth.
Do You Need a Water Heater?
If your house stays warm all year, maybe not.
But if you live somewhere chilly (like me), a heater is a must.
Choosing a Heater
Not all heaters can handle turtle tanks. Turtles are rough on gear — they bump, climb, and occasionally bite things.
Here’s what works best:
| Heater Type | Pros | Cons |
|---|---|---|
| Submersible | Easy to hide, heats evenly | Turtles might bump it |
| External (Inline) | No contact with turtles | More expensive |
| Heater Guard | Protects any heater | Extra cost |
I use a submersible heater with a guard, so my turtle can’t knock it around or burn herself.
Where to Place It
I put mine near the filter output, so the warm water circulates evenly.
If you just stick it in a corner, one side of the tank can be warm while the other side is freezing.
Check the Temp Daily
Don’t just trust the heater. I keep a digital thermometer stuck to the tank.
I’ve had heaters go rogue before — always double-check.
Backup Plan
Power outage? No heat? Wrap the tank with blankets to hold the warmth in.
It’s rare, but knowing what to do can save your turtle if temps drop fast.
Getting the water temp right sounds small, but it makes a huge difference. Happy turtles, happy life.

Step 8: feeding & diet setup for painted turtles
Turtles will eat everything if you let them. Doesn’t mean they should.
A balanced diet keeps them healthy and prevents picky eating tantrums (yes, turtles can be divas about food).
What to Feed
A good diet includes:
Pellets (Staple food)
- Look for high-protein pellets for young turtles.
- Adults need more veggies, less protein.
Fresh Foods
- Protein: Worms, shrimp, crickets, cooked chicken (as a treat).
- Veggies: Lettuce (not iceberg), dandelion greens, squash.
Occasional Treats
- Fruits: Strawberries, melons (not too much sugar!).
- Live food: Feeder fish (but don’t overdo it).
How Often to Feed
- Baby turtles: Every day (they need more protein).
- Juveniles: Every other day.
- Adults: 3-4 times a week.
Turtles beg for food even when they’re not hungry. Ignore the cute face. Overfeeding = messy water + chubby turtle.
Best Feeding Setup
I feed my turtle in a separate tank when I can.
Why?
- Less mess in the main tank.
- No leftover food rotting in the water.
- Easier to track how much they eat.
If feeding in the main tank, use a feeding dish or floating dock to keep things cleaner.
Calcium & Supplements
- Add a cuttlefish bone (cheap and great for their shell).
- Dust food with calcium powder once a week.
Foods to Avoid
- Bread & dairy (turtles can’t digest them).
- Raw meat (can carry bacteria).
- Iceberg lettuce (zero nutrition).
Signs of a Healthy Diet
- Strong shell (no soft spots).
- Active and alert.
- Poop that isn’t weird (trust me, you’ll notice).
Feeding time is turtle entertainment time. Get their diet right, and they’ll be happy, active, and healthy for years.
painted turtle Tank Maintenance & Cleaning
Turtle tanks get gross fast if you slack on cleaning.
Trust me — I skipped cleaning for one week once, and my living room smelled like a swamp. Never again.
Cleaning Schedule
Here’s what I do to keep my tank fresh:
| Task | How Often? | Why It’s Important |
|---|---|---|
| Remove leftover food | Daily | Prevents rotting & bad smells |
| Check water clarity | Daily | Cloudy water = potential problem |
| Spot clean poop | Daily | Turtles poop a lot |
| Partial water change (20-30%) | Weekly | Keeps water fresh & reduces waste buildup |
| Wipe down glass | Weekly | Keeps algae and water spots away |
| Vacuum substrate | Weekly | Removes hidden debris |
| Scrub decorations | Monthly | Algae loves driftwood & rocks |
| Deep clean filter | Monthly | Keeps water flow strong & bacteria healthy |
Daily Maintenance
- Scoop out leftover food. Turtles are messy eaters.
- Check water clarity. Cloudy water = something’s off.
- Quick poop check. Yes, you’ll become a turtle poop expert.
Weekly Tasks
- Partial water change (20-30%). Keeps the water fresh without shocking your turtle.
- Wipe down glass. Algae loves turtle tanks, and so do water spots.
- Rinse filter media (if needed). Don’t overdo it or you’ll kill off good bacteria.
Deep Cleaning (Once a Month)
This is the full spa treatment.
- Take your turtle out. I let mine wander around in a safe area (supervised).
- Scrub decorations. Algae loves driftwood and rocks.
- Vacuum the bottom. Even bare-bottom tanks collect gunk.
- Check the filter. Clean or replace parts if it’s slowing down.
- Top off with conditioned water. Tap water needs a water conditioner to remove chlorine.
Best Cleaning Tools
- Gravel vacuum – Works even in bare tanks for food and poop
- Algae scraper – For those stubborn green spots
- Turkey baster – Weird, but great for spot cleaning poop
Signs Your Tank Needs Cleaning Faster
- Water smells off (bad sign — do a water change ASAP)
- Cloudy water (check filter & feeding habits)
- Algae takeover (more light = more algae)
Pro Tips
- Don’t overfeed. Extra food = faster algae and cloudy water.
- Add live plants. They suck up nutrients that algae love.
- Use a strong filter. Turtles poop more than fish, so get a filter rated for double your tank size.
Cleaning Doesn’t Have to Be Awful
I used to dread it, but now I have a routine.
Set reminders, keep the right tools nearby, and break it into small steps.
Clean tank = happy turtle, happy nose, happy me.

Common painted turtle habitat Problems & Solutions
Even with the best setup, things can go wrong.
Here are the most common turtle tank problems and how to fix them fast.
| Problem | Cause | Solution |
|---|---|---|
| Cloudy Water | Overfeeding, weak filter, new tank cycle | Feed less, upgrade filter, regular water changes |
| Smelly Tank | Dirty water, leftover food, weak filtration | Spot clean daily, deep clean monthly, add live plants |
| Algae Overgrowth | Too much light, excess nutrients | Limit light to 12 hrs, scrape algae, add algae eaters |
| Cold Basking Area | Weak heat lamp, lamp too far away | Use proper basking bulb, adjust height, check temps |
| Turtle Won’t Eat | Cold water, stress, picky eater | Check water temp, offer variety, give time to adjust, hand-feed |
| Soft/Misshaped Shell | No UVB, poor diet | Add UVB bulb, provide calcium supplements, balanced diet |
| Turtle Escaping | Tank too small, no lid, poor environment | Upgrade tank, secure lid, check water quality & stress levels |
| Shell Injuries | Sharp decorations, fighting, weak shell | Remove sharp objects, separate aggressive turtles, ensure UVB |
1. Cloudy Water
Problem: Your tank looks like a swamp.
Causes:
- Overfeeding (extra food rots and makes water gross).
- Weak filter (not strong enough for turtle mess).
- New tank syndrome (bacteria haven’t settled yet).
Solution:
- Feed less and remove uneaten food.
- Upgrade to a stronger filter (canister filters work best).
- Do partial water changes (20-30%) weekly.
- If it’s a new tank, give it time – the water will clear up.
2. Smelly Tank
Problem: Your room smells like a swamp.
Causes:
- Dirty water.
- Uneaten food or turtle poop sitting too long.
- Filter not doing its job.
Solution:
- Spot clean daily (scoop out poop and leftovers).
- Deep clean monthly (scrub decorations, rinse filter).
- Add live plants to absorb waste and freshen things up.
3. Algae Overgrowth
Problem: Your tank looks like it belongs in a horror movie.
Causes:
- Too much light.
- Too many nutrients in the water (from poop and food).
Solution:
- Reduce light exposure (12 hours max per day).
- Add algae eaters (like snails) if your turtle won’t eat them.
- Use an algae scraper for glass and decorations.
- Regular water changes keep algae from thriving.

4. Basking Area Too Cold
Problem: Your turtle isn’t basking.
Causes:
- Weak heat lamp.
- Bulb is too far away.
- Wrong basking spot placement.
Solution:
- Use a proper basking bulb (85-90°F is ideal).
- Move the lamp closer if it’s too cool.
- Check your thermometer to make sure temps are right.
5. Turtle Won’t Eat
Problem: Your turtle is ignoring food.
Causes:
- Water too cold (slows metabolism).
- Stress (new tank or too much activity).
- Picky eater (yep, turtles can be stubborn).
Solution:
- Check water temp (should be 72-80°F).
- Give them time to adjust if they’re new.
- Offer different foods (worms, pellets, shrimp).
- Hand-feed if necessary to get them started.
6. Shell Looks Soft or Misshaped
Problem: Shell issues = serious health problems.
Causes:
- No UVB light (they can’t absorb calcium).
- Bad diet (not enough calcium).
Solution:
- Get a UVB bulb and place it over the basking area.
- Add calcium supplements (cuttlefish bone works great).
- Feed a balanced diet (veggies, protein, and pellets).
7. Turtle Keeps Escaping
Problem: Your ninja turtle keeps climbing out.
Causes:
- Tank is too small.
- No lid or a low water level that makes escaping easy.
Solution:
- Upgrade to a bigger tank (minimum 40 gallons).
- Add a secure screen lid so they can’t climb out.
- Check their environment – sometimes they escape if water is too dirty or they’re stressed.
8. Injuries or Shell Damage
Problem: Your turtle has scratches or cracks on its shell.
Causes:
- Sharp decorations.
- Fighting with tank mates.
- Lack of UVB leading to a weak shell.
Solution:
- Remove sharp or rough decorations.
- If you have multiple turtles, separate them if they fight.
- Make sure your UVB light is working and your turtle is getting enough calcium.
Final Thoughts
Most turtle problems have simple fixes.
Check water quality, keep their setup right, and watch their behavior. A happy, healthy turtle = fewer headaches for you!

About Author
Muntaseer Rahman started keeping pet turtles back in 2013. He also owns the largest Turtle & Tortoise Facebook community in Bangladesh. These days he is mostly active on Facebook.