How To Preserve A Turtle’s Shell
This post was created with help from AI tools and carefully reviewed by a human (Muntaseer Rahman). For more on how we use AI on this site, check out our Editorial Policy.
Losing a turtle is rough. Whether they were your companion for two years or twenty, saying goodbye to that little (or not so little) shelled friend leaves a hole.
But here’s the thing about turtles that’s different from other pets: their shell can last forever if you preserve it properly.
It’s a way to keep a piece of them with you. A memento that doesn’t fade or deteriorate. And honestly? The process isn’t as complicated as you might think.
Let me walk you through everything I’ve learned about turtle shell preservation, from the science of why shells even need preserving to the actual step-by-step process.
Why Turtle Shells Need To Be Preserved
First, let’s clear up a common misconception.
A turtle’s shell isn’t like a snail’s shell that’s just sitting on top.
The shell is literally part of the turtle’s skeleton. It’s fused to their spine and ribs—you can learn more about this fascinating anatomy in our article on how turtle shells grow.
The shell has two main parts: the carapace (the top dome part) and the plastron (the belly plate). Both are made of about 60 bones covered by thin plates called scutes.
Those scutes are made of keratin, the same stuff as your fingernails. And just like fingernails, keratin deteriorates when the living tissue underneath dies.
Here’s the problem: there’s a thin layer of living tissue between the scutes and the bone. Once that tissue decomposes, the scutes loosen up and eventually fall right off.
So if you just leave a turtle shell sitting around without proper preservation, you’ll end up with either a smelly mess or a bare bone shell with all those beautiful patterned scutes scattered across your floor.
Not exactly the memorial you were going for.
What You’ll Need
Before we get into the actual process, gather these supplies:
| Item | Purpose |
|---|---|
| Rubber or latex gloves | Protection from bacteria and smell |
| Old toothbrush | Scrubbing the shell clean |
| Stiff-bristled brush or wire brush | For tougher cleaning jobs |
| Borax | Natural cleaning and preservation |
| Table salt | Cleaning solution ingredient |
| White vinegar | Secondary cleaning agent |
| Rubbing alcohol or disinfectant | Killing remaining bacteria |
| Super glue or clear-drying craft glue | Reattaching loose scutes |
| Clear polyurethane, lacquer, or varnish | Final sealant |
| Felt pads (optional) | Protecting furniture when displaying |
Important safety note: Always wear gloves when handling deceased turtles or shells. Turtles can carry salmonella, and decomposing tissue adds its own bacterial risks.
This Hilarious Turtle Book Might Know Your Pet Better Than You Do
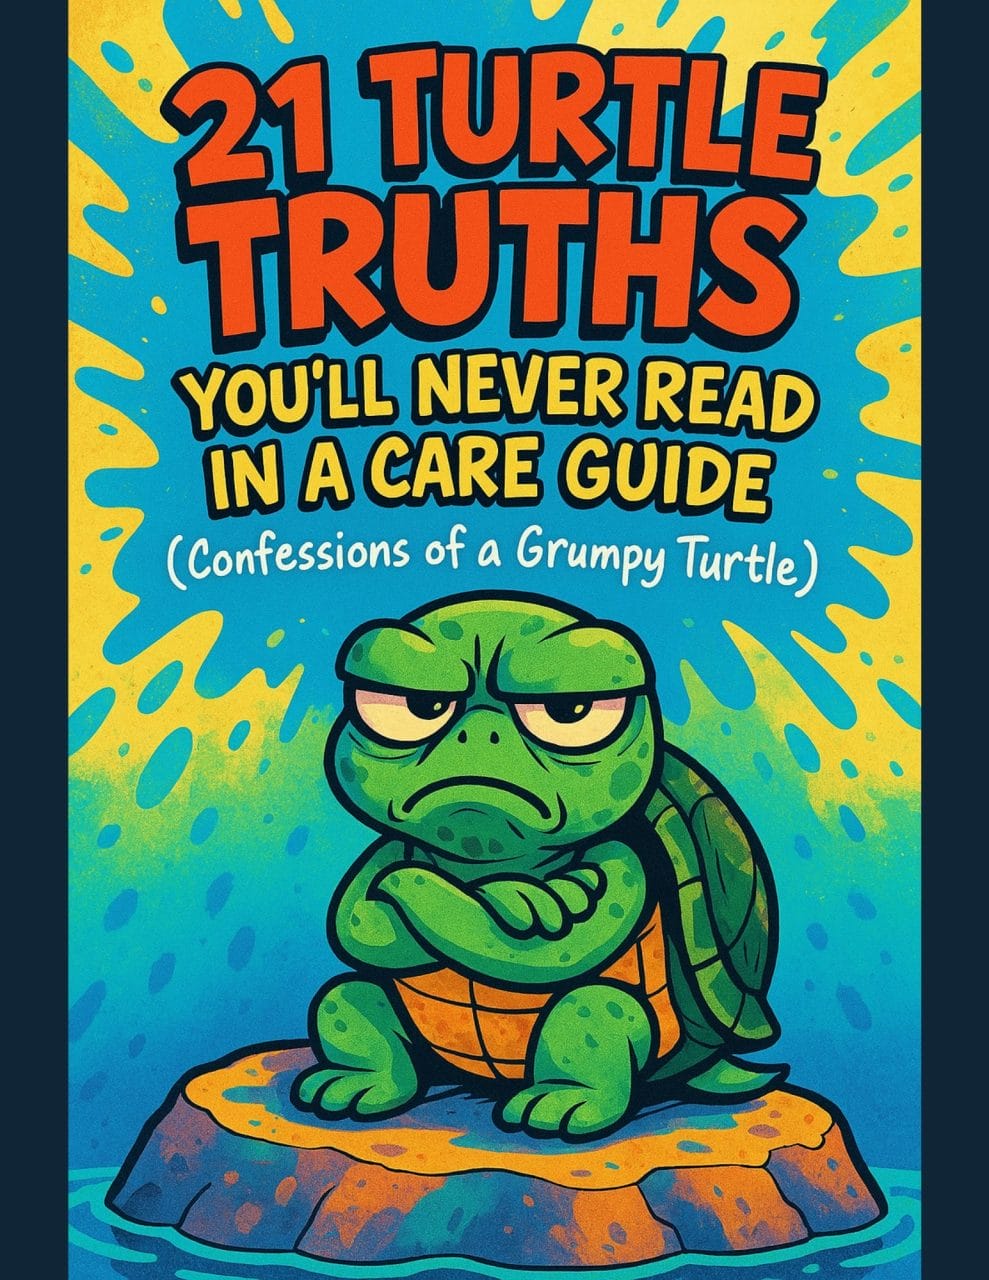
Let’s be real—most turtle care guides feel like reading a textbook written by a sleep-deprived zookeeper.
This one’s not that.
Told from the snarky point of view of a grumpy, judgmental turtle, 21 Turtle Truths You’ll Never Read in a Care Guide is packed with sarcasm, sass, and surprisingly useful insights.
And hey—you don’t have to commit to the whole thing just yet.
Grab 2 free truths from the ebook and get a taste of what your turtle really thinks about your setup, your food choices, and that weird plastic palm tree.
It’s funny, it’s honest, and if you’ve ever owned a turtle who glares at you like you’re the problem—you’ll feel seen.
The Two Main Approaches
There are basically two paths you can take here, and which one you choose depends on your situation and how squeamish you are.
Option 1: The Quick Method (For Recently Deceased Turtles)
This works if your turtle just passed and you want to preserve the shell right away.
Step 1: Remove the soft tissue manually.
Yeah, this is the hard part. Using your gloved hands and tools, you need to remove as much of the internal organs and flesh as possible.
One forum user put it bluntly: you need to cut out a leg opening and scoop out all the insides. It’s not pretty, but it’s faster than waiting for decomposition.
Step 2: Freeze if you can’t work immediately.
If you’re not ready to do this right now, wrap the turtle and put it in your freezer. This prevents decomposition and gives you time to prepare emotionally and gather supplies.
Whatever you do, don’t store it in alcohol. Several experienced keepers have reported this doesn’t work well and can actually damage the shell.
Step 3: Scrub thoroughly.
Once the majority of tissue is removed, scrub the inside and outside of the shell with hot water and your toothbrush. Get into every crevice. The cleaner you get it now, the better it’ll preserve.
Option 2: The Decomposition Method (Nature Does The Work)
This is the “lazy method” according to experienced shell preservers, but it actually works really well if you have the space and can handle the smell.
The Burial Method:
Bury the entire turtle in your yard. The soil bacteria, insects, and natural decomposition will clean out the shell over time.
Timeline: Expect to wait 3 to 12 months depending on the turtle’s size, soil conditions, and temperature. Warmer months speed things up significantly.
Pro tip: Some people wrap the turtle loosely in plastic with holes cut in it. The idea is to let bugs in while keeping the scutes from getting scattered if they come loose.
The Above-Ground Method:
Place the turtle somewhere dry and protected, like under the eaves of a shed. Flies, beetles, and other insects will do the cleanup work.
This actually smells less than burial because things dry out rather than rot in moisture. But you’ll need to check it periodically to collect any scutes that fall off.
The Ant Method:
Find an ant hill and place the shell nearby. Ants are incredibly efficient at cleaning bones and shells. Several keepers swear by this method because ants get into every tiny crevice.
The Professional Secret: Dermestid Beetles
Here’s what taxidermists and museums use: flesh-eating beetles called dermestid beetles.
These little guys are nature’s ultimate cleanup crew. They eat only dead tissue and completely ignore bone and shell material. A well-established colony can clean a turtle shell in just a few days to a week.
One taxidermist who specializes in skull cleaning mentioned they’ve done snapping turtle shells with beetles, and they do a fantastic job and get them very clean.
Dermestid beetle colonies are available for purchase online, typically ranging from $50-$80 for a starter colony of around 300 beetles. If you’re squeamish about the manual methods but don’t want to wait months for decomposition, this is your middle ground.
The Cleaning Phase
Once all the organic matter is gone (however you got there), it’s time for deep cleaning.
Step 1: Initial Scrub
Using hot water and your toothbrush, scrub every surface of the shell. Inside, outside, between the scutes, everywhere.
Don’t skip the plastron (bottom plate). Debris loves to hide in the seams where the carapace and plastron connect.
Step 2: Borax and Salt Soak
Mix a solution of water with borax and table salt in a large container. Submerge the shell and let it soak for about an hour.
This helps kill any remaining bacteria and draw out oils that could cause problems later.
Step 3: Boiling (Optional and Controversial)
Some guides recommend boiling the shell to kill bacteria. Here’s the thing though: boiling can damage the shell.
Several experienced keepers warn that boiling can cause the scutes to separate from the bone prematurely or even warp the shell. If you do boil, keep it brief, maybe 15-20 minutes, not the 2-4 hours some guides suggest.
The borax soak is usually sufficient for killing bacteria without the risks of heat damage.
Step 4: Vinegar Rinse
Mix equal parts white vinegar and water. Let the shell soak for another hour.
The vinegar helps neutralize any remaining organic matter and gives the shell a final cleanse. Rinse thoroughly with clean water afterward.
Step 5: Drying
This is crucial. Let the shell dry completely, ideally for 24-48 hours in a well-ventilated area. Some people put it in the sun for a day.
The shell must be bone dry before you apply any sealant. Trapped moisture will cause problems down the line.
The Scute Situation
Here’s where things get tricky.
Remember those keratin scutes? They’re held on by that thin tissue layer we talked about. Living turtles naturally shed these scutes as they grow, but after death, they require careful handling to stay attached.
During decomposition or cleaning, some of them might come loose or fall off entirely.
If scutes are lifting but still attached:
Don’t force them. Let the shell dry and they might settle back down.
If scutes have fallen off:
Keep them! You can glue them back in place before sealing.
Use a small amount of super glue or clear-drying craft glue. Position the scute carefully (they only fit one way) and hold it in place for about 15 minutes until the glue sets.
Why keeping the scutes matters:
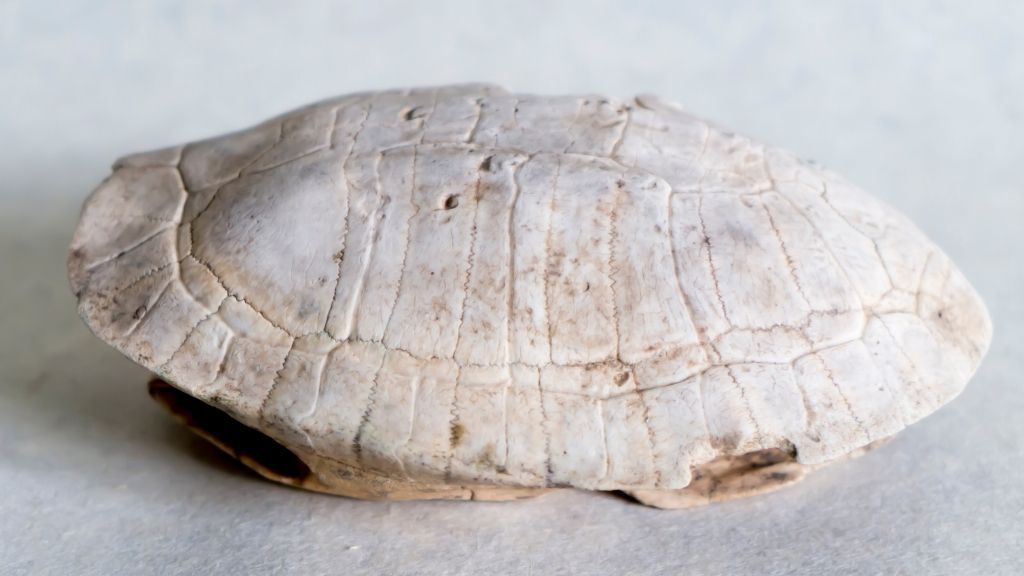
Without scutes, your shell will just be white or cream-colored bone. It’s the scutes that have all the beautiful patterns and coloring that made your turtle unique.
One keeper who let their shell decompose naturally reported collecting all the fallen scutes, bleaching the bare shell for a couple hours, then gluing all the scutes back on. The result looked great.
Sealing The Shell
This is the final and most important step. The sealant protects the shell from:
- Flaking and cracking
- Moisture damage
- Further bacterial growth
- General wear and tear
What To Use
- Clear polyurethane is the most commonly recommended option. It’s durable, easy to apply, and doesn’t yellow over time.
- Clear lacquer also works well. One preserver noted their lacquered shell looked perfect after 6 years of handling and multiple moves.
- Clear varnish is another option, though it may not be quite as durable as polyurethane.
- Matte vs. glossy: Standard sealants tend to be glossy. If you want a more natural look, use a matte finish spray as your final coat. Some people find the shiny look a bit much.
How To Apply
- Make sure the shell is completely dry.
- Work in a well-ventilated area. These products have strong fumes.
- Apply a thin, even coat to the entire outside of the shell.
- Let it dry completely (check the product instructions, usually several hours).
- Apply a coat to the inside of the shell too. Yes, even though you won’t see it. This prevents moisture from getting in from below.
- Apply 2-3 total coats, letting each dry completely between applications.
Don’t go too thick. Multiple thin coats are better than one thick goopy mess.
Bleach: Use With Caution
Some guides recommend bleach for disinfecting. Here’s my take: be very careful with bleach.
A brief dip in a diluted bleach solution (a few minutes, not hours) can help disinfect. But prolonged bleach exposure will damage the keratin scutes. It can fade the colors and weaken the structure.
If you’ve already removed the scutes and just want to whiten the bone, longer bleach exposure is fine. But if you’re trying to preserve those beautiful patterned scutes, keep bleach contact minimal.
Displaying Your Preserved Shell
Once sealed and dried, you’ve got options:
- Flat display: Simply place the shell on a shelf or table. Add felt pads to the bottom to protect your furniture from scratches.
- Mounted display: Some people create custom stands using dowel rods and wooden bases. This lets you display the shell at an angle that shows off the top.
- Under glass: A glass cloche or display case protects from dust while still letting you see the shell.
- Shadowbox: Frame the shell in a deep shadowbox frame for wall mounting.
Legal Considerations
Before you start, know the rules.
- For your own pet turtle: In most cases, preserving the shell of your own deceased pet is completely legal. You’re not selling it or transporting it commercially.
- For wild-found shells: This gets more complicated. It depends on the species and your location.
- Protected species: Many turtle species are protected under federal and state laws. Sea turtles, desert tortoises, and various endangered freshwater species cannot legally be possessed, even as shells.
- State laws vary: Some states restrict possession of native turtle species, even if found dead. Others have no restrictions on common species.
- Never sell: Even if possession is legal, selling turtle shells or products made from them is illegal for many species. The laws are designed to prevent poaching.
- When in doubt: Contact your state wildlife agency. They can tell you exactly what’s legal in your area for specific species.
Common Mistakes To Avoid
- Rushing the process. Preservation takes time. Trying to speed through steps leads to shells that smell, crack, or lose their scutes.
- Using harsh chemicals. Stick to the recommended cleaners. Acids and strong solvents can destroy the shell.
- Skipping the sealant. An unsealed shell will eventually deteriorate. The sealant is not optional.
- Storing in plastic before fully dry. This traps moisture and promotes bacterial growth. Wait until everything is completely dry.
- Boiling too long. If you do boil, keep it short. Extended boiling damages shells.
- Forgetting the inside. Seal both sides. Moisture can get in from below and ruin your work.
When To Call A Professional
If this all seems like too much, taxidermists can preserve turtle shells for you.
A good taxidermist will:
- Properly clean and preserve the shell
- Maintain the natural colors
- Seal it professionally
- Have experience with the specific challenges turtle shells present
Call around and ask if they have experience with reptiles. Fish taxidermy is considered difficult, so anyone good with fish should handle a turtle shell well.
Expect to pay anywhere from $50-$200+ depending on the shell size and your location.
Final Thoughts
Preserving a turtle shell isn’t complicated, but it does require patience and attention to detail. Done right, you’ll have a lasting memorial to your companion that can stay with you for decades.
The key points to remember:
- Remove all organic matter through decomposition, manual cleaning, or beetles.
- Clean thoroughly with borax, salt, and vinegar solutions.
- Dry completely before any sealant application.
- Reattach any loose scutes with glue before sealing.
- Seal with polyurethane or lacquer inside and out.
- Know your local laws before possessing any wild-found shells.
It’s a meaningful way to honor a pet that was probably part of your life for a good long time. Turtles don’t ask for much, and they give us years of quiet companionship. Keeping their shell is one way to say thanks for all that.

About Author
Muntaseer Rahman started keeping pet turtles back in 2013. He also owns the largest Turtle & Tortoise Facebook community in Bangladesh. These days he is mostly active on Facebook.