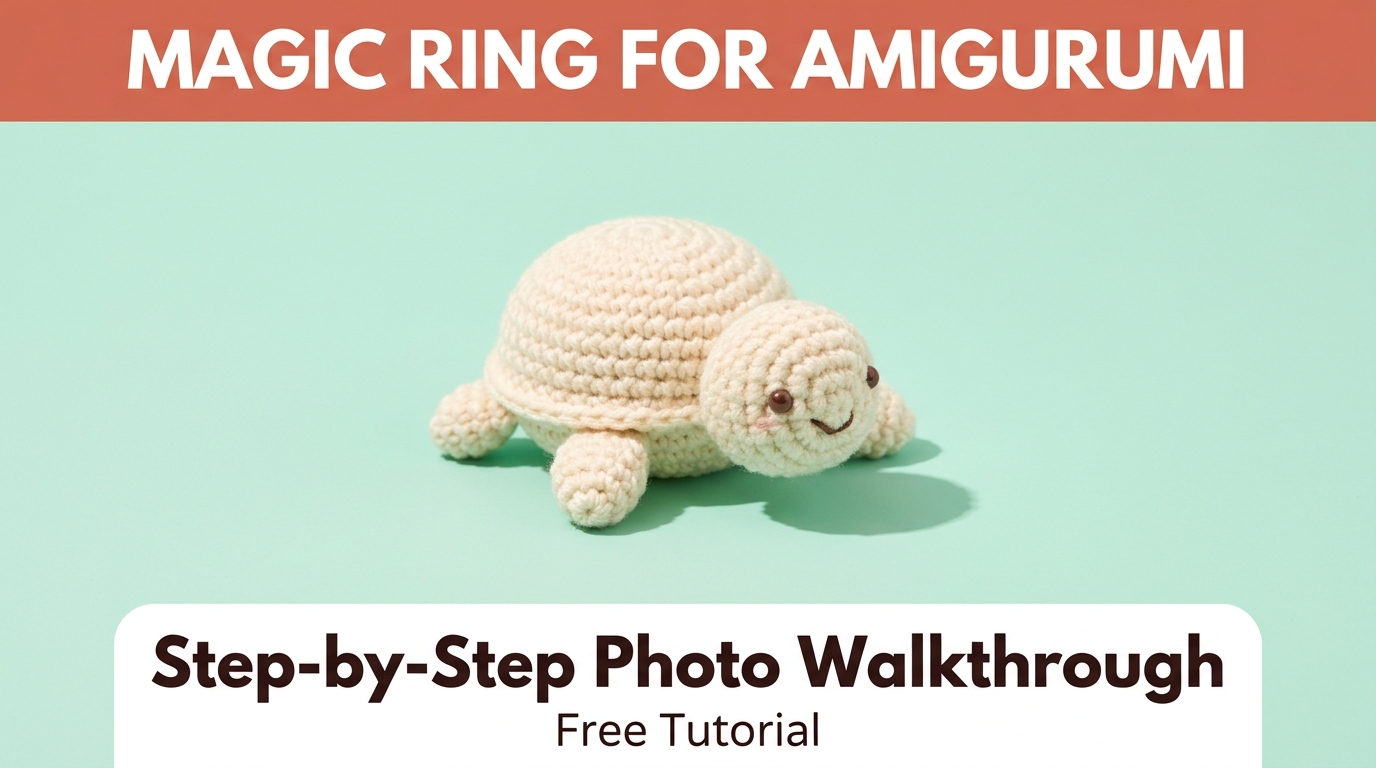
Magic Ring Tutorial for Amigurumi Turtles (Photo Walkthrough)
This post was created with help from AI tools and carefully reviewed by a human (Muntaseer Rahman). For more on how we use AI on this site, check out our Editorial Policy.
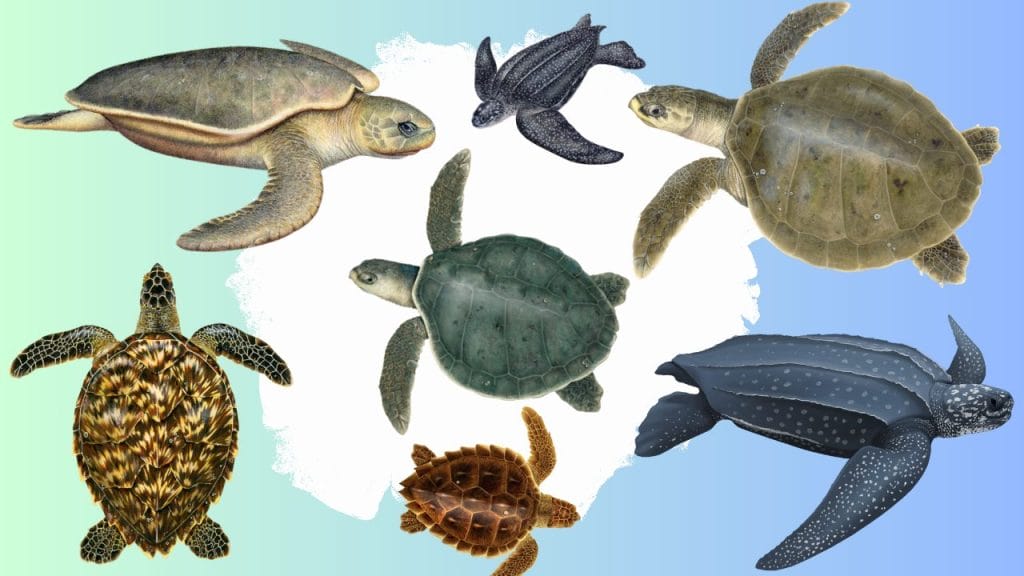
Every cute crochet turtle you’ve ever scrolled past on Pinterest started with the same exact stitch. The magic ring.
Before you can crochet a strawberry turtle, a sunflower amigurumi, or a Santa-hat tortoise, you have to win this one tiny battle first. And it really does feel like a battle the first ten times.
I’m gonna be straight with you. This is the stitch that makes most beginners want to throw their hook across the room.
About 30 seconds in, your hands feel like they belong to someone else, the yarn is going somewhere it shouldn’t, and the loop just… falls apart. Cool. Welcome to the club.
Once you get it, though, it’s done forever. You’ll never struggle again, and every single amigurumi pattern opens with the line “Magic ring, 6 sc.” Let’s just get this out of the way.
Why the Magic Ring Matters
The magic ring exists for one reason: it closes. Every other “starting circle” leaves a tiny hole in the middle of your work.
With amigurumi, a hole in the middle means stuffing pokes through your turtle’s belly and you cry a little. Not ideal.
The most common alternative is the chain-2 method (chain 2, work 6 sc into the second chain from the hook). It’s easier and holds together better, but you can see the gap.
If you’re making a coaster, fine. If you’re making something stuffed, the magic ring wins because you can yank the tail and the hole disappears.
| Method | Center hole | Difficulty | Best for |
|---|---|---|---|
| Magic ring | Closes completely | Hard at first | Stuffed amigurumi, hats, anything 3D |
| Chain 2 | Visible hole | Easy | Coasters, doilies, flat circles |
| Slip-knot loop | Slightly larger hole | Medium | Velvet/chenille yarn |
Velvet and chenille yarn are the one exception. The magic ring slips on slick yarn, so for those use the chain-2 method or a regular slip-knot loop.
Standard cotton or acrylic worsted-weight is the easiest to learn on. Don’t try to learn this on slippery sock yarn or fluffy plush yarn — you’ll just suffer for no reason.
What You’ll Need
Nothing fancy. The same supplies you’d use for any beginner amigurumi project work here.
- Worsted-weight (#4) cotton or acrylic yarn — bright colors only, please
- A 3.5mm or 4mm crochet hook (my pick: Clover Amour set)
- A pair of working hands
Skip black, navy, dark grey, and dark brown for your first ring.
You need to see the loops to learn the technique and dark yarn hides every single one of them. Pick something cheerful — coral, lemon, mint, anything that pops.
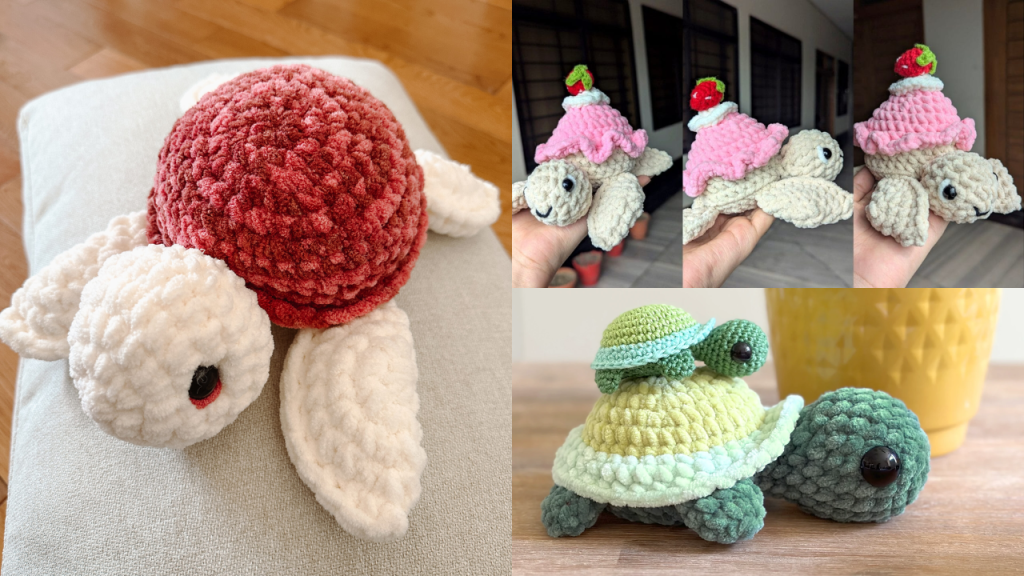
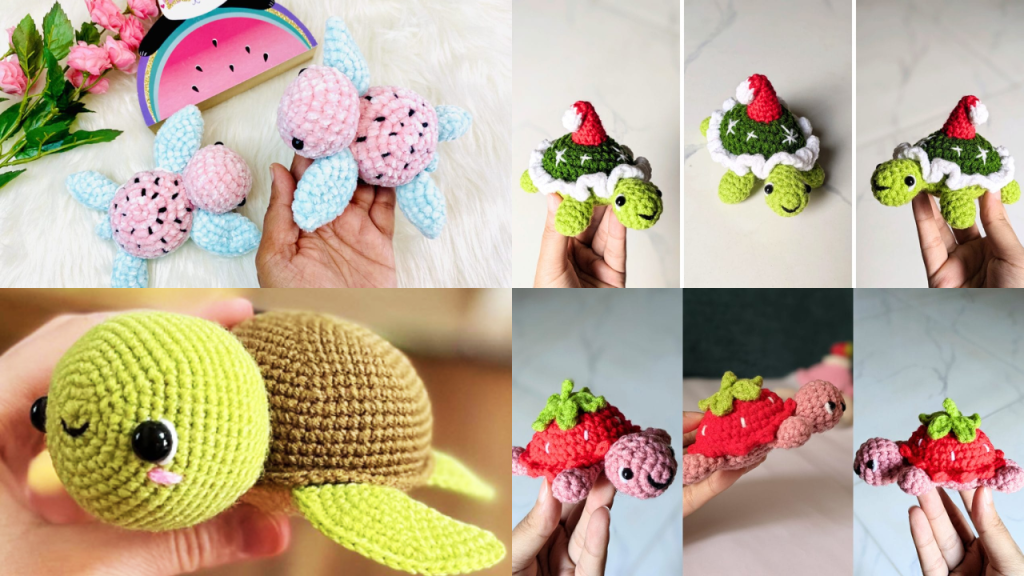
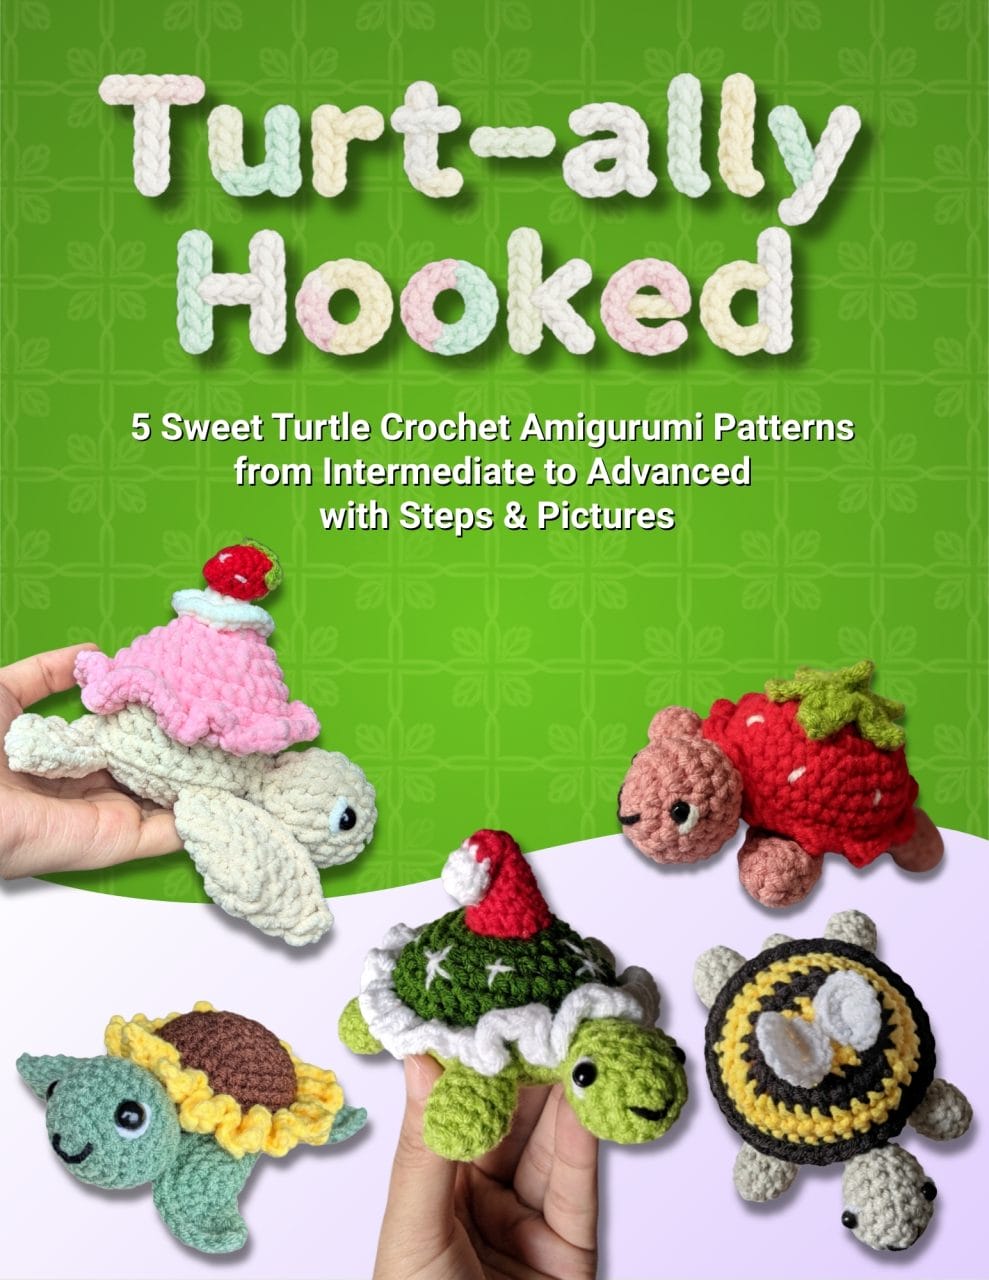
If you want to follow along with a real pattern after this, every turtle on the site uses the same starting setup. Grab a small ball of leftover cotton from the strawberry turtle pattern, the sunflower turtle pattern, or the Christmas tortoise pattern.
All three open with “Magic ring, 6 sc.” So once you’ve got this, you’ve unlocked all three.
Your Yarn Stash Called. It Wants to Be a Turtle.
Look, you could spend another weekend scrolling Pinterest for the “perfect” turtle pattern.
Or you could grab one that’s already perfect.
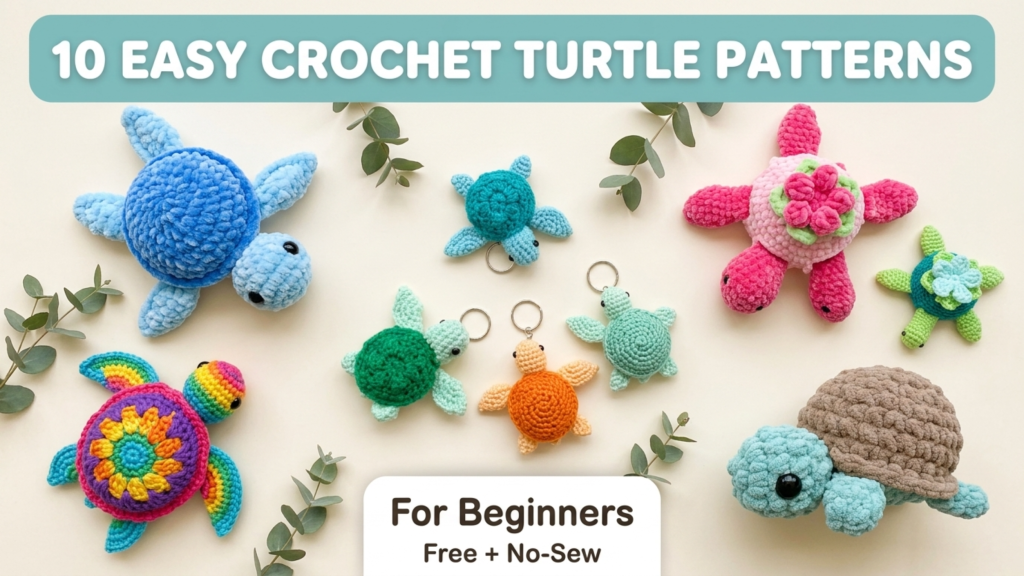
Turt-ally Hooked gives you 5 complete turtle patterns—each with a different theme, personality, and skill level.
Bee, strawberry, sunflower, Christmas, and cupcake. All adorable. All doable.
It’s straightforward, it’s cute, and if you’ve been meaning to make something other than another scarf—here’s your chance.
Step-by-Step Photo Walkthrough
This walkthrough is for right-handed crocheters using standard US terms. Lefties — flip every “right” to “left” and use a mirror if it helps.
Step 1: The Yarn Drape
Lay the working end of the yarn across the inside of your left hand, palm up.
Drape the tail (about 4-5 inches) down over your fingers. The working yarn (the strand going to the ball) should sit on top, going to the right.
Step 2: Form the Loop
Pinch the yarn where the strands cross between your thumb and middle finger. You should now have a closed loop sticking up off your palm with two strands hanging down.
This is the part everyone gets wrong on the first try.
The crossover point — where the two strands meet — is what your hook is going to grab. Not the loop itself. The crossover.
Step 3: Insert the Hook
Slide your crochet hook into the loop from front to back, going underneath the working yarn (the strand attached to the ball).
Twist the hook so the throat catches the working yarn, then pull a loop through the ring toward you.
You now have one loop on your hook with the ring still held in your fingers. The ring is the “magic” part — it hasn’t been knotted yet, and that’s the whole trick.
Step 4: Lock It
Yarn over the hook one more time and pull through the loop on your hook.
This isn’t a stitch yet. It’s just locking the starting position so the ring doesn’t fall apart while you work.
This locking chain doesn’t count toward your stitch count for round 1. Promise.
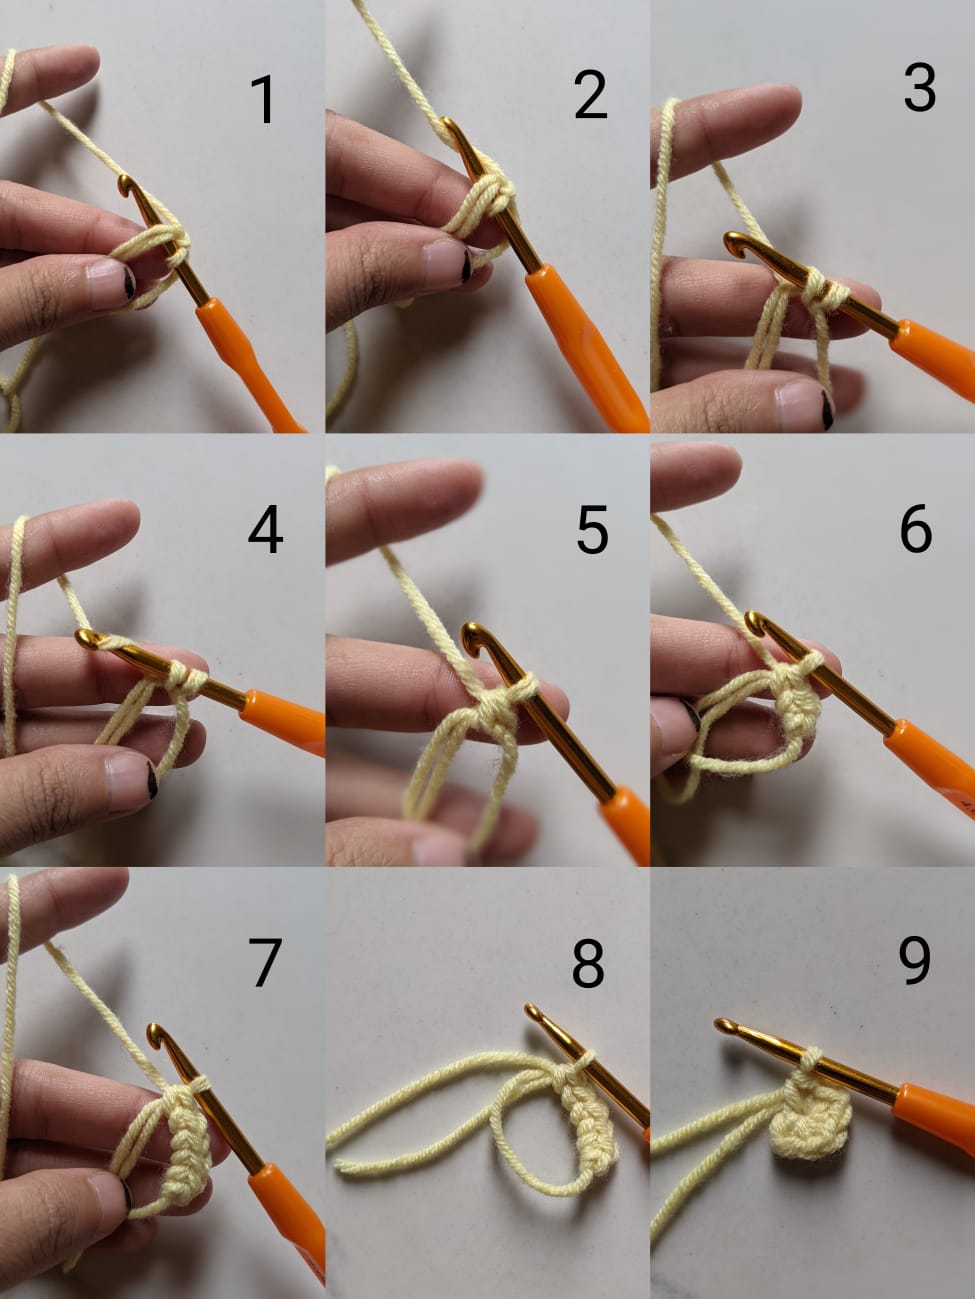
Step 5: Work Your First Round
Now stitch directly into the magic ring — meaning you insert your hook into the center of the loop you’re holding, going around both the loop strand and the tail strand together.
Yarn over, pull up a loop, yarn over, pull through both loops. That’s one single crochet.
For amigurumi turtle patterns, you’ll do this six times. 6 sc into the magic ring. The cluster of stitches will pile up on top of the ring like a tiny crown.
Step 6: Pull the Tail
Once you’ve got six single crochets in, grab the loose tail and pull it gently. The loop closes like a drawstring.
Pull until the center is sealed completely — no hole, no gap. Tug it firmly so it doesn’t loosen up later.
If the ring won’t close, you grabbed the wrong strand somewhere in steps 1-3. Pull it all out and start over.
It happens. It happened to me about forty times before muscle memory kicked in.
Step 7: Mark and Continue
Most amigurumi patterns work in a continuous spiral, not joined rounds. So once you’ve pulled the tail tight, place a stitch marker in the first single crochet and just keep going into round 2.
Don’t slip stitch unless your pattern specifically says to.
The starting rings on every project on this site work exactly this way. Look at the early photos in the strawberry turtle pattern — every piece (head, shell, flippers) starts as one of these tight little 6-stitch rings before it grows into something turtle-shaped.
When the Magic Ring Fights Back
Here are the four mistakes I see in 95% of the panicked DMs I get about this stitch.
Problem 1: The Ring Won’t Close
You pulled the working yarn instead of the tail. The tail is the short, free end, not the strand going to the ball.
If you pull the working yarn, you’re undoing your stitches. Always check which strand moves the ring before you commit.
Problem 2: The Ring Closes But Reopens Overnight
Standard problem. After your turtle is fully assembled, weave the tail end through the back of your stitches at least 3 inches before trimming.
Some people add a tiny dab of fabric glue to the woven-in tail. Don’t skip this — your turtle will quietly explode mid-cuddle otherwise.
Problem 3: The First Stitch Is Loose
You didn’t pull the locking chain (step 4) tight enough.
Snug it up before you start round 1. A loose first stitch makes the whole round wobbly.
Problem 4: You Can’t See What You’re Doing
Dark yarn. Always.
Switch to a light color and try again. The magic ring is 50% pattern recognition — you literally cannot pattern-recognize what you can’t see.
Still Can’t Do It? The Chain-2 Escape Hatch
Look — if you’ve tried this six times and it’s not happening, switch to the chain-2 method and don’t feel bad about it.
Plenty of professional amigurumi designers use it. The only “problem” is a tiny center hole, and you can hide it with a small dab of stuffing or a quick whip-stitch closure on the inside.
The chain-2 method works like this:
- Chain 2.
- Work all 6 single crochets into the second chain from the hook (the one furthest from your loop).
- Place a stitch marker. Continue to round 2.
That’s it. No magic, no drama. You can absolutely complete every turtle pattern on this site this way.
Some people start with chain-2 for their first ten amigurumi projects, then switch to the magic ring once their tension is consistent. Totally legit path.
Practice Projects to Cement the Skill
Don’t make a magic ring once and call it a skill. Make ten of them in a row. Frog every one. Make ten more.
By the time you’ve done thirty, your hands will do it without your brain. This is the only way it sticks. Muscle memory does the heavy lifting once your fingers stop arguing with each other.
Once you’ve got the muscle memory, every turtle pattern on the site is unlocked. Here’s the natural progression most beginners follow:
| Order | Pattern | Why It’s Next |
|---|---|---|
| 1st | Strawberry Turtle | Smallest pieces, fastest finish, single color shell |
| 2nd | Sunflower Turtle | Adds petal assembly, two colors |
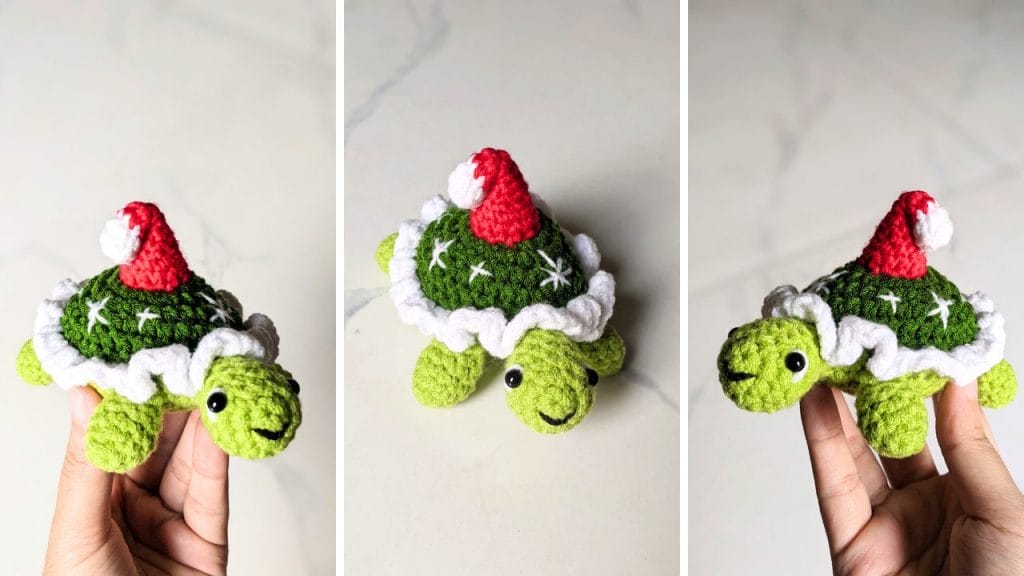
| 3rd | Christmas Tortoise | Adds Santa hat + ruffle edge for more practice |
Every one of those starts with the magic ring you just learned. The yellow center of the sunflower turtle’s shell — magic ring. The strawberry turtle’s head — magic ring. The Christmas tortoise’s body — you guessed it.
You’re Officially Ready
Pick a pattern, settle in with a cup of something warm, and start small.
The first one you finish is going to feel like you learned a magic trick. Because, honestly, you did.
If your first attempts go sideways (and they will), don’t quit. Throw the yarn down for the night, come back fresh, and try again with brighter yarn. We’ve all been there.
Once you’ve got your first turtle done, take a photo and tag it. The amigurumi corner of the internet is the most supportive corner there is — we love seeing first attempts as much as the finished ones.

About Author
Muntaseer Rahman started keeping pet turtles back in 2013. He also owns the largest Turtle & Tortoise Facebook community in Bangladesh. These days he is mostly active on Facebook.