How Do You Make An Indoor Turtle Pond? [Step By Step Instructions]

This post was created with help from AI tools and carefully reviewed by a human (Muntaseer Rahman). For more on how we use AI on this site, check out our Editorial Policy.
Let’s be honest—watching turtles swim is oddly therapeutic. But keeping them in a cramped tank?
Not so much.
If you want to give your shelled friend a dream home (without making a mess of your living space), an indoor turtle pond is the way to go!
Whether you’re a first-time pond builder or looking to upgrade, this guide will walk you through every step to create the perfect turtle haven.
Before You Build: Structure vs. Equipment
Here’s what nobody tells you about indoor turtle ponds: The pond container is the easy part. The equipment that keeps your turtle alive is where things get real.
I spent three weekends building a gorgeous indoor pond with a custom wooden frame, pond liner (my pick: 10x15 FT 20 Mil HDPE pond liner), perfect substrate, and decorative plants. Looked amazing. Then reality hit:
- My cheap pet store filter couldn’t handle the water volume
- I used a generic “basking lamp (my pick: Zoo Med PowerSun)” without checking if it provided UVB (my pick: Zoo Med ReptiSun 10.0)
- My water heater was undersized for the pond volume
- I had no calcium supplements (my pick: Rep-Cal Calcium with D3) or water treatment supplies
The result? Within two months, my turtle had a soft shell, the water was cloudy, and I was looking at a $400 vet bill.
The lesson: Building the pond structure costs $50-300. Getting the RIGHT equipment costs $400-600. Both are essential.
This Guide Covers:
- How to build the physical pond structure
- Basic equipment overview
- Maintenance schedules
What You Also Need:
- Specific filter recommendations (not just “get a filter”)
- Proper UVB lighting setup (specific bulbs, positioning)
- Water heater sizing (watts per gallon matters)
- Quality nutrition (food + calcium supplements)
- Water treatment supplies (conditioner + test kit)
Budget reality:
- DIY pond structure: $50-300
- Essential equipment: $400-600
- Total: $450-900 for a proper setup
Get both right: This guide + Complete Equipment Guide
Now let’s build that pond!

Step 1: Planning Your Indoor Turtle Pond
Before diving into building, let’s plan this right! A little prep work now saves a lot of hassle later.
Pick the Perfect Spot
Your turtle’s pond needs a good location. Here’s what to consider:
- Low traffic area – Turtles don’t love constant movement around them.
- Away from direct sunlight – Too much heat can make the water too warm.
- Easy to clean – You’ll be changing water often, so avoid tight spaces.
I once put a turtle setup near my couch. Big mistake. The splashing, the filter hum, the occasional escape attempt—it was a lot. Choose wisely!
If you have outdoor space available, consider whether an outdoor turtle pond setup might better suit your turtle’s needs—outdoor ponds offer natural sunlight and more space.
How Big Should It Be?
Turtles grow. A tiny baby today could be the size of a dinner plate in a few years. Plan for their adult size, not just their current one.
| Turtle Size | Recommended Pond Size |
|---|---|
| 4-6 inches | 40-75 gallons |
| 7-10 inches | 75-125 gallons |
| 10+ inches | 125+ gallons |
If you have more than one turtle, add extra space. They’re not great at sharing.
These space requirements apply indoors and out—see our guide to choosing the perfect turtle pond depth for more sizing considerations based on your turtle species.
What Type of Pond Will You Use?
You have options!
- Plastic storage tubs – Cheap, easy to clean, and deep enough for swimming.
- Stock tanks – Sturdy and spacious, great for bigger turtles.
- Glass aquariums – Work for small turtles, but hard to clean for larger ones.
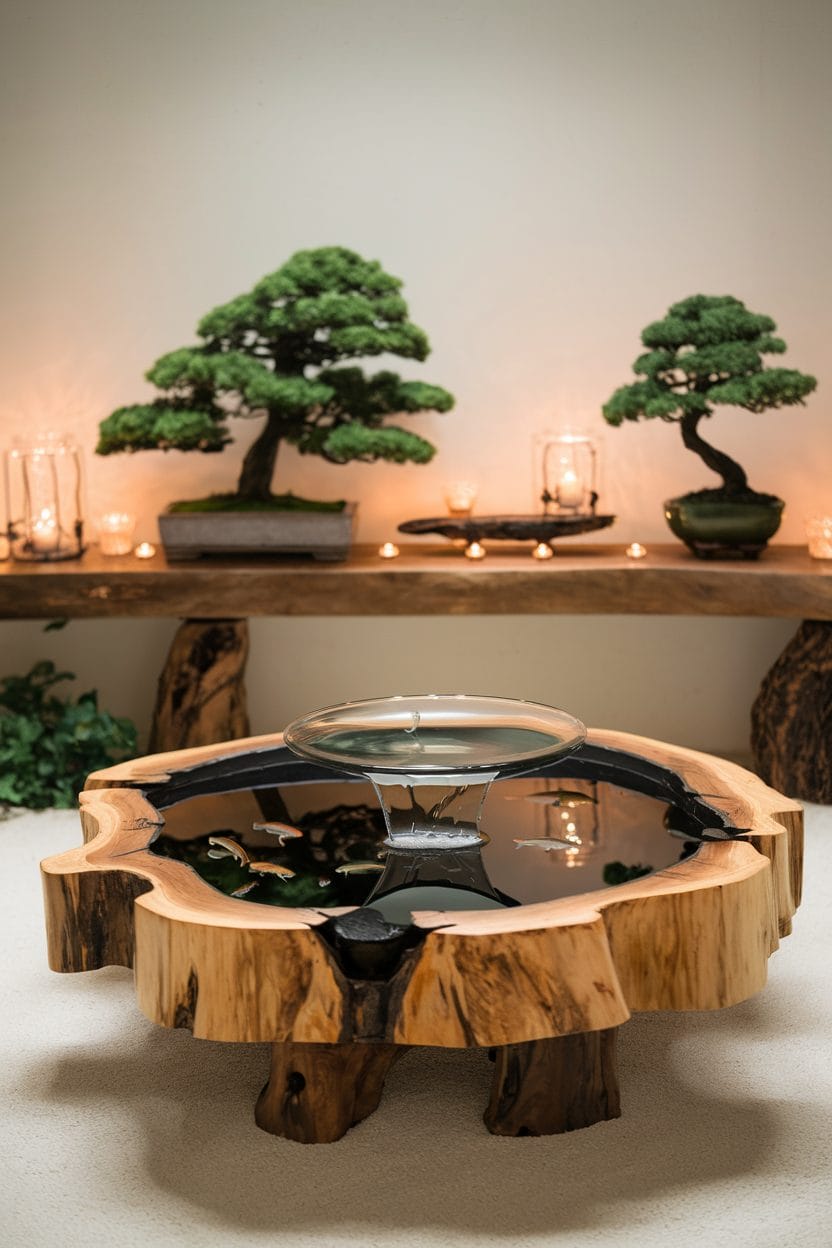
- DIY wooden frame with pond liner – Custom-built, but requires effort.
I once tried an aquarium for my first turtle. Within a year, he outgrew it, and I had to upgrade. Save yourself the trouble and go big from the start!
Budget-conscious? You can apply similar principles using a kiddie pool for outdoor turtle setups—the same affordable container approach works indoors with proper waterproofing.
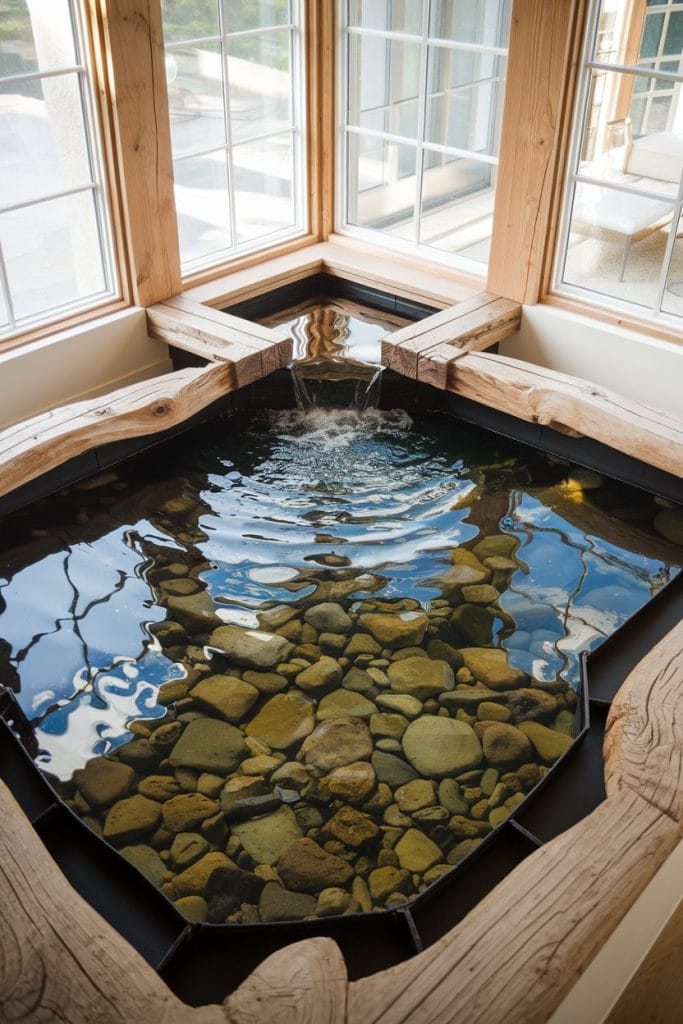
Flooring: Bare Bottom or Substrate?
- Bare bottom – Super easy to clean, but not the most natural look.
- Large river rocks – Look great but need occasional deep cleaning.
- Sand – Aesthetic but tricky to maintain.
I used sand once. Looked amazing… until my turtle started kicking it everywhere and clogging the filter. Lesson learned.

This Hilarious Turtle Book Might Know Your Pet Better Than You Do
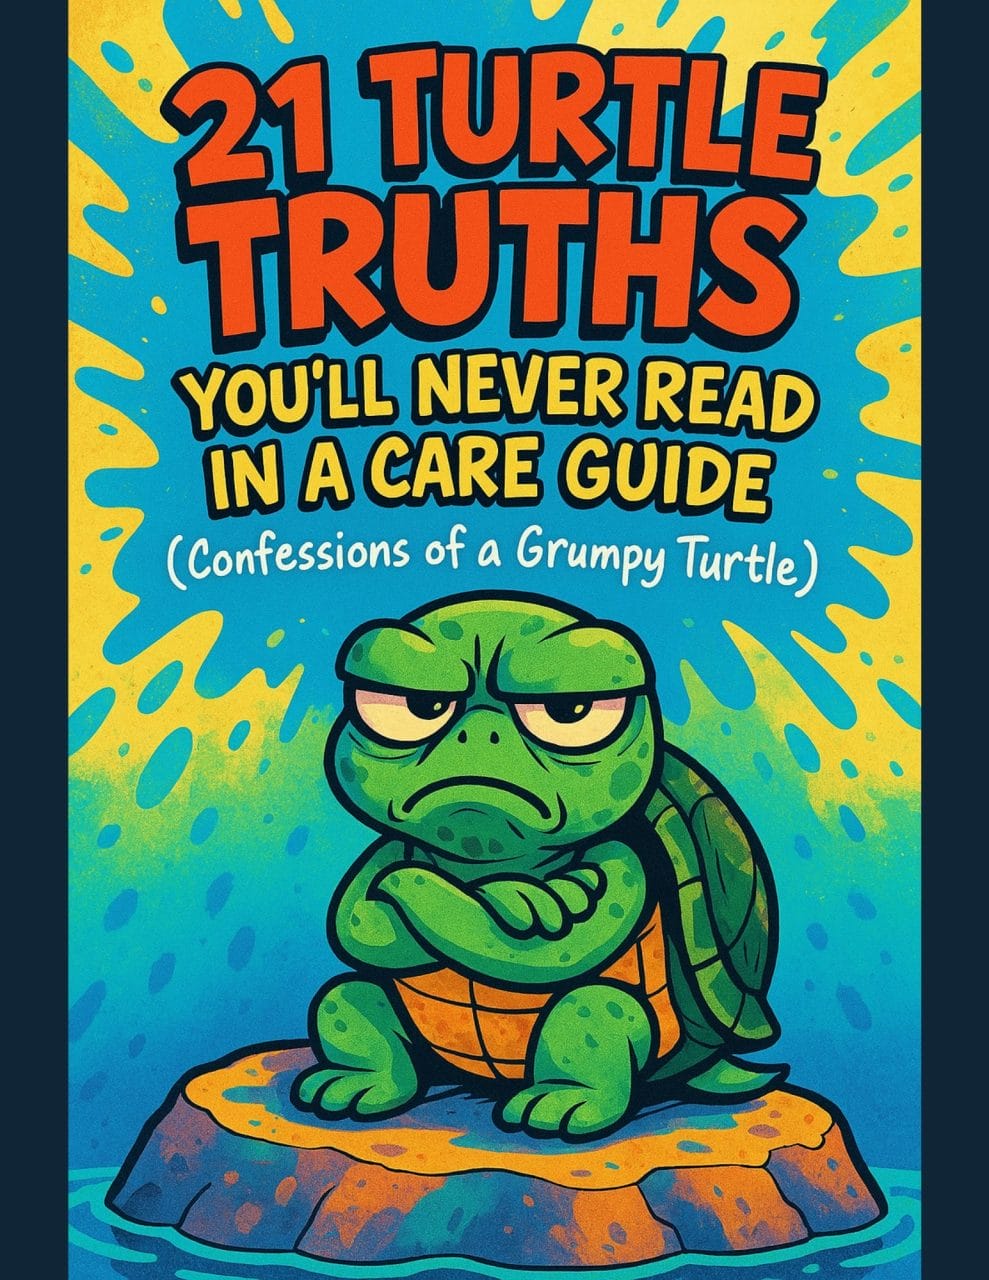
Let’s be real—most turtle care guides feel like reading a textbook written by a sleep-deprived zookeeper.
This one’s not that.
Told from the snarky point of view of a grumpy, judgmental turtle, 21 Turtle Truths You’ll Never Read in a Care Guide is packed with sarcasm, sass, and surprisingly useful insights.
And hey—you don’t have to commit to the whole thing just yet.
Grab 2 free truths from the ebook and get a taste of what your turtle really thinks about your setup, your food choices, and that weird plastic palm tree.
It’s funny, it’s honest, and if you’ve ever owned a turtle who glares at you like you’re the problem—you’ll feel seen.
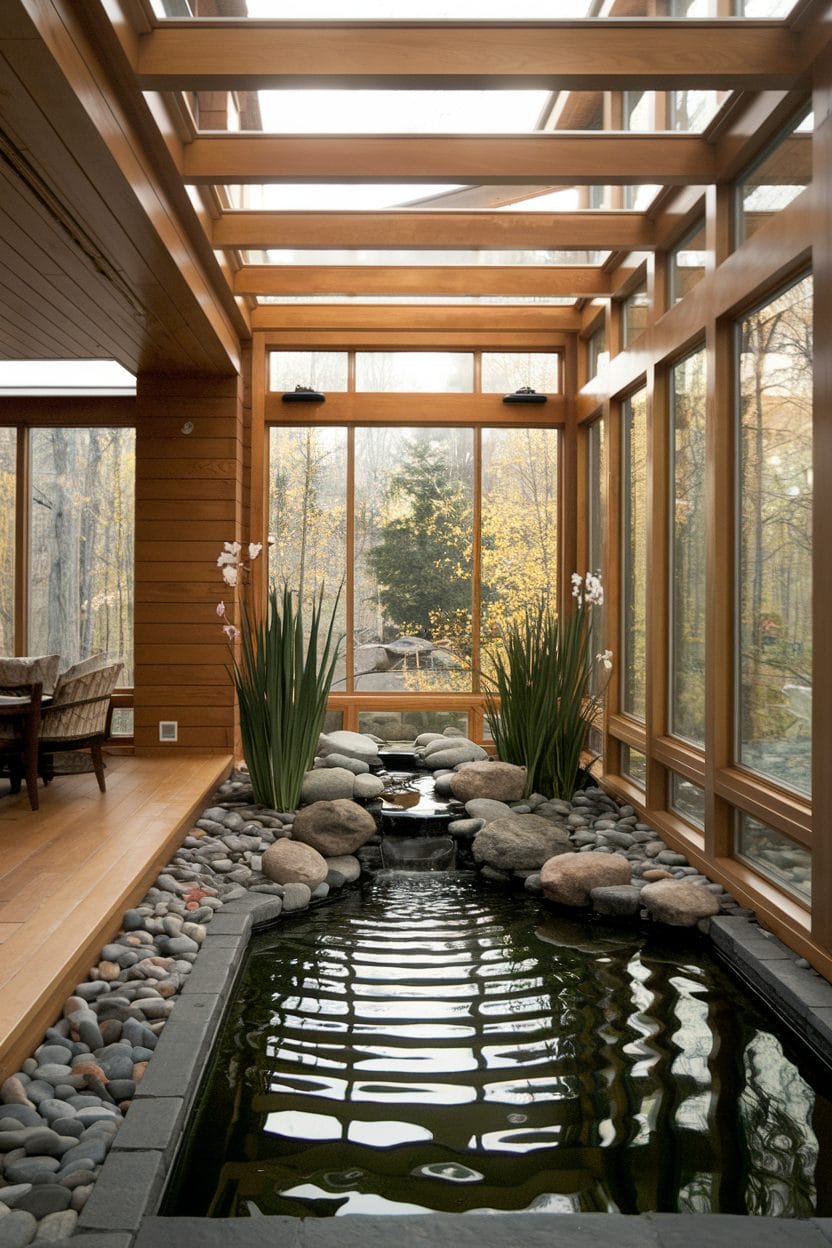
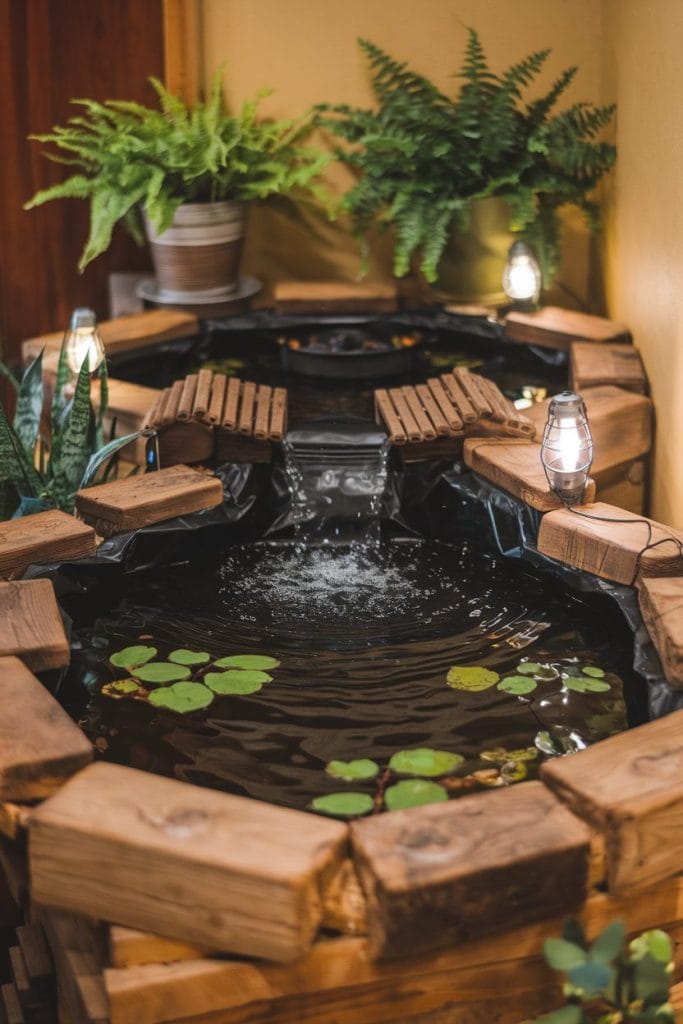
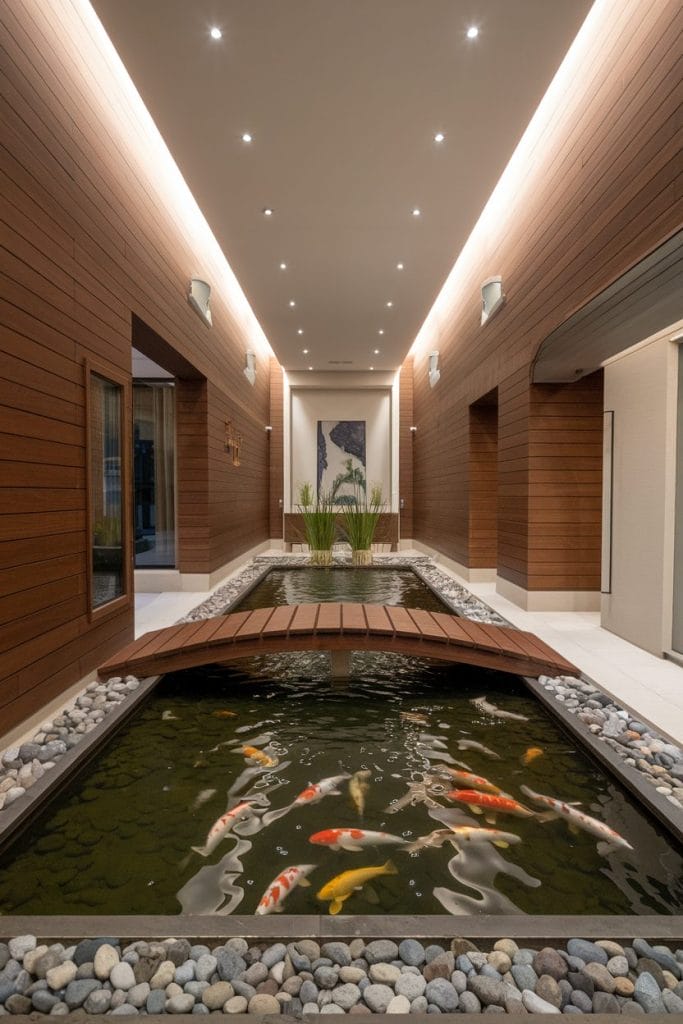
Step 2: Selecting a Suitable Pond Container
Choosing the right container is the first big decision. Your turtle’s home needs to be spacious, sturdy, and easy to clean.
What Can You Use?
Here are some great options:
| Container Type | Pros | Cons |
|---|---|---|
| Plastic Storage Tub | Affordable, lightweight | May not be the most stylish |
| Stock Tank (Rubber/Plastic) | Durable, deep, and roomy | Takes up more space |
| Custom Wooden Frame + Pond Liner | Fully customizable | Requires DIY skills |
| Glass Aquarium | Great visibility | Expensive and heavy |
Things to Consider
- Size Matters – Turtles need space to swim and bask. Bigger is always better.
- Depth – Ensure it’s deep enough for swimming but not so deep they struggle to reach the surface.
- Material – Avoid anything that could crack, leak, or be toxic.
My Experience
I started with a tiny tank, thinking my turtle didn’t need much. Big mistake. He outgrew it in months, and I had to scramble for an upgrade. Lesson learned—go big from the start!
Pro Tip
If in doubt, choose a stock tank. It’s tough, roomy, and turtles love it. Plus, no risk of shattered glass if you drop something!
Would you go DIY or buy something ready-made?

Step 3: Setting Up the Filtration System
Turtles are messy little creatures. If you don’t have a good filter, your pond will turn into a swamp—fast! A strong filtration system keeps the water clean, clear, and smelling fresh. Let’s break it down.
Why You Need a Filter
- Turtles poop. A lot.
- Dirty water smells terrible.
- A filter helps prevent bacteria and algae buildup.
- Clean water means a happy, healthy turtle.
Types of Filters
There are three main types of filters you can use. Choose one that fits your pond size and budget.
| Filter Type | Pros | Cons |
|---|---|---|
| Canister Filter | Powerful, handles big ponds | Expensive, needs setup |
| Submersible Filter | Easy to install, budget-friendly | Not great for large ponds |
| External Sump Filter | Best for big ponds, highly customizable | Complicated to set up |
I personally use a canister filter (my pick: Penn-Plax Cascade) because my turtle, Tank, treats his pond like a party zone. It keeps the water clear even after he goes on a food-smashing spree.
Strong filtration is even more critical indoors than outdoors—follow these 7 pond cleaning tips to maintain water quality and prevent indoor odors.
Installing the Filter
- Pick the right size. Get a filter rated for at least twice your pond’s water capacity.
- Place it properly. If it’s a canister filter, put it outside the pond. If it’s submersible, place it in a corner.
- Connect the hoses. Make sure the intake pulls in dirty water and the output sends out clean water.
- Turn it on. Watch it work! Adjust the flow if needed.
Filter Maintenance
- Rinse the filter media every 2-3 weeks (don’t use tap water; it kills good bacteria).
- Check for clogs if the water flow slows down.
- Replace parts like sponges or carbon filters every few months.
- Do water changes. Even the best filter can’t do it all!
Trust me, a good filter makes life easier. Unless you enjoy scooping turtle poop by hand, invest in one!
Step 4: Creating a Basking Area for Your Turtle
Turtles love to chill. They spend hours soaking up warmth, just like we love lounging in the sun. A good basking area keeps them happy and healthy. Let’s build one!
Why Do Turtles Need a Basking Spot?
Turtles aren’t just swimming machines—they need dry land too!
- Helps them stay warm and regulate body temperature
- Prevents shell rot and infections
- Supports digestion and metabolism
- Gives them a break from swimming (because even turtles need a timeout)
Picking the Right Basking Platform
Your turtle’s basking area should be:
✅ Dry and stable
✅ Easy to climb
✅ Big enough for them to stretch out
✅ Positioned under a heat lamp
Types of Basking Areas
| Type | Pros | Cons |
|---|---|---|
| Floating Dock | Easy to install, moves with water | May sink under heavy turtles |
| Stacked Rocks | Natural look, good grip | Can shift if not secured |
| Wooden Ramp | Customizable, sturdy | Needs waterproofing |
| Acrylic Platform | Sleek, durable | Might need suction cups |
I once tried using a random rock from my backyard. Bad idea. It wobbled, and my turtle refused to climb on it. Lesson learned—secure your basking spot!
Making It Easy to Climb
Turtles aren’t rock climbers, so don’t make them struggle.
- Use ramps with a gentle slope
- Add texture for grip (no slippery surfaces!)
- Test it—if your turtle ignores it, adjust the setup
Setting Up the Heat & Light
No basking area is complete without a heat source.
- Basking temp: 85-90°F (check with a thermometer)
- UVB light: Essential for shell and bone health
- Placement: Position lights directly above the basking spot
I once set my heat lamp (my pick: heat lamp) too far to the side. My turtle kept stretching awkwardly to get warm. Fixed it, and now he basks like a king.
These same basking principles apply to outdoor turtle enclosures—whether indoor or outdoor, proper basking setup is critical for turtle health.
Step 5: Setting Up Lighting and Heating for Your Indoor Turtle Pond
Turtles love warmth and light. Without them, they get sick, slow, and grumpy. Nobody wants a grumpy turtle.
Why Lighting and Heating Matter
- UVB light: Keeps their bones and shells strong. No UVB = soft shells = unhappy turtle.
- Heat lamp: Helps them digest food and stay active. Cold turtles = sluggish and sad.
- Proper setup: Mimics the sun, which turtles love.
What You Need
| Equipment | Purpose | Placement |
|---|---|---|
| UVB Bulb | Provides vitamin D3 for shell & bone health | Above basking area |
| Heat Lamp | Keeps basking area warm (85-90°F) | Above basking platform (my pick: floating basking platform) |
| Thermometer | Ensures water and basking temps are right | One for water, one for basking spot |
| Timer | Keeps light cycles natural (12 hours on, 12 off) | Plugged into lights |
Setting It Up Like a Pro
- Place the UVB bulb right above the basking area. No glass or plastic covers—it blocks the UVB rays!
- Position the heat lamp so it keeps the basking area warm (85-90°F). If it’s too hot, raise it; too cold, lower it.
- Use a thermometer to check temps. Don’t guess—turtles are picky!
- Set a timer for 12 hours of light per day. No one likes lights on 24/7, not even turtles.
Pro Tips From My Own Turtle Drama
- My first turtle, Tank, refused to bask. Turns out, the bulb was too weak. Swapped it for a stronger one—problem solved.
- I once left the heat lamp on all night. Tank gave me the stink eye for a week. Lesson learned: timers are lifesavers.
Keep It Consistent
- Replace UVB bulbs every 6 months (even if they still shine, they lose power).
- Adjust lamps as seasons change (rooms get colder in winter).
- Check temps weekly (your turtle’s comfort depends on it).
Turtles need warmth and light to thrive. Get the setup right, and you’ll have a happy, active buddy splashing around.
Step 6: Filling the Pond with Water
Water is the heart of your turtle’s pond. Get it wrong, and your turtle will be swimming in trouble—literally. Here’s how to do it right.
Use the Right Water
Not all water is turtle-friendly.
- Tap Water – Safe if treated with a water conditioner (recommended: reptile water conditioner)
- Distilled Water – Not recommended (lacks minerals turtles need)
- Bottled Spring Water – Good option, but pricey for large ponds
- Well Water – Test it first! It may have harmful chemicals
I once made the mistake of using untreated tap water. My turtle, Sheldon, started acting weird—turns out, chlorine was irritating him. A few drops of conditioner, and he was back to his happy self. Lesson learned!
Get the Depth Right
Turtles need space to swim but also easy access to air.
| Turtle Size | Recommended Water Depth |
|---|---|
| Hatchlings | 3-5 inches (Shallow for safety) |
| Juveniles | 6-12 inches (More room to explore) |
| Adults | At least twice their shell length |
Make sure they can easily reach the surface. Tired turtles don’t want to struggle for air.
Temperature Matters
Cold water? Your turtle might turn into a statue.
- Ideal Water Temp: 75-80°F (24-27°C)
- Too Cold? Turtle slows down, eats less, risks illness
- Too Hot? Can cause stress and overheating
A simple aquarium heater (recommended: submersible aquarium heater) keeps things stable. I forgot to check mine once, and Sheldon refused to eat for days. Now, I have a thermometer in plain sight.
Keep It Clean
Turtles are messier than you’d think.
- Use a filter to remove debris and waste
- Do a 25-50% water change weekly
- Test the water for ammonia and nitrates (because nobody likes swimming in their own filth)
The first time I skipped a water change, my room started smelling like a swamp. Trust me—cleaning regularly is worth it.
Once your pond is filled, your turtle is ready to dive in!
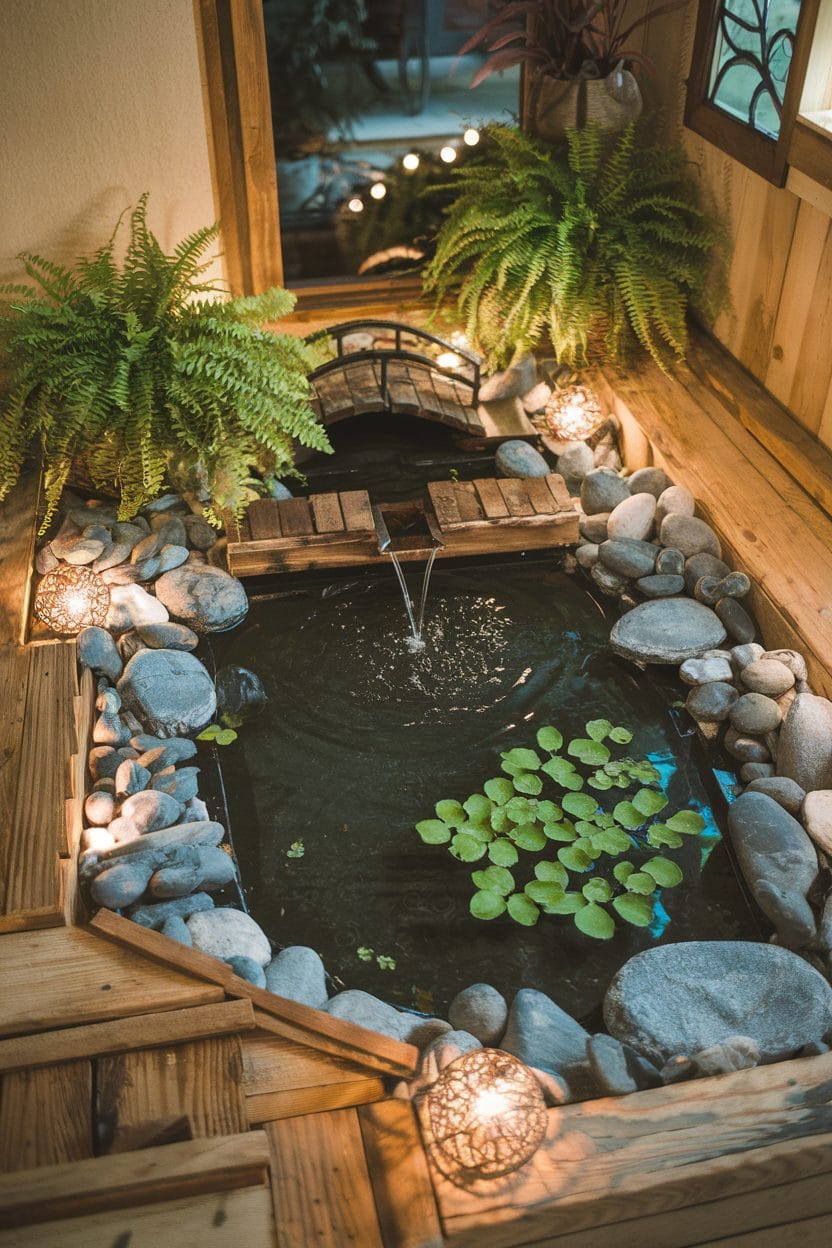
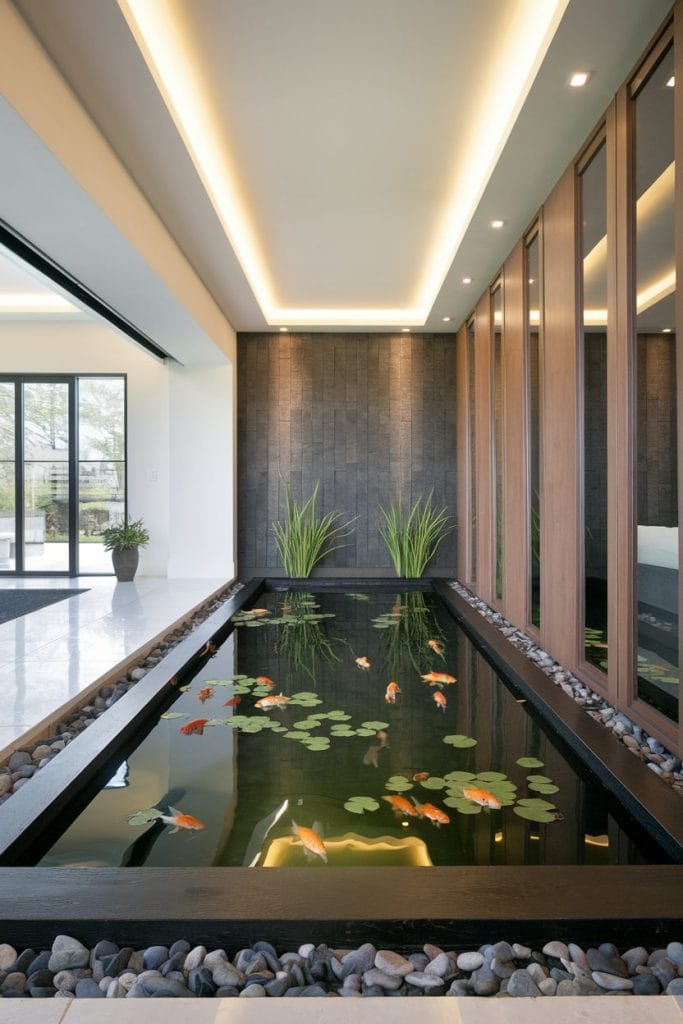
Step 7: Adding Decorations and Substrate
Your turtle’s pond should be more than just water. A well-decorated pond makes them feel at home and keeps them happy. Let’s dive in!
Bare Bottom or Substrate?
You have two main options for the pond floor:
| Option | Pros | Cons |
|---|---|---|
| Bare Bottom | Easy to clean, no risk of swallowing | Looks plain, less natural |
| River Rocks | Natural look, turtles can dig through | Can trap debris, must be large enough |
| Sand | Soft, natural feel, turtles love it | Can be messy, needs frequent cleaning |
I once tried gravel, but my turtle kept trying to eat it. Not fun. Lesson learned—stick to sand or big rocks!
Safe Decorations
Turtles love to explore, hide, and climb. Here are some great pond additions:
- Driftwood – Looks great, provides climbing space
- Rocks – Perfect for basking and hiding
- PVC Pipes – Budget-friendly hideouts
- Aquatic Plants – Safe and fun to nibble on
One time, I added a fake plant, and my turtle tried to fight it. Now, I stick to real plants like anacharis or water lettuce.
Choose from our comprehensive list of 20 best turtle pond plants—all are safe for indoor ponds and help maintain water quality naturally.
What to Avoid
Some decorations can be dangerous. Skip these:
- Metal objects – Can rust and poison the water
- Small gravel – Choking hazard
- Sharp decorations – Can injure shells or skin
Step 8: Introducing Your Turtle to the Pond
So, you’ve set up the perfect indoor turtle pond. Now comes the fun part—letting your turtle move in! But don’t just plop them in. A little patience goes a long way.
Step 1: Let the Water Settle
Before your turtle takes a dip, make sure the water is:
✅ At the right temperature (75-80°F)
✅ Free from chlorine (use a water conditioner)
✅ Circulating well with the filter running
Step 2: Slow and Steady Wins the Race
Turtles don’t like sudden changes. Give them time to adjust.
- Place them near the pond so they can check it out
- Let them explore at their own pace
- If they hesitate, gently guide them to the water
I once had a turtle named Tank who refused to enter the water for hours. He just stared at it like it was lava. Eventually, curiosity won, and he took the plunge!
Step 3: Watch Their First Swim
Keep an eye on them as they explore. Look for signs of:
| Good Signs | Bad Signs |
|---|---|
| Swimming confidently | Struggling to surface |
| Basking on their new dock | Staying still for too long |
| Eating normally | Avoiding the water completely |
If they seem stressed, check the temperature, water depth, and basking setup.
Step 4: Let Them Settle In
It might take a day or two for your turtle to feel at home.
- Don’t handle them too much
- Keep noise levels low
- Watch them but don’t crowd them
Once they start swimming, basking, and eating, you’ll know they’ve claimed their new kingdom. And trust me, they’ll act like they own the place!
Ongoing Maintenance and Care
Taking care of an indoor turtle pond isn’t hard, but it does need regular upkeep. A clean pond means a happy, healthy turtle. Plus, no one wants a smelly turtle tank in their house!
Daily Tasks
These are quick and easy. They take just a few minutes but make a huge difference.
- Feed Your Turtle – Offer a balanced diet of pellets, veggies, and protein. Don’t overfeed, or you’ll end up with murky water.
- Check the Water Temperature – Should be around 75-80°F. If it’s too cold, your turtle might get sluggish. Too hot? Time to adjust the heater.
- Look for Uneaten Food – Leftover food = stinky water. Scoop it out before it rots.
- Observe Your Turtle – Is it basking? Swimming normally? No weird spots or lethargy? Great!
Weekly Tasks
A little extra effort once a week keeps things fresh and clean.
| Task | Why It Matters |
|---|---|
| Partial Water Change (25-50%) | Keeps water clean, reduces ammonia buildup. |
| Clean the Filter Intake | Ensures proper water flow and prevents clogs. |
| Scrub Algae Off Surfaces | Algae can take over if ignored. A little is fine, a lot is gross. |
| Wipe Down the Basking Area | Keeps it dry and free of bacteria. |
If you’re planning to move your turtle outdoors seasonally, learn how to winterize an outdoor turtle pond before making the transition.
Monthly Tasks
Time for a deeper clean!
- Full Filter Cleaning – Rinse out the filter media, but don’t use tap water—it kills good bacteria.
- Check UVB and Heat Lamps – Bulbs weaken over time. Replace UVB bulbs every 6 months, even if they still shine.
- Inspect for Wear and Tear – Any cracks, leaks, or loose decorations? Fix them now before they become a problem.
Long-Term Turtle Care
Your turtle’s health depends on consistent care.
- Watch for Signs of Illness – Shell rot, swollen eyes, or lack of appetite? Time for a vet visit.
- Keep an Eye on Growth – If your turtle is getting too big, you may need a bigger pond.
- Adjust Setup as Needed – Turtles grow, and their needs change. Stay flexible!
Final Thoughts
Cleaning a turtle pond isn’t glamorous, but it’s worth it. A little maintenance now saves you from major headaches later. Plus, a clean pond means you can actually enjoy watching your turtle instead of gagging at the smell. Sounds like a win-win!

About Author
Muntaseer Rahman started keeping pet turtles back in 2013. He also owns the largest Turtle & Tortoise Facebook community in Bangladesh. These days he is mostly active on Facebook.