10-Step Formula to Successfully Breed Pet Turtles at Home!

This post was created with help from AI tools and carefully reviewed by a human (Muntaseer Rahman). For more on how we use AI on this site, check out our Editorial Policy.
Breeding turtles was something I never imagined myself doing until I brought home my first pet.
Fast forward a few years, and I found myself fascinated by their habits and care. If you’re anything like me, the thought of raising hatchlings at home might seem daunting, but with the right approach, it’s simpler than you think.
Here’s the 10-step formula that helped me—and it might surprise you how easy it can be!
10 Steps To Breed Pet Turtles

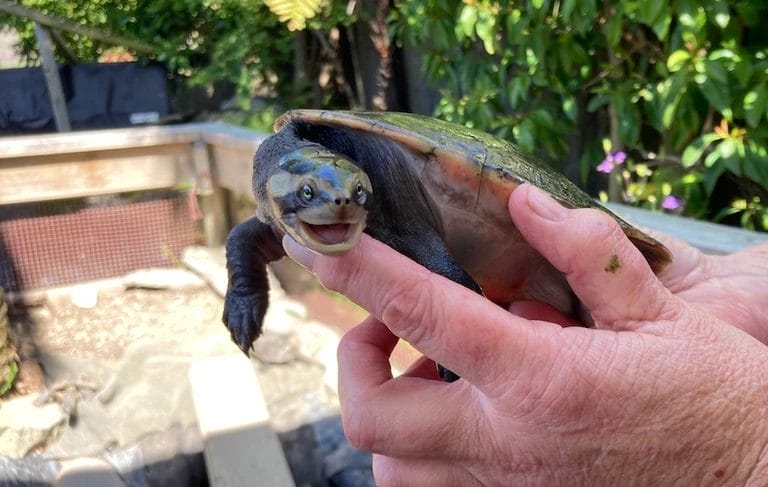
1. Choose the Right Species
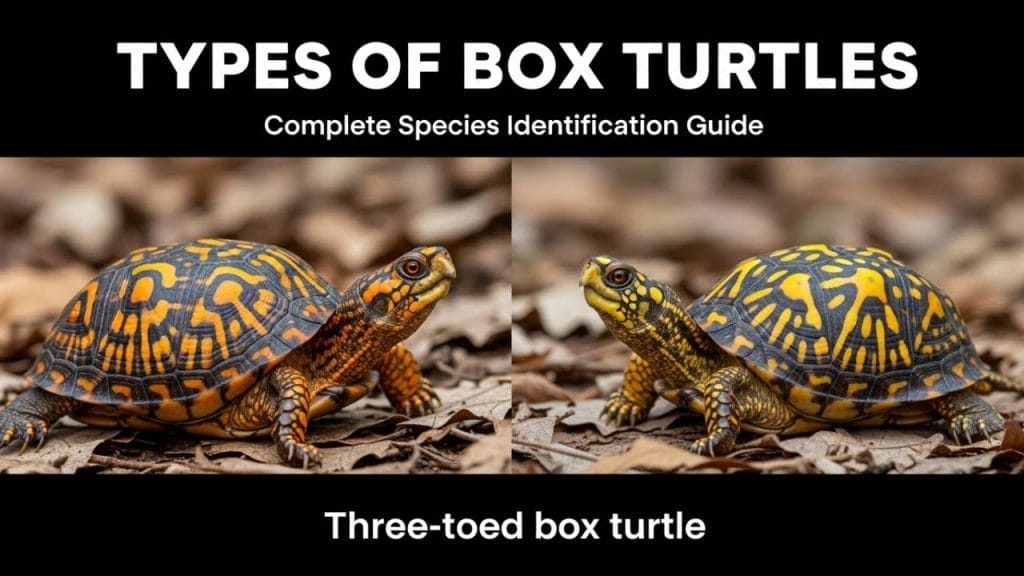
The first step to breeding turtles is choosing the right species. Some turtles are easier to breed than others, especially for beginners. If you’re new to this, start with species that are manageable in size and care:
- Musk Turtles: Small, hardy, and don’t require too much space.
- Mud Turtles: Similar to musk turtles, they are small and easier to handle.
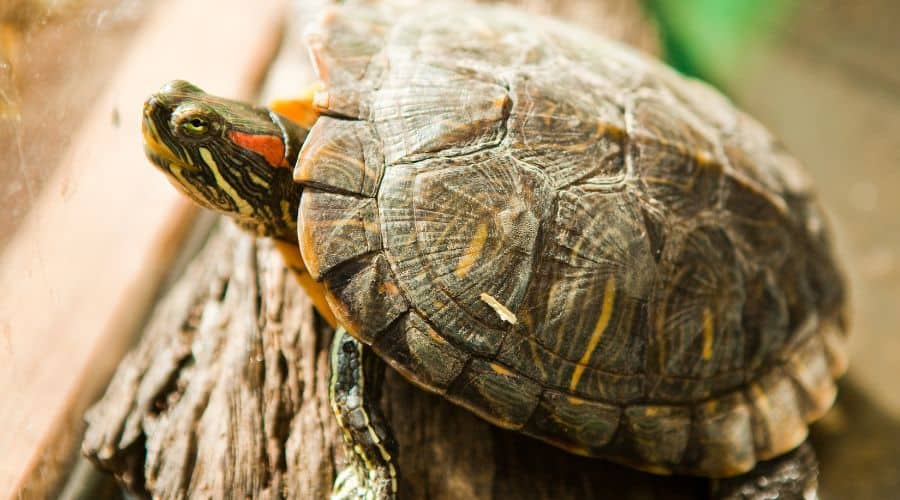
- Red-Eared Sliders: Very popular, but they grow larger and need more space and care as adults.
Do your research to ensure the species you choose is legal to breed in your area. Many places have regulations regarding the breeding of certain species, particularly if they are endangered or invasive. A quick check with your local wildlife authority can save you from legal headaches down the road.

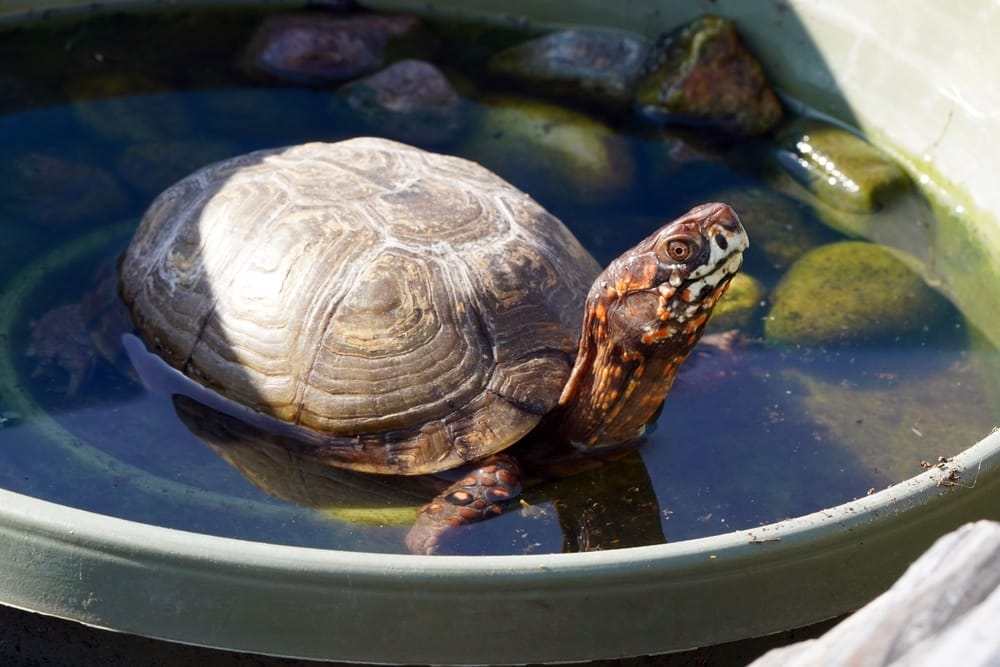
2. Set Up an Appropriate Habitat
Turtles need a habitat that mimics their natural environment. The tank or enclosure you provide should meet their physical and behavioral needs, especially if you want them to breed.
- Tank Size: For a pair of turtles, you’ll need at least a 60-75 gallon tank for adults. Larger species like red-eared sliders may require even more space, especially during breeding season when they become more active.
- Filtration: Turtles produce a lot of waste, so water quality is crucial. Invest in a high-quality filter that can handle the load, keeping the water clean and reducing stress for your turtles.
- Heating and Lighting: Proper heating and UVB lighting are critical. Turtles are ectothermic, meaning they rely on external heat to regulate their body temperature. Provide a basking area with a heat lamp to maintain a temperature of 85-90°F. UVB lighting is essential for calcium metabolism and helps female turtles develop healthy eggs.
I remember having trouble with water quality when I first started. A good filter solved that problem, and my turtles became much more active and healthy.

This Hilarious Turtle Book Might Know Your Pet Better Than You Do

Let’s be real—most turtle care guides feel like reading a textbook written by a sleep-deprived zookeeper.
This one’s not that.
Told from the snarky point of view of a grumpy, judgmental turtle, 21 Turtle Truths You’ll Never Read in a Care Guide is packed with sarcasm, sass, and surprisingly useful insights.
And hey—you don’t have to commit to the whole thing just yet.
Grab 2 free truths from the ebook and get a taste of what your turtle really thinks about your setup, your food choices, and that weird plastic palm tree.
It’s funny, it’s honest, and if you’ve ever owned a turtle who glares at you like you’re the problem—you’ll feel seen.
3. Provide Nesting Areas
Female turtles need a proper nesting area to lay their eggs, which is often overlooked. Inadequate nesting sites can cause egg retention, which can be dangerous for the female turtle.
- Nesting Box: Create a nesting box with a mixture of sand and soil where the female can dig and lay her eggs. The nesting substrate should be about 6-8 inches deep to give her enough room to dig and bury the eggs.
- Temperature and Moisture: The nesting area should be warm and dry. Ideally, the temperature should be around 80-85°F. If the substrate is too wet or cold, the female may not lay eggs or could abandon the nest entirely.
When my female red-eared slider started pacing and scratching at the corners of the tank, I knew it was time to set up the nesting area. She laid eggs within a few days after I added the nesting box.
4. Monitor Behavior
Turtle behavior changes as they prepare for breeding. It’s important to recognize these signs so you can ensure they’re ready to mate.
- Female Behavior: Females may become restless and start digging or looking for a place to nest. You might notice her spending more time on land, pacing, or scratching at surfaces.
- Male Behavior: Males often become more aggressive or active during the breeding season. They may approach the female frequently, chase her around the tank, or try to mount her.
Mating behavior can be subtle, so pay close attention. I noticed that my male became much more persistent in following the female when they were ready to breed.

5. Feed a Nutrient-Rich Diet
A healthy, nutrient-rich diet is crucial for breeding success. Proper nutrition keeps your turtles healthy and helps females develop strong eggs.
- Protein: Turtles need a diet high in protein. Offer them live or frozen prey like worms, insects, and shrimp. You can also feed them commercially available turtle pellets, which are formulated to meet their nutritional needs.
- Vegetables: Supplement their diet with leafy greens like kale, spinach, and collard greens, as well as vegetables like carrots and squash. These provide vitamins and minerals that are essential for overall health and reproduction.
- Supplements: Consider adding vitamin and calcium supplements to their food to ensure they are getting all the nutrients they need.
When I improved my turtles’ diet with more variety, I noticed they became more active and responsive, which is a good sign of health and readiness for breeding.
6. Ensure Proper Calcium Intake
Calcium is particularly important for female turtles, especially when they are getting ready to lay eggs. Without enough calcium, females can suffer from weak eggs or even egg binding, where the eggs become stuck inside.
- Calcium Supplements: Sprinkle calcium powder on their food or provide cuttlebone in the tank for them to nibble on. Cuttlebone is a great natural source of calcium that helps support healthy shells and eggs.
- UVB Lighting: UVB light helps turtles synthesize vitamin D3, which is essential for calcium absorption. Make sure your UVB bulb is working properly and replace it every 6-12 months, as its effectiveness diminishes over time.
I remember being nervous about calcium deficiency with my female. Adding cuttlebone to her diet gave me peace of mind, and she ended up laying healthy eggs.

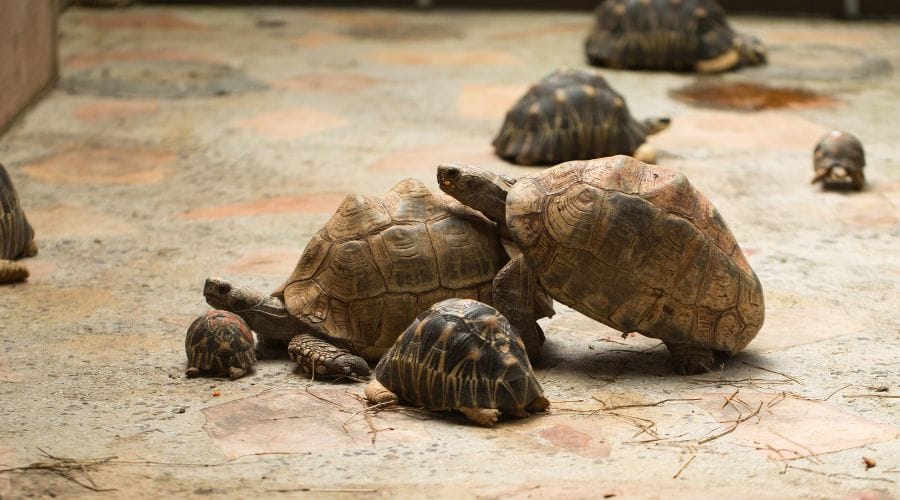
7. Facilitate Mating
When your turtles are ready, it’s time to let them interact and hopefully mate. Make sure they’re comfortable and have enough space.
- Spacious Tank: Provide a large enough tank so the turtles can avoid each other if they need to. A cramped space can lead to stress, which might interfere with breeding.
- Monitor Mating Behavior: Turtles can be rough during mating, with males sometimes nipping at females or chasing them aggressively. Keep an eye on them to make sure things don’t get too intense. If necessary, separate them to give the female a break.
I remember watching my turtles interact during mating, and while it can seem aggressive, it’s usually normal behavior. Just make sure they’re not hurting each other.
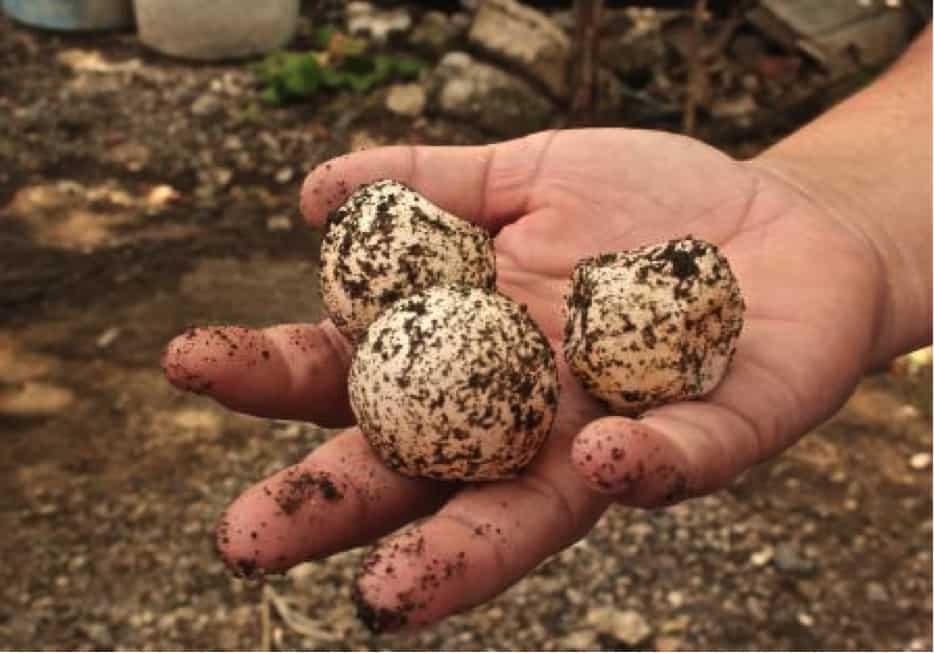
8. Collect Eggs Safely
Once your female lays eggs, you’ll need to handle them carefully to ensure they hatch successfully.
- Mark the Top of the Eggs: Gently mark the top of each egg with a pencil as soon as they are laid. Eggs should stay in the same position they were laid, so marking them helps ensure they don’t get rotated.
- Move to an Incubator: Transfer the eggs to an incubator with controlled temperature and humidity. Use a soft, moist substrate like vermiculite or perlite in the incubator.
It was nerve-wracking for me the first time I handled the eggs, but as long as you’re gentle, it’s not as difficult as it seems.
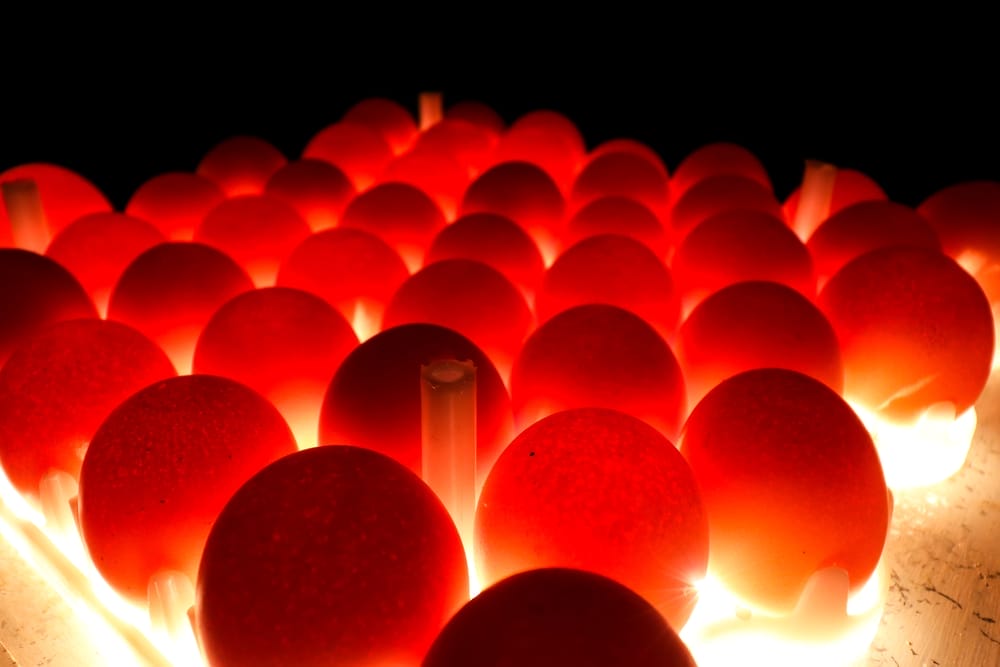
9. Incubate Eggs Properly
Proper incubation is key to hatching healthy turtles. Different species may require slightly different incubation conditions, so check your species’ specific needs.
- Temperature: Keep the temperature steady between 80-85°F (27-29°C). Temperature can also influence the sex of the hatchlings in some species—warmer temperatures tend to produce females, while cooler temperatures produce males.
- Humidity: Maintain humidity between 70-90%. Too little humidity can cause the eggs to dry out, while too much can lead to fungal growth.
I learned that consistency is everything when it comes to incubation. Any major temperature or humidity fluctuations can affect the success of the hatch.

10. Care for Hatchlings
Once the eggs hatch, the work isn’t over! Hatchlings need special care to grow strong and healthy.
- Shallow Water Tank: Set up a tank with shallow water so the hatchlings can easily swim to the surface. The water should be just deep enough for them to submerge, but shallow enough for them to reach the surface easily.
- Basking Area: Hatchlings also need a basking spot with proper heating and UVB lighting.
- Diet: Feed them a diet rich in protein, including commercial hatchling pellets, small insects, and other soft, easy-to-eat foods.
Seeing the tiny hatchlings for the first time is an amazing feeling! Watching them grow and thrive under your care is the ultimate reward.
Breeding turtles at home can be a long and careful process, but it’s incredibly fulfilling. With the right preparation, patience, and attention to detail, you can successfully breed your turtles and raise the next generation.
Just take it one step at a time!

About Author
Muntaseer Rahman started keeping pet turtles back in 2013. He also owns the largest Turtle & Tortoise Facebook community in Bangladesh. These days he is mostly active on Facebook.