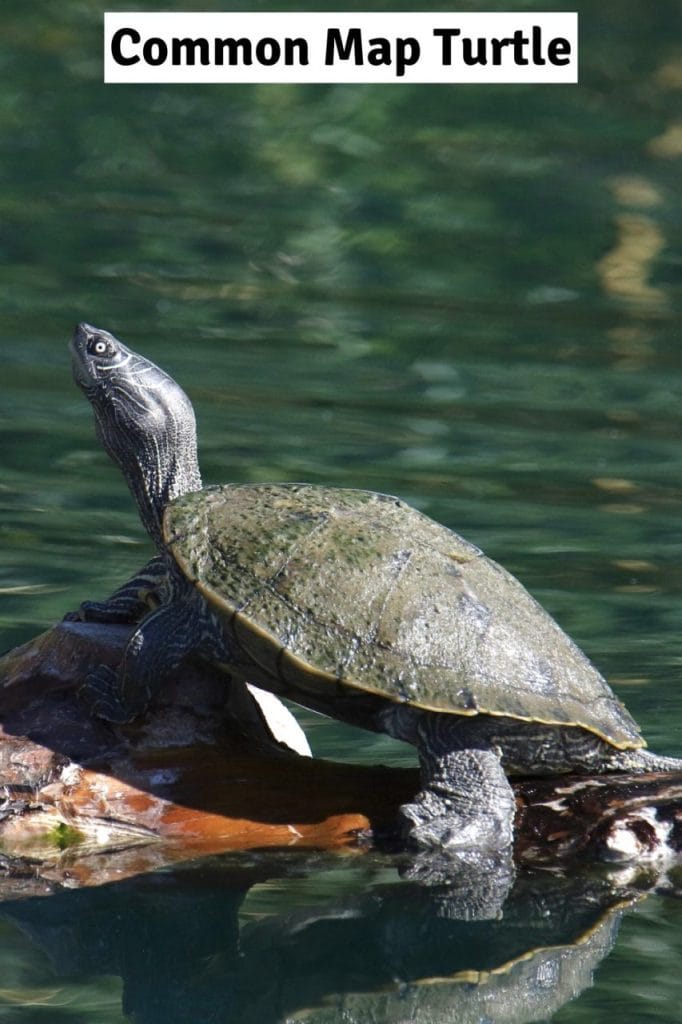
DIY Map Turtle Tank Setup Guide: Build the Ideal Home for Your Map Turtle
This post was created with help from AI tools and carefully reviewed by a human (Muntaseer Rahman). For more on how we use AI on this site, check out our Editorial Policy.
Imagine moving into your dream home—spacious, cozy, and designed just for you.
Now, imagine the opposite: a cramped, uncomfortable space with nothing you need.
That’s how your map turtle feels when its habitat isn’t set up right!
Don’t worry—I’ve got you covered. Follow this step-by-step guide to build a turtle paradise that’s easy to maintain and fun to watch!
Before building your map turtle’s dream home, familiarize yourself with common turtle tank mistakes to avoid—many first-time builders repeat the same errors.
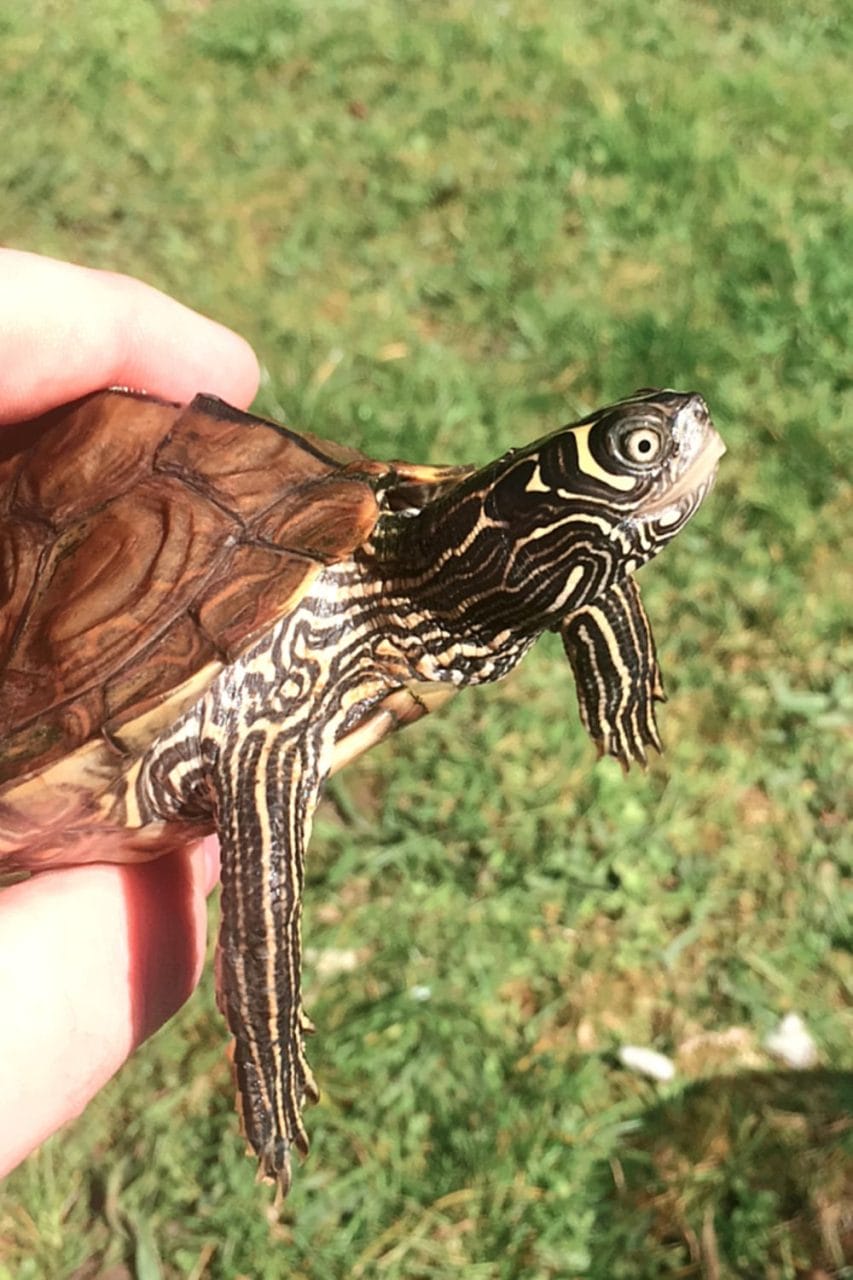
Choosing the Right Tank for map turtles
Picking the perfect tank for your map turtle is like choosing a home—it needs to be spacious, sturdy, and easy to clean. I made the mistake of starting too small, and my turtle quickly outgrew it. Lesson learned!
How Big Should the Tank Be?
Map turtles love to swim, so bigger is always better. Here’s a quick size guide:
| Turtle Size | Minimum Tank Size | Best Size (for comfort) |
|---|---|---|
| Hatchling (1-2 inches) | 20 gallons | 30+ gallons |
| Juvenile (3-5 inches) | 40 gallons | 50+ gallons |
| Adult Male (5-7 inches) | 75 gallons | 90+ gallons |
| Adult Female (8-12 inches) | 90 gallons | 100+ gallons |
I started with a 40-gallon tank for my juvenile, thinking it was enough. Nope! Within a year, I had to upgrade. Save yourself the trouble and go big from the start.
Glass vs. Acrylic Tanks
Both have pros and cons. Let’s break it down:
Glass Tanks
- Sturdy and scratch-resistant
- Can be heavy and harder to move
- Cheaper than acrylic
Acrylic Tanks
- Lighter and easier to handle
- More expensive but better insulation
- Scratches easily (bad news for curious turtles)
I went with glass because I knew my turtle would push against the walls like a tiny bulldozer. If you need a lightweight option, acrylic works too.
Think Long-Term
Turtles grow fast. It’s tempting to buy a small tank first, but upgrading later is a hassle. If you can, start with the biggest tank your space allows. Your turtle (and your wallet) will thank you.
Next up, let’s talk about keeping that water clean without turning your home into a swamp!
Filtration System for map turtles: Keeping the Water Clean
Turtles are messy. They eat, poop, and stir up debris all day. Without a good filter, your tank will turn into a swamp fast. Trust me, I learned that the hard way.
Why a Strong Filter is a Must
Unlike fish, turtles produce a lot of waste. A weak filter won’t cut it. Dirty water leads to bad smells, bacteria, and a sick turtle. A good filter keeps the water clear and safe.
Types of Filters
There are a few options, but some work better than others.
| Filter Type | Pros | Cons |
|---|---|---|
| Canister Filter | Powerful, quiet, holds lots of media | Expensive, takes space |
| Internal Filter | Cheap, easy to install | Weak, clogs fast |
| Hang-on-Back Filter | Decent power, easy to clean | Can’t handle big turtles |
For map turtles, a canister filter (my pick: Penn-Plax Cascade) is the best choice. It handles more waste and keeps the water fresh longer.
How to Keep Your Filter Running Smoothly
Even the best filter needs care. Follow these simple tips:
- Clean it regularly – Every 2–4 weeks, rinse out the gunk.
- Use good filter media – A mix of sponges, bio-media, and carbon works best.
- Check for clogs – Turtles love to push things around. Make sure nothing blocks the intake.
My Filtration Fails
I once tried using a tiny filter meant for fish. Within days, the water smelled like a swamp. My turtle gave me judgmental stares. Lesson learned: don’t skimp on filtration!
A strong filter means less work for you and a healthier home for your turtle. Get a good one, and your tank (and nose) will thank you!
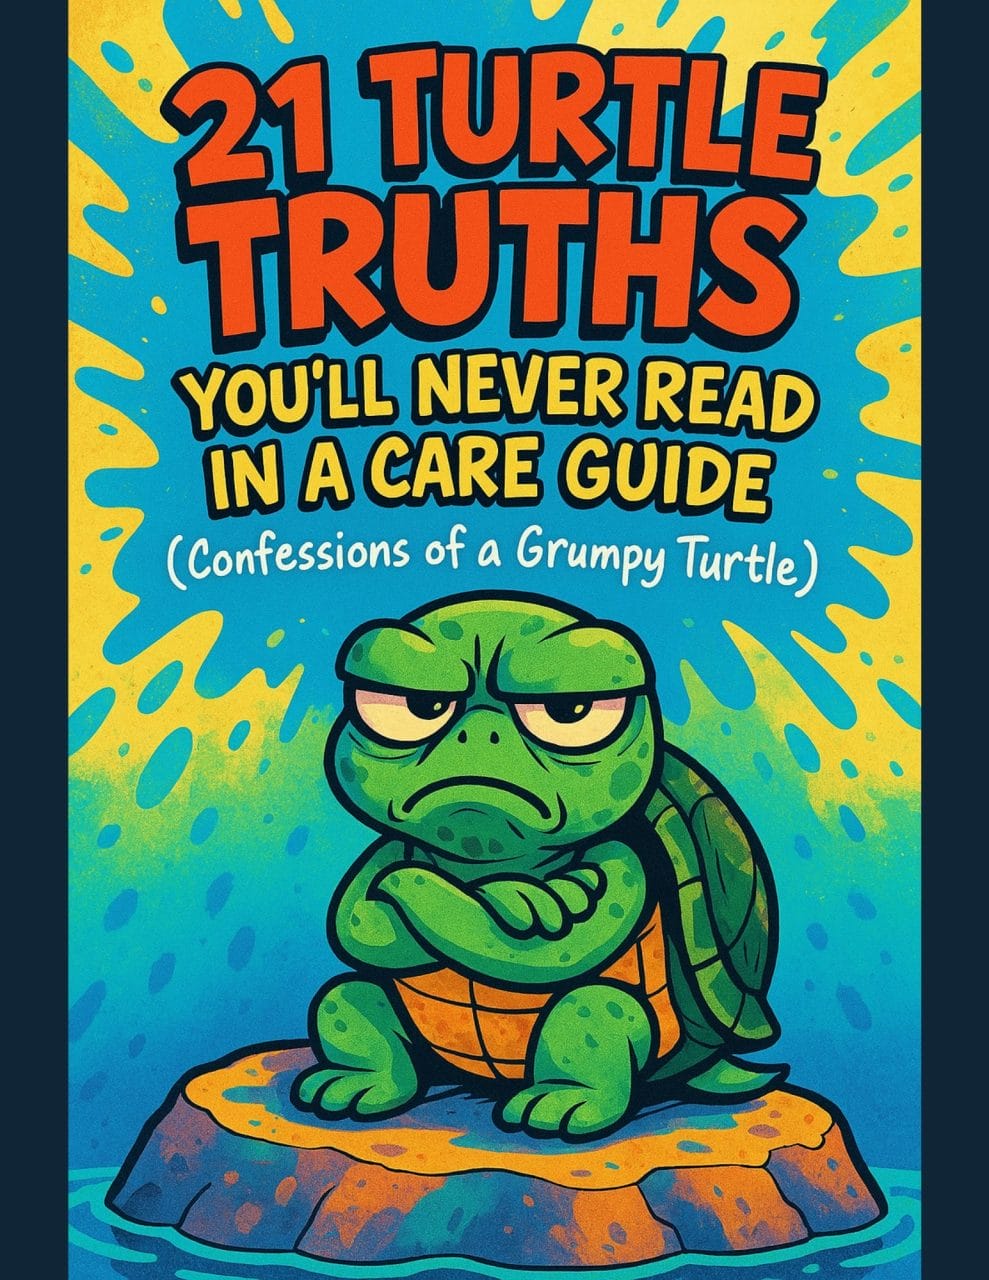
This Hilarious Turtle Book Might Know Your Pet Better Than You Do
Let’s be real—most turtle care guides feel like reading a textbook written by a sleep-deprived zookeeper.
This one’s not that.
Told from the snarky point of view of a grumpy, judgmental turtle, 21 Turtle Truths You’ll Never Read in a Care Guide is packed with sarcasm, sass, and surprisingly useful insights.
And hey—you don’t have to commit to the whole thing just yet.
Grab 2 free truths from the ebook and get a taste of what your turtle really thinks about your setup, your food choices, and that weird plastic palm tree.
It’s funny, it’s honest, and if you’ve ever owned a turtle who glares at you like you’re the problem—you’ll feel seen.
Heating and Lighting: Mimicking Nature
Map turtles love warm water and sunny basking spots. In the wild, they soak up the sun on rocks and logs. In a tank, we need to recreate that cozy setup.
Why Heat and Light Matter
Without proper heat and UVB light (my pick: Zoo Med ReptiSun 10.0), turtles get sluggish and unhealthy. Their shells can soften, and they won’t digest food properly. Think of it like needing sunshine for vitamin D—same idea, but more extreme for turtles!
Heating the Water
Turtles are happiest in warm water. Cold water makes them slow and sick.
Ideal water temperature:
- Hatchlings: 75-80°F
- Adults: 72-78°F
Best water heaters:
- Submersible heaters (recommended: submersible aquarium heater) – Easy to install, reliable
- External in-line heaters – Great for larger tanks, keeps cords out
Always use a thermometer to check the temperature. I once had a heater fail, and my turtle, Turbo, refused to eat for days. Lesson learned—always have a backup!

The Basking Spot
Turtles need a warm, dry area to rest and soak up heat. A good basking setup keeps their shells strong and prevents infections.
Ideal basking temperature: 85-90°F
Basking essentials:
- Basking platform (my pick: floating basking platform) – Floating dock, rock, or DIY shelf
- Heat lamp – Keeps them warm, prevents shell problems
If the basking spot isn’t warm enough, turtles won’t use it. If it’s too hot, they’ll avoid it. Finding the perfect balance is key!
UVB Lighting: Turtle Sunshine
UVB rays help turtles process calcium and keep their shells strong. Without it, they can develop metabolic bone disease—a serious condition.
Best UVB bulbs:
- Compact UVB bulbs – Good for small tanks
- Tube UVB bulbs – Best for larger tanks, more even coverage
Bulbs should be replaced every 6-12 months, even if they still shine. The UVB weakens over time. I once skipped replacing a bulb for too long, and Turbo’s shell started looking weird. Never again!
Pro Tips for the Best Setup
- Place the heat lamp (my pick: heat lamp) and UVB side by side so your turtle gets both at once
- Use a timer to keep a natural day-night cycle (12 hours on, 12 hours off)
- Avoid glass or plastic covers over the UVB light—these block the rays
Get the heat and lighting right, and your turtle will be happy, active, and thriving!
Basking Area: A Dry Spot to Rest
Map turtles love the water, but they need a dry place to warm up. Without a proper basking area, they can get sick. Think of it as their little sunbathing spot!
Why Basking Is Important
Turtles bask to:
- Absorb heat and stay warm
- Dry off to prevent shell infections
- Get UVB light for strong shells
I once skipped setting up a good basking area, thinking my turtle preferred swimming. Big mistake! He started getting soft spots on his shell. Lesson learned.
Choosing a Basking Platform
There are two main options:
| Type | Pros | Cons |
|---|---|---|
| DIY (Cork Bark, Tile, Egg Crate) | Customizable, natural look | Might require adjustments |
| Store-Bought (Floating Docks, Ramps) | Easy to install, sturdy | Can be pricey, some float unevenly |
I went the DIY route and used a big piece of cork bark. My turtle loved it, and it blended well with the tank!
Best Materials for Basking Areas
- Cork Bark: Floats naturally, soft on their feet
- Slate Tile: Holds heat well, easy to clean
- Egg Crate (Plastic Grid): Lightweight, customizable
- Zoo Med Floating Dock: A classic choice, but check the suction cups

Heat and UVB: The Secret to a Happy Turtle
A basking area is useless without proper heat and UVB light. Turtles aren’t just chilling; they’re soaking up the essentials!
Ideal Basking Conditions
- Temperature: 85-90°F
- Heat Source: Basking bulb (my pick: Zoo Med PowerSun) (ceramic or halogen)
- UVB Light: 10.0 UVB bulb (replace every 6 months)
- Placement: Light should be above the basking area, not on glass
I once placed the light too far, and my turtle ignored the basking spot. Moved it closer, and boom—instant sunbathing sessions!
Pro Tips for the Perfect Setup
✔ Make sure the platform is big enough for your turtle to fit comfortably
✔ Angle the ramp so they can climb easily
✔ Keep the waterline close to the platform for easy access
✔ Test different setups—turtles are picky!
Setting up a basking area is simple, but it makes a huge difference. Once you get it right, your turtle will spend hours soaking up the heat like a pro sunbather!
Substrate and Decorations: Making Your Tank Look Good and Work Well
Map turtles don’t need fancy floors, but a little effort makes their home more natural and fun. The right setup also keeps the tank cleaner and your turtle happier. Let’s break it down.
Substrate: What Goes on the Bottom?
You have three main choices:
1. Bare Bottom (Super Easy, Super Clean)
- No mess, no fuss.
- Easy to clean—just a quick siphon.
- Some say it looks boring, but your turtle won’t care.
2. Gravel (Looks Nice, but Be Careful)
- Adds a natural look.
- Can trap waste, so cleaning is harder.
- Turtles might eat small pieces—bad idea. Use larger, smooth stones instead.
3. Sand (Soft and Natural, but Messy)
- Looks great and feels natural.
- Can be a pain to clean if you don’t do it right.
- Some turtles like to dig in it.
I started with gravel, but my turtle kept kicking it everywhere. Now, I stick to a bare-bottom tank for easy cleanup.
Working with a tight budget? Learn how to build a complete turtle habitat using recycled materials without compromising quality.
Decorations: More Than Just Pretty Stuff
Your turtle doesn’t need a Pinterest-worthy setup, but some decorations help with enrichment and comfort.
1. Rocks and Logs
- Create hiding spots and climbing areas.
- Make sure they’re smooth—no sharp edges!
- Heavy? Place them carefully so they don’t crush your turtle.
2. Live or Fake Plants
- Live plants help clean the water and look great.
- Fake plants are low-maintenance but can trap debris.
- Avoid small plastic plants—turtles love to bite things.
3. Floating Dock or Basking Area
- Essential for a happy, healthy turtle.
- Can be DIY (a piece of cork or PVC) or store-bought.
- Needs to be sturdy—turtles aren’t lightweights!
I once bought a flimsy plastic basking dock. My turtle sunk it in a day. Lesson learned: always test weight capacity.
- Keep it simple. The easier it is to clean, the better.
- Always rinse decorations before putting them in the tank.
- Arrange everything so your turtle has space to swim freely.
A well-set-up tank makes life easier for both you and your turtle. Plus, a happy turtle is way more fun to watch!
Water Quality and Maintenance
Clean water = Happy turtle. A dirty tank smells bad and can make your turtle sick. Trust me, I learned the hard way. My first turtle tank turned into a swamp, and my turtle was not impressed.
How Often Should You Change the Water?
It depends on your setup. Here’s a quick guide:
| Tank Setup | Water Change Frequency |
|---|---|
| No Filter | Every 2-3 Days |
| Small Filter | 50% change weekly |
| Strong Canister Filter | 25% change every 2 weeks |
Best Water Conditioners
Tap water isn’t always turtle-friendly. It has chlorine and other chemicals. Use a water conditioner (recommended: reptile water conditioner) to fix that. Here are my top picks:
- Seachem Prime – Removes chlorine, ammonia, and more
- Zoo Med ReptiSafe – Easy to use and turtle-safe

Keeping Algae Under Control
Algae will take over if you let it. I once had a tank so green, I couldn’t find my turtle. Here’s how to stop that:
- Limit Light Exposure – Too much light = algae party
- Add Live Plants – They outcompete algae for nutrients
- Use an Algae Scraper – Quick and easy cleanup
Smelly Water? Here’s Why
If your tank smells, something’s off. Here are common causes and quick fixes:
- Uneaten Food Rotting – Feed in a separate tub or remove leftovers
- Weak Filter – Upgrade to a stronger one
- Not Enough Water Changes – Be consistent with cleaning
Pro Tip: Test Your Water
Want to be extra sure your turtle’s water is safe? Get a water test kit. Look for these:
- Ammonia: 0 ppm (High levels = bad news)
- Nitrate: Under 40 ppm (Too high = dirty water)
- pH: 6.5 – 8.0 (Turtle-friendly zone)
A clean tank means a healthy turtle. Stay on top of maintenance, and your little swimmer will thrive.
Feeding Station: Preventing Mess
Map turtles are messy eaters. If you just drop food in the tank, expect floating leftovers and dirty water fast. A little planning can keep things cleaner.
Why a Feeding Station Helps
- Less mess – Food stays in one place, making cleanup easier.
- Cleaner water – Reduces waste floating around.
- Healthier turtle – Prevents old food from rotting and causing bacteria.
Feeding Options
1. Floating Feeding Platform
A small floating dock where you place food. Turtles swim up, eat, and leftovers stay in one spot.
Pros:
✔ Easy to clean
✔ Keeps food off the tank bottom
Cons:
✘ Some turtles push food off the platform
✘ Requires regular rinsing
2. Separate Feeding Tub
Move your turtle to a shallow tub with water for meals. After eating, place them back in the tank.
Pros:
✔ Zero leftover food in the main tank
✔ Helps control water quality
Cons:
✘ Some turtles dislike being moved
✘ Extra effort for you
My Personal Experience
I tried both methods. At first, my turtle ignored the feeding tub and just stared at me like I ruined his day. But after a few tries, he got used to it. Now, no more floating food disasters!
Pro Tips
- If using a feeding tub, keep the water level low to prevent spills.
- Train your turtle by placing food in the same spot every time.
- Remove uneaten food after 10–15 minutes to prevent decay.
A little effort now saves a big cleanup later. Your turtle (and your nose) will thank you!
Common map turtle Tank Problems and Solutions
Turtle tanks can get messy fast. I’ve had my fair share of water disasters, from murky swamps to algae takeovers. Let’s go over the most common issues and how to fix them.
Cloudy Water
One day, I set up a brand-new tank, and within hours, the water turned into a foggy mess. Sound familiar?
Causes:
- New tank syndrome (bacteria adjusting)
- Uneaten food floating around
- Poor filtration
Fixes:
- Be patient! New tanks clear up in a few days.
- Remove leftover food after feeding.
- Upgrade to a better filter or clean the one you have.
Smelly Water
If your tank smells like a swamp, something’s off. My turtle tank once stunk up my whole room—never again.
Causes:
- Dirty water
- Rotting food
- Clogged filter
Fixes:
- Do partial water changes weekly.
- Feed turtles in a separate container to reduce waste.
- Rinse the filter regularly.
Algae Overgrowth
Green slime creeping everywhere? I once let it go too far, and my tank looked like a pond from a horror movie.
Causes:
- Too much light exposure
- High nutrient levels
- Lack of cleaning
Fixes:
- Keep the tank out of direct sunlight.
- Scrape algae off surfaces weekly.
- Reduce leftover food to lower nutrient levels.
Basking Area Problems
Turtles love their dry spots, but sometimes, they refuse to use them. Mine once boycotted his basking dock for a week!
Causes:
- Water temperature too high (no need to leave the water)
- Basking platform too slippery or unstable
- Wrong bulb (not warm enough)
Fixes:
- Lower the water temp slightly to encourage basking.
- Use a sturdy, textured platform.
- Make sure the basking bulb provides enough heat (around 90°F).
Filter Not Working Properly
A weak filter = a dirty tank. I’ve battled weak filters before, and trust me, it’s not worth the struggle.
Causes:
- Filter too small for the tank
- Clogged with debris
- Not positioned correctly
Fixes:
- Get a filter rated for at least double your tank size.
- Clean out debris weekly.
- Adjust the placement so water flows smoothly.
Keeping a turtle tank clean takes effort, but once you get into a routine, it’s easy. Plus, a happy turtle means a happy owner!
For visual inspiration on well-maintained tanks that avoid these issues, explore 11 turtle habitat designs that maximize space and functionality.

About Author
Muntaseer Rahman started keeping pet turtles back in 2013. He also owns the largest Turtle & Tortoise Facebook community in Bangladesh. These days he is mostly active on Facebook.