How to Hatch Turtle Eggs Without an Incubator (DIY Method)
This post was created with help from AI tools and carefully reviewed by a human (Muntaseer Rahman). For more on how we use AI on this site, check out our Editorial Policy.
So you found a clutch of turtle eggs, or your pet turtle surprised you with a few.
Now you are staring at them, you do not own an incubator, and the clock is already ticking.
Take a breath. You can absolutely try this at home.
I will be straight with you the whole way through, because hatching turtle eggs without proper gear is not a sure thing.
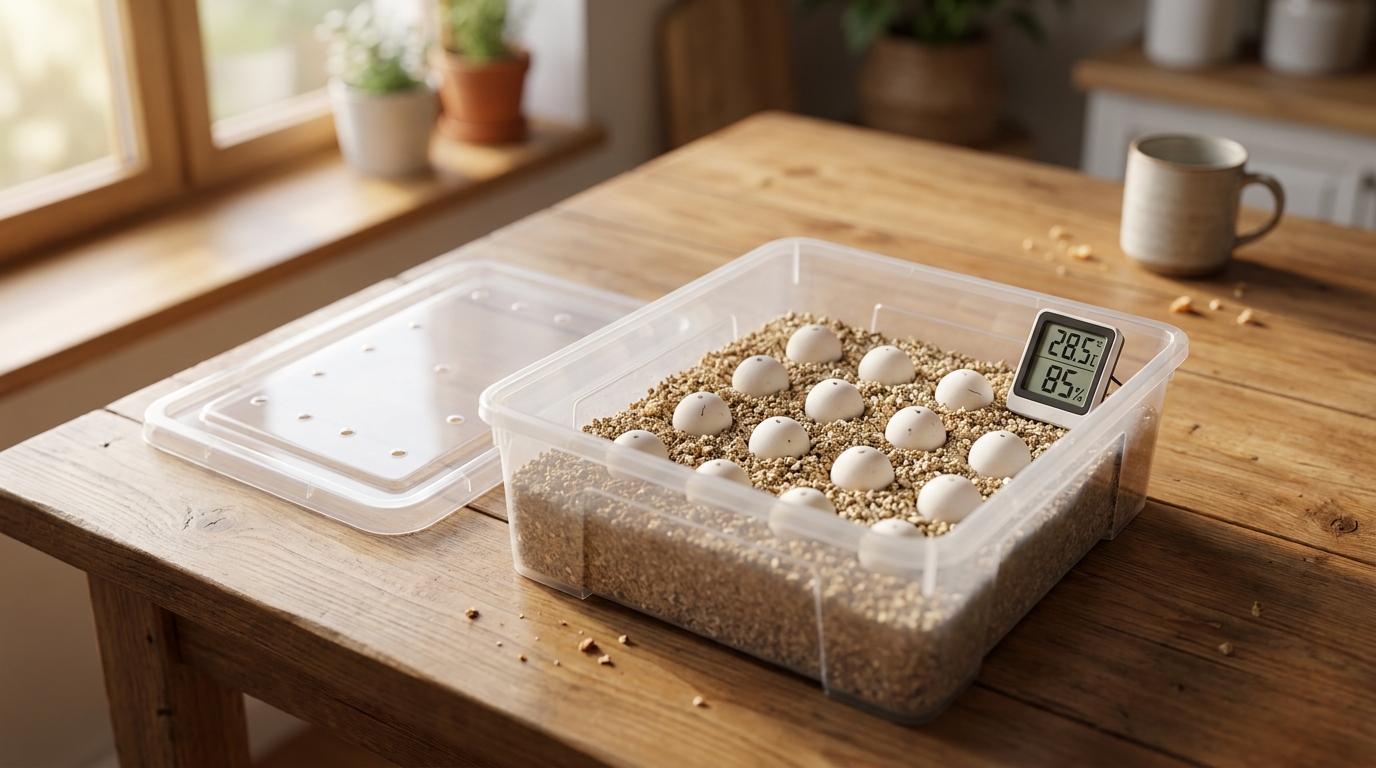
But people pull it off all the time with a plastic box, some vermiculite (my pick: coarse horticultural vermiculite), and a warm corner of the house.
Here is exactly how to do it.
Not sure when your turtle eggs will hatch? Try our free Turtle Egg Hatch Calculator for instant predictions!
First, the honest truth about your odds
Let me get this out of the way so you go in with clear eyes.
A real incubator holds a rock-steady temperature and humidity for two to three months straight. That is the whole reason it exists.
When you go the DIY route, you are the incubator now. Every temperature swing in your house becomes the eggs’ problem.
So your success rate will be lower. Some folks hatch most of a clutch, others lose all of it.
This is not a guaranteed method. It is the best shot you have when buying gear is not an option right now.
If you can get your hands on even a cheap reptile incubator (recommended: reptile egg incubator), do it. Your hatch rate jumps.
But if it is the middle of the night and the eggs are in your hand, keep reading.
Should you even move the eggs?
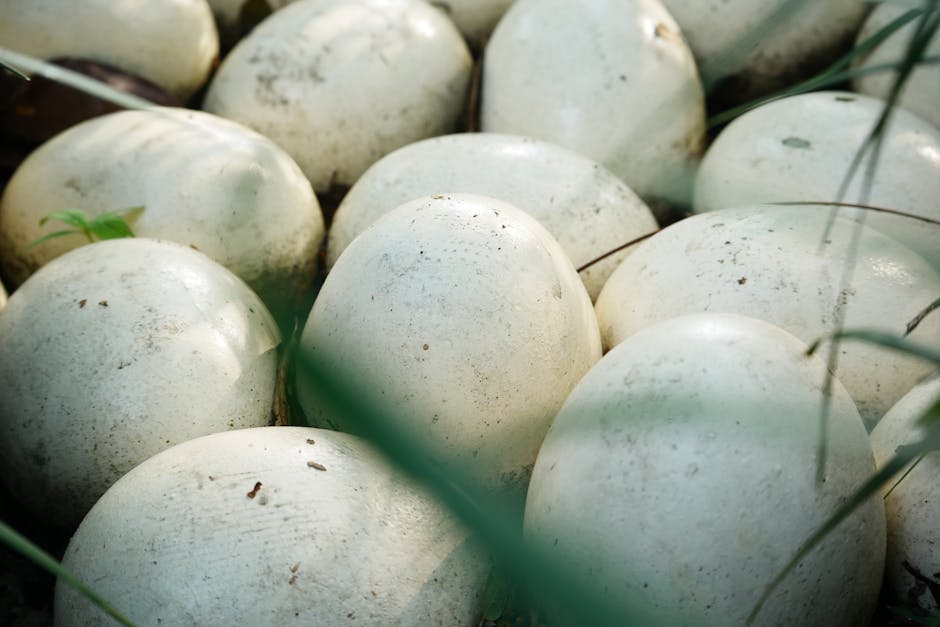
Before you build anything, ask one question. Do these eggs actually need you?
If a wild turtle laid them in your yard near a lake or river, nature has a long track record here.
Turtles have been hatching their own eggs for over 100 million years without any help from us.
You can leave the nest right where it is and just protect it.
Cover the nest with a wire poultry mesh or a screen, staked down at the edges.
That keeps out raccoons, foxes, dogs, and crows, which are the real killers of wild nests.
If you go this route, read our guide on how to hatch tortoise eggs naturally for the same hands-off approach.
Move the eggs only if the nest is in danger, the eggs are from your own pet, or there is no safe way to protect them outside.
This Hilarious Turtle Book Might Know Your Pet Better Than You Do

Let’s be real—most turtle care guides feel like reading a textbook written by a sleep-deprived zookeeper.
This one’s not that.
Told from the snarky point of view of a grumpy, judgmental turtle, 21 Turtle Truths You’ll Never Read in a Care Guide is packed with sarcasm, sass, and surprisingly useful insights.
And hey—you don’t have to commit to the whole thing just yet.
Grab 2 free truths from the ebook and get a taste of what your turtle really thinks about your setup, your food choices, and that weird plastic palm tree.
It’s funny, it’s honest, and if you’ve ever owned a turtle who glares at you like you’re the problem—you’ll feel seen.
The one rule you cannot break: never rotate the eggs
This is the single most important thing in this entire article, so I am putting it up front.
Turtle eggs are not like chicken eggs. You must never turn, rotate, or flip them.
A few days after the egg is laid, the embryo attaches to the top inside wall of the shell.
If you spin the egg, the embryo drops, the yolk crushes it, and the egg dies. Just like that.
So before you touch a single egg, grab a soft pencil and mark a small dot on the top of each one.
That dot tells you which side faces up. Keep it facing up the entire time, from the nest to your box.
Move them gently, one at a time, in the exact same position you found them.
Are the eggs even alive? Candle them first
There is no point babysitting a dead egg for 80 days.
You can check viability with a trick called candling.
Take the egg into a dark room and hold a small bright flashlight right against the shell.
If the egg is fertile and developing, you may see a network of tiny blood vessels, or a darker shaded area inside.
A clear, evenly glowing egg with no veins is usually infertile or has stopped developing.
One catch: candling is not reliable in the first couple of weeks. The embryo is just too small to see.
Try again after 3 to 4 weeks, when veins and a growing embryo are much easier to spot.
For a deeper walkthrough, see our guide on how to tell if eggs are fertile.
If an egg turns chalky white and firm a few days after laying, that is actually a good sign of fertility, not a problem.
What you need for your DIY setup
The shopping list here is short and cheap. Most of it is already in your house.
| Item | What it does | Cheap swap |
|---|---|---|
| Clear plastic box with lid | Your incubation chamber | Shoe box, takeout container |
| Vermiculite | Holds moisture around the eggs | Perlite, peat moss, damp sand |
| Dechlorinated or distilled water | Mixes with substrate safely | Tap water left out 24 hours |
| Thermometer | Tracks egg temperature | Digital reptile thermometer |
| Hygrometer | Tracks humidity | Combo thermometer/hygrometer |
| A warm, stable spot | Keeps temps steady | Warm closet, near a heat source |
A clear box lets you check the eggs without opening it constantly, which is a nice bonus.
Vermiculite is the classic choice because it holds water beautifully without going soggy.
Step-by-step: building your DIY incubator
Here is the full process from empty box to buried eggs.
Step 1: Prep the box
Take your clear plastic box and poke a handful of small holes along the top or lid.
These holes are your ventilation. Eggs need to breathe, and stale air invites mold.
Do not go overboard. Four to six small holes is plenty, or the box dries out too fast.
Step 2: Mix the vermiculite
This part trips people up, so read it twice.
Mix vermiculite and water at a 1:1 ratio by weight, not by volume.
That means if you weigh out 100 grams of vermiculite, you add 100 grams of water. A kitchen scale makes this easy.
Use dechlorinated or distilled water. Chlorine from tap water can harm the developing embryos, so let tap water sit out overnight or use distilled.
The texture test: squeeze a handful. It should clump together, but no water should drip out.
If water drips, it is too wet, and soggy substrate drowns and rots eggs.
Step 3: Fill the box
Pour the damp vermiculite into the box, but do not fill it to the brim.
Leave a couple of inches of open space at the top, above the eggs.
Press small dimples into the surface with your finger. Each dimple is a cradle for one egg.
Step 4: Settle the eggs in
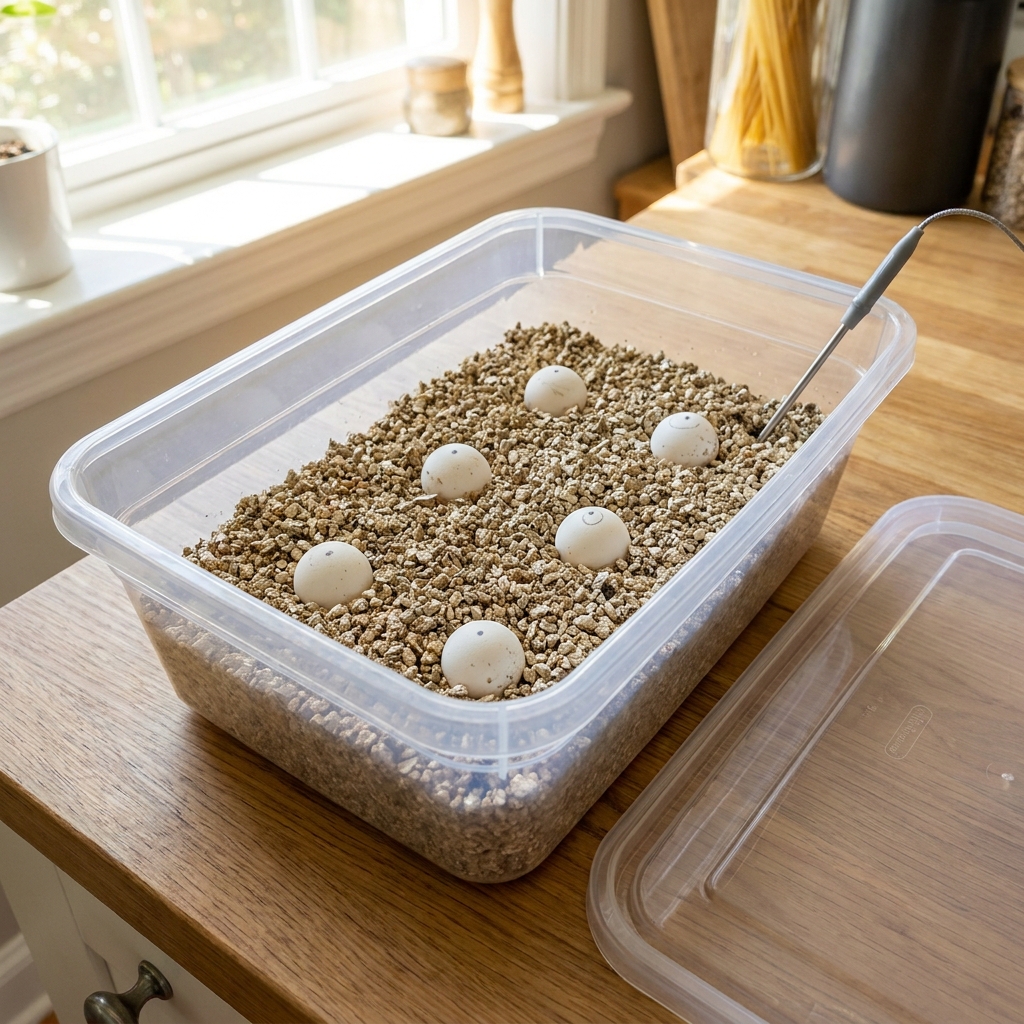
Place each egg into its dimple, marked dot facing straight up, half-buried in the vermiculite.
Leave a little space between eggs so they are not touching.
Then put the lid on. You are done with the build.
Holding temperature without an incubator
This is the hard part, and it is where most DIY hatches succeed or fail.
You are aiming for a steady 78 to 85°F (about 26 to 29°C), with many keepers targeting the 82 to 84°F range in the substrate.
The key word is steady. Wild temperature swings are far more dangerous than being a degree or two off.
Find the warmest, most stable spot in your home. A water heater closet, the top of a fridge, or a warm interior room can all work.
If your house runs cool, you can place the box near a gentle heat source, but never in direct sun, which cooks eggs fast.
A reptile heat lamp (my pick: heat lamp) aimed near (not on) the box, or a heat mat set under one end, can nudge the temperature up.
If you use a heat mat, put it under only half the box. That gives a warm side and a cooler side, and protects against overheating.
Check the thermometer twice a day, every single day. This is your job for the next two to three months.
Why temperature decides if you get boys or girls

Here is a wild fact that surprises almost every first-timer.
Most turtles have temperature-dependent sex determination, or TSD.
That means the incubation temperature, not genetics, decides whether a hatchling is male or female.
The general rule for many species: cooler temps produce more males, warmer temps produce more females.
For example, ornate box turtle eggs held around 84°F can come out nearly all female.
The sex gets locked in during the middle third of incubation, called the thermosensitive period.
You do not need to obsess over this for a basic hatch. But it explains why a stable temperature matters so much.
If you want a mix of both sexes, aiming for the middle of the temperature range is your safest bet.
Humidity: the silent clutch-killer
Temperature gets all the attention, but humidity quietly decides a lot of hatches.
If the air around the eggs is too dry, the eggs lose water to the air and the embryos can fail.
If it is too wet, you get mold and rot.
Your damp vermiculite and that sealed box are already doing most of the humidity work for you.
Aim for roughly 80% humidity inside the box if you have a hygrometer.
If the vermiculite looks dry after a few weeks, lightly mist the substrate around the edges, not the eggs directly.
A little condensation on the lid is normal and a good sign. A bone-dry box is a warning.
Common mistakes that kill the clutch
Most failed DIY hatches come down to the same handful of errors. Dodge these and your odds climb.
- Rotating the eggs. Already covered, but it is the number one killer. Mark them, keep them upright.
- Substrate too wet. Dripping vermiculite drowns eggs and breeds rot. Do the squeeze test.
- Temperature swings. A spot that is 70°F at night and 90°F at noon will fail. Stability beats perfection.
- Too many vent holes. The box dries out and humidity crashes. A few small holes only.
- Opening the box constantly. Every peek changes temp and humidity. Look through the clear lid instead.
- Direct sunlight. A sunny windowsill can cook a whole clutch in an afternoon.
- Tossing out “dead” eggs too soon. Some eggs look rough but still hatch. Only remove eggs that are clearly moldy, caved in, and smell foul.
How long until they hatch?
Now comes the waiting game, and it is a long one.
Most turtle eggs hatch in 60 to 90 days, and the exact timing depends on the species and the temperature.
Warmer incubation tends to speed things up, while cooler temps slow the embryos down.
For a full species-by-species breakdown, check our guide on how long it takes turtle eggs to hatch.
When the time gets close, you may notice tiny cracks or dimples forming. That is your cue that things are working.
Hatching day: what to do, and what to never do
This is the moment, and your instinct will be to help. Fight that instinct.
When a baby turtle starts cracking the shell, leave it alone.
The hatchling will come out when it is ready, and that can take a few days from first crack to fully out.
Never peel or break the shell for them. The sharp edges can tear the yolk sac, and that can kill the baby through infection.
You will notice a little sac attached to the hatchling’s belly. That is the yolk sac, and it is the whole reason for the gentle handling.
The hatchling lives off that yolk sac for about a week, so do not knock it loose.
Handle the babies as little as humanly possible during this stage.
Caring for the newborn hatchlings
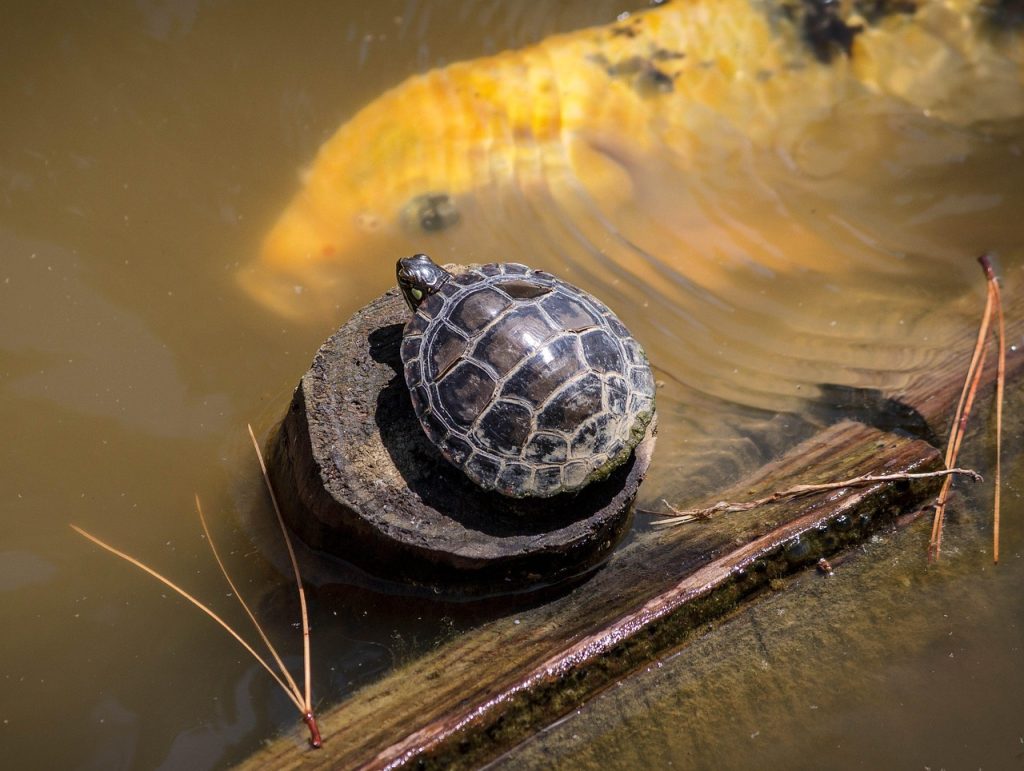
Once a baby is fully out of its shell, you can move it to a fresh container.
Line the new container with a damp paper towel and place the hatchling on it.
It will rest here for about a week while the yolk sac gets fully absorbed into the belly.
Do not feed them yet. They are still living off that yolk sac and do not need food.
Keep them warm and humid, and keep handling to a minimum.
Once the yolk sac is fully absorbed, you can move them to a proper aquatic turtle enclosure if they are a water species.
What to feed baby turtles
When the yolk sac is gone, feeding time begins.
Young turtles are mostly carnivorous, so they crave meaty, protein-rich food early in life.
Start with a quality commercial turtle food as the daily base for balanced nutrition.
For extra protein, offer insects, mealworms, bloodworms, waxworms, crickets, small shrimp, or bits of cooked chicken and beef.
Even though babies love protein, you still need to offer veggies for a balanced diet.
Good options include carrots, Romaine lettuce, kale, dandelion greens, bok choy, and green beans.
As turtles mature, they shift toward eating more plants, so the diet changes over time.
For a full feeding plan, see our red-eared slider feeding guide.
Frequently asked questions
Can you really hatch turtle eggs without an incubator?
Yes, but your success rate will be lower than with a real incubator.
A DIY box with vermiculite and a steady warm spot can work, but it asks you to manually hold temperature and humidity for months.
What temperature do turtle eggs need to hatch?
Most turtle eggs do best between 78 and 85°F, with many keepers targeting 82 to 84°F.
Stability matters more than hitting an exact number, so avoid big swings.
How long do turtle eggs take to hatch without an incubator?
Roughly 60 to 90 days, depending on species and temperature.
Cooler conditions slow development, while warmer ones speed it up.
Can I move turtle eggs to hatch them?
Only if you must, and never rotate them.
Mark the top of each egg before moving, and keep that mark facing up the whole time.
How do I know if a turtle egg is fertile?
Candle it by shining a flashlight through the shell in a dark room after 3 to 4 weeks.
Visible veins or a dark mass mean it is developing. A clear, even glow usually means it is not.
Final thoughts
Hatching turtle eggs without an incubator is part science, part patience, and part luck.
You are signing up to be the temperature and humidity controller for the next two to three months, so commit to the daily checks.
Mark the eggs, keep them upright, hold your temps steady, and resist the urge to “help” at hatching time.
Do that, and you give those eggs a real fighting chance.
If you have more questions about eggs in general, our complete turtle egg care guide covers everything from laying to hatching. Our turtle eggs guide is also a handy reference for the questions owners ask most.
Good luck, and let me know how your clutch turns out.

About Author
Muntaseer Rahman started keeping pet turtles back in 2013. He also owns the largest Turtle & Tortoise Facebook community in Bangladesh. These days he is mostly active on Facebook.