How to Clean a Turtle Tank (Water Change Schedule)

This post was created with help from AI tools and carefully reviewed by a human (Muntaseer Rahman). For more on how we use AI on this site, check out our Editorial Policy.
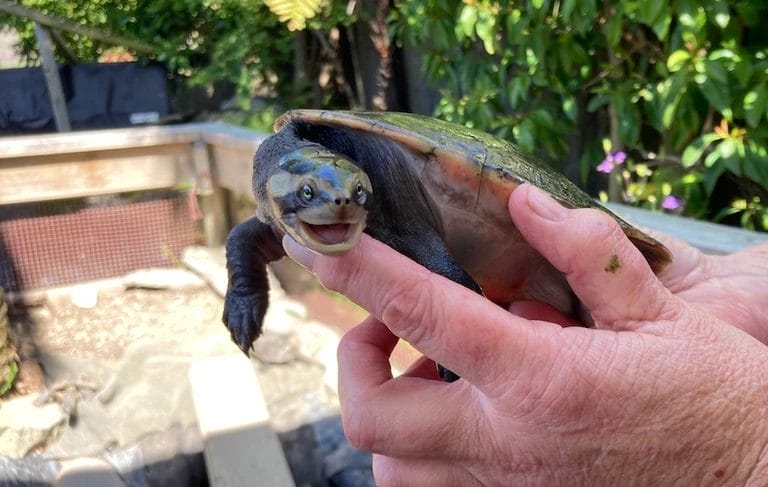
Your turtle tank looks like a crime scene. Again.
You swear you cleaned it just last week, but somehow there’s green slime on the glass, mysterious chunks floating around, and an odor that could knock out a rhino.
Welcome to turtle ownership – where your adorable shelled friend doubles as a one-reptile wrecking crew.
Why Turtle Tanks Get Dirty So Fast
Let me break some bad news to you. Turtles are basically underwater poop machines.
They eat in their water. They poop in their water. They do pretty much everything in their water except pay rent.
Unlike fish, which are relatively tidy roommates, turtles produce massive amounts of waste.
A single turtle creates as much waste as several fish combined. That’s not me being dramatic – that’s science backing up what your nose already knew.
Plot twist! The “dirty” water isn’t just gross – it’s actually dangerous.
That murky mess contains ammonia, which is basically turtle poison. Left unchecked, it can cause shell rot, respiratory infections, and a whole host of problems that’ll have you rushing to the vet with a very expensive bill.
Understanding common turtle-keeping mistakes helps prevent the water quality issues that make tanks dirty faster.
The Daily Damage Control
Here’s the thing nobody tells new turtle parents: you need to scoop poop every single day.
I know, I know. You didn’t sign up to be a professional poop-scooper when you bought that cute baby turtle. But daily spot cleaning is like brushing your teeth – skip it and things get real nasty real fast.
Grab a small fishing net or turkey baster (dedicated turtle-only, obviously – don’t use your Thanksgiving baster). Hunt down any visible waste, leftover food, or mystery chunks floating around.
This takes maybe 2 minutes but saves you hours of deep cleaning later. Trust me on this one.
This Hilarious Turtle Book Might Know Your Pet Better Than You Do

Let’s be real—most turtle care guides feel like reading a textbook written by a sleep-deprived zookeeper.
This one’s not that.
Told from the snarky point of view of a grumpy, judgmental turtle, 21 Turtle Truths You’ll Never Read in a Care Guide is packed with sarcasm, sass, and surprisingly useful insights.
And hey—you don’t have to commit to the whole thing just yet.
Grab 2 free truths from the ebook and get a taste of what your turtle really thinks about your setup, your food choices, and that weird plastic palm tree.
It’s funny, it’s honest, and if you’ve ever owned a turtle who glares at you like you’re the problem—you’ll feel seen.
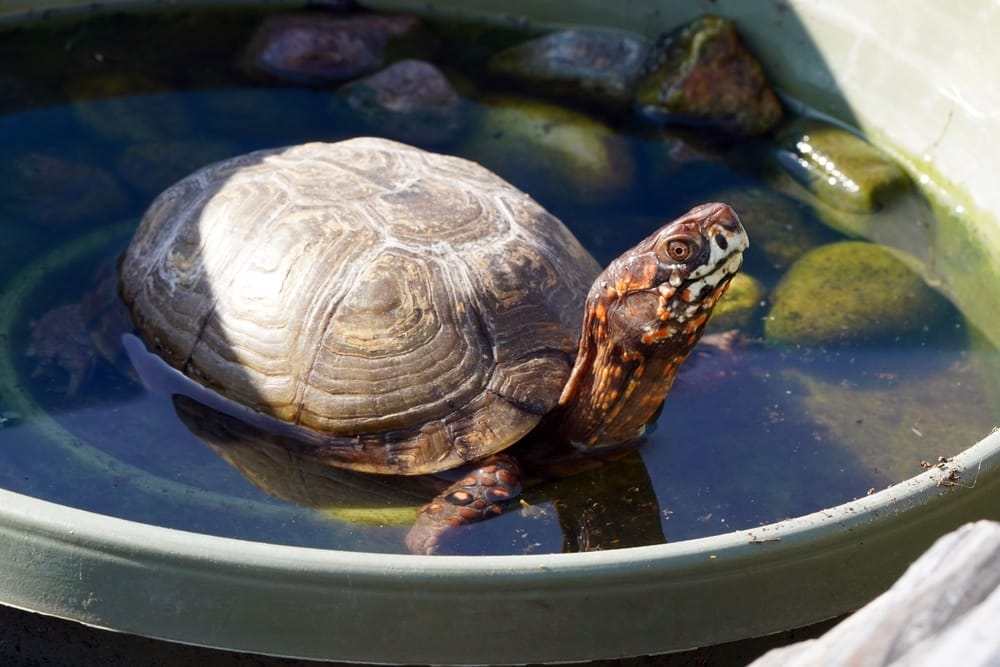
Weekly Water Changes: Your Sanity Saver
Change 25-50% of the tank water every week.
This isn’t optional – it’s as essential as feeding your turtle.
The water might look fine to you, but it’s probably loaded with invisible ammonia and nitrites that are slowly poisoning your pet.
Nitrate levels should stay below 40 parts per million
Anything higher and you’re asking for trouble.
Here’s the kicker: always use dechlorinated water at the same temperature as the tank.
Grab a water conditioner like ReptiSafe or API Tap Water Conditioner
Tap water isn’t turtle-safe straight from the faucet, even if it’s fine for you to drink.
Shocking your turtle with ice-cold tap water is like throwing them into an arctic lake. They won’t appreciate it.
The Monthly Deep Clean (AKA Tank Surgery)
Once a month, you need to perform what I call “tank surgery” – a complete overhaul that’ll make your turtle tank sparkle like a jewelry store.
Step 1: Turtle Relocation Program
Move your turtle to a secure temporary container. Not a food bowl – get a dedicated “turtle hotel” container. Your pet doesn’t want to hang out where you ate cereal this morning.
Step 2: Equipment Evacuation
Turn off and remove all electrical equipment first. Filters, heaters, lights – everything comes out. Leaving electrical stuff in water is a great way to fry both your equipment and potentially yourself.
Step 3: The Great Drain
Empty that water like you’re fleeing a flood. If you have gravel or substrate, stir it around in fresh water 3-4 times until the water runs clear. This stuff collects more funk than a gym locker.
Step 4: Scrub Like Your Life Depends On It
Start with the gentler approach: white vinegar mixed 50/50 with water.
This natural cleaner tackles mineral buildup and algae without the harsh chemicals. Most turtle keepers swear by this method.
For really stubborn grime or if you suspect bacterial issues, you can use reptile-safe cleaners or a very diluted bleach solution (1 part bleach to 10 parts water) as a last resort.
Many turtle forums now discourage bleach unless absolutely necessary – it’s powerful but risky if not rinsed perfectly.
Never use soap, household cleaners, or anything not specifically reptile-safe – even tiny residues can seriously harm your turtle.
Scrub every surface, paying special attention to corners where gunk loves to hide. Let bleach solutions sit for 10 minutes to kill bacteria, then rinse everything like you’re washing evidence away.

Step 5: The Rebuild
Replace substrate with fresh material. Clean and reassemble all equipment. Fill with fresh, dechlorinated water.
The weirdest part? Test the water with a pH testing kit before putting your turtle back. The ideal range is 7-8 pH for most aquatic turtles.
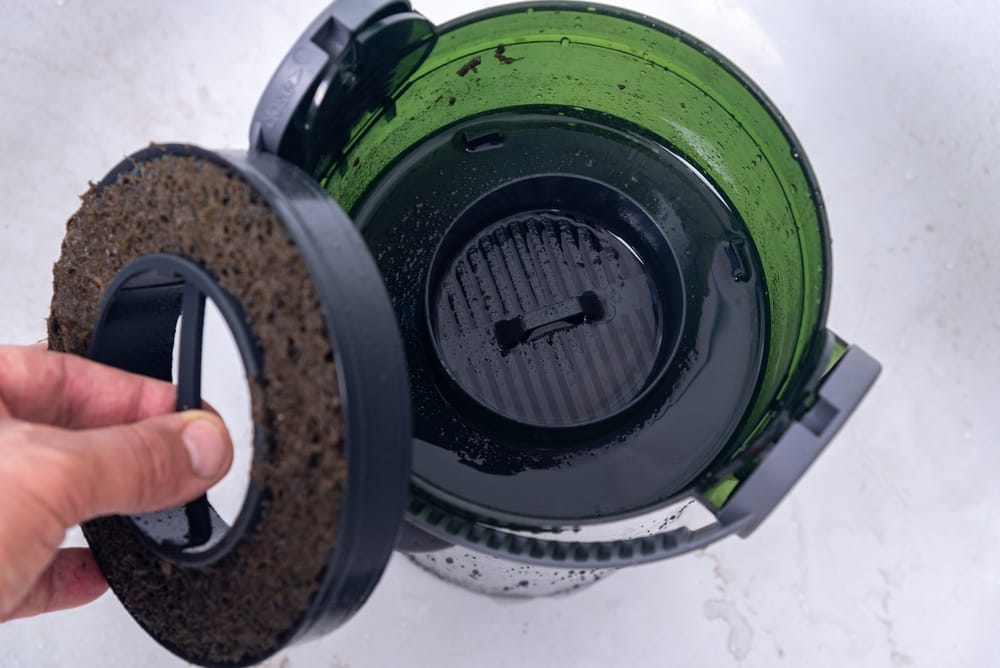
Filter Facts That’ll Blow Your Mind
Here’s something that shocked me: turtle filters need to be 2-3 times more powerful than fish tank filters.
If you have a 50-gallon tank, get a filter rated for 100-150 gallons. Turtles produce way more waste than fish, and a wimpy filter is like trying to clean a house with a toothbrush.
Canister filters are the MVP choice for turtle tanks. They provide mechanical, biological, and chemical filtration without hogging space in the tank.
But even the fanciest filter won’t save you from regular cleaning duties. Sorry.

Common Mistakes That Make Everything Worse
Mistake #1: Overfeeding Your Garbage Disposal
Turtles will beg for food like starving puppies, but adult turtles only need food every other day. Overfeeding creates more waste and can actually cause organ failure. Tough love, people.
Mistake #2: Tiny Tank Syndrome
An adult turtle needs minimum 50 gallons of water – that’s not negotiable. Cramming a turtle into a tiny tank is like forcing a human to live in a bathroom. More water = more dilution = less cleaning.
Tank size requirements vary by species—check our guides for painted turtles, red-eared sliders, or musk turtles to determine exact needs for your specific turtle.
Mistake #3: The Window Trap
Never put your turtle tank by a window. Sure, it seems natural, but windows block the UVB light turtles need and create algae blooms that’ll turn your tank into a green nightmare.
The Gross Truth About Salmonella
Real talk: turtles carry salmonella bacteria naturally. This isn’t a reflection of your cleaning skills – it’s just turtle biology.
Always wear gloves or wash your hands thoroughly after handling your turtle or cleaning equipment. Keep the tank away from your kitchen (seriously, not near food prep areas).
This is especially important if you have kids under 5 or anyone with compromised immune systems in the house.
This health concern applies to all turtle species and is one of several myths and realities about pet turtles that every owner should understand.
Signs Your Tank Has Gone Rogue
Your turtle tank is screaming for help if you see:
- Cloudy or yellowing water (bacteria party in progress)
- Smell that hits you from across the room (decomposition city)
- Green slime coating everything (algae takeover)
- Your turtle acting lethargic (probably sick from dirty conditions)
Don’t ignore these red flags. A dirty tank can cause shell rot, respiratory infections, and other nasty health problems that cost way more than cleaning supplies.
Cloudy or yellowing water (bacteria party in progress)—our dedicated cloudy water troubleshooting guide covers specific fixes for different types of cloudiness
Time-Saving Hacks From the Trenches
The Feeding Bin Method:
Feed your turtle in a separate container for 1-2 hours, then put them back. They’ll eat and poop in the feeding bin instead of their main tank. Game-changer.
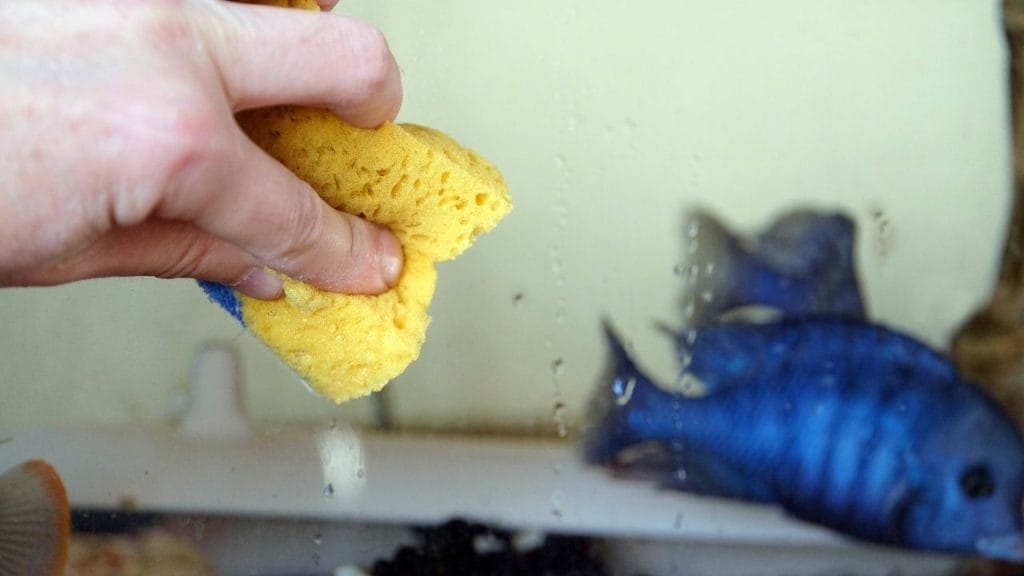
Magnetic Algae Scrapers:
These stick-on cleaners let you scrub glass without getting your hands wet. It’s like having a robot do the dirty work.
Bigger Is Always Better:
A 100-gallon tank stays cleaner longer than a 50-gallon tank with the same turtle. More water = more dilution = less frequent cleaning.
Ready to Become a Turtle Tank Cleaning Pro?
Stop procrastinating and start a cleaning schedule today. Your turtle (and your nose) will thank you.
Grab these essentials:
- Water testing kit for monitoring pH and ammonia
- Dedicated cleaning supplies (separate from household items)
- Powerful filter rated for 2-3x your tank size
- Weekly calendar reminders for water changes
Trust me – future you will be grateful when you’re enjoying watching your turtle swim in crystal-clear water instead of wondering if you need hazmat gear to approach the tank.

About Author
Muntaseer Rahman started keeping pet turtles back in 2013. He also owns the largest Turtle & Tortoise Facebook community in Bangladesh. These days he is mostly active on Facebook.