20 Adorable Clay Turtle Ideas You Can Make at Home

This post was created with help from AI tools and carefully reviewed by a human (Muntaseer Rahman). For more on how we use AI on this site, check out our Editorial Policy.
Warning: You’re about to fall in love with clay turtles!
These little guys are so cute and easy to make, you might end up with an entire turtle village before you know it.
Whether you want to sculpt a tiny turtle family, a keychain buddy, or a quirky plant pot pal, we’ve got the best ideas to get you started.

Why Make Clay Turtles?
Making clay turtles is fun, relaxing, and surprisingly useful. You don’t need to be a pro artist—just some clay, your hands, and a little patience.
I once made a clay turtle for my desk, thinking it would just sit there. Now, it’s my lucky charm. My wife says it looks like a potato, but I think it has character.
Reasons to Try Clay Turtle Art
1. Easy and Beginner-Friendly
Clay turtles don’t need fancy tools. Just roll, press, and shape. Even if it turns out a little wonky, it’s still cute.
2. Stress-Relieving
There’s something soothing about squishing clay. Shaping a turtle shell? Even better.
3. Customizable
Make a realistic sea turtle or a tiny fantasy turtle with wings. There are no rules.
4. Great Gift Idea
Handmade clay turtles make thoughtful gifts. Stick one on a keychain, and boom—instant personalized present.
5. Small, But Useful
Clay turtles aren’t just for decoration. You can turn them into magnets, jewelry dishes, or even coasters.
Materials Needed for Clay Turtle Projects
You don’t need a fancy art studio to make clay turtles. Just a few simple materials and your hands will do the trick. Here’s what you need:
1. Clay – The Star of the Show
Different types of clay work for different projects. Pick the right one based on what you want to make.
| Clay Type | Best For | Why? |
|---|---|---|
| Polymer Clay | Keychains, charms, small figurines | Easy to bake, holds details well |
| Air-Dry Clay | Larger sculptures, coasters | No baking needed, dries on its own |
| Foam Clay | Kids’ crafts, lightweight projects | Soft, squishy, fun to work with |
2. Sculpting Tools – Your Secret Weapons
You don’t need fancy tools. Even a toothpick can work wonders.
- Needle tool or toothpick – For tiny details and textures.
- Clay knife or craft blade – To shape and cut pieces.
- Rolling pin – Flattens clay evenly (a glass bottle works too).
- Ball stylus tool – Makes smooth indentations for eyes.
- Sponge or brush – Helps smooth out rough spots.
3. Work Surface – Keep Things Clean
Clay can stick to your table, so use:
- A non-stick mat (silicone works best).
- A smooth tile or glass sheet (clay doesn’t stick to it).
- Even parchment paper will do in a pinch.
4. Paints & Brushes – Bring Your Turtle to Life
Plain clay is nice, but adding color makes it pop.
- Acrylic paints – Best for polymer and air-dry clay.
- Soft brushes – Avoid streaky brush strokes.
- Paint pens – Perfect for tiny details.
- Varnish or Mod Podge – Adds a shiny or matte finish.
5. Extras for Special Turtle Projects
Want to make something unique? Add these:
- Magnets – Stick a clay turtle on your fridge.
- Keychain rings – Turn a mini turtle into a keychain.
- Glow-in-the-dark powder – Make your turtle glow at night.
- Textured sponges or stamps – Create shell patterns.
This Hilarious Turtle Book Might Know Your Pet Better Than You Do

Let’s be real—most turtle care guides feel like reading a textbook written by a sleep-deprived zookeeper.
This one’s not that.
Told from the snarky point of view of a grumpy, judgmental turtle, 21 Turtle Truths You’ll Never Read in a Care Guide is packed with sarcasm, sass, and surprisingly useful insights.
And hey—you don’t have to commit to the whole thing just yet.
Grab 2 free truths from the ebook and get a taste of what your turtle really thinks about your setup, your food choices, and that weird plastic palm tree.
It’s funny, it’s honest, and if you’ve ever owned a turtle who glares at you like you’re the problem—you’ll feel seen.
20 Clay Turtle Ideas You Can Try

1. Mini Clay Turtle
A tiny turtle that’s easy to make. Perfect for beginners.
Steps:
- Roll a small ball of clay for the shell.
- Make four tiny oval shapes for the legs.
- Add a slightly bigger oval for the head.
- Press everything together gently.
- Use a toothpick to add shell details.
- Let it dry or bake as needed.

2. Sea Turtle Clay Sculpture
A more detailed, realistic turtle for ocean lovers.
Steps:
- Roll a medium-sized clay ball for the shell.
- Flatten it slightly and shape it into an oval.
- Make four flippers—long and slightly curved.
- Attach them to the body, smoothing the edges.
- Shape a small head and add tiny eyes.
- Carve details on the shell and flippers.
- Let it dry or bake.

3. Polymer Clay Turtle Keychain
A cute turtle you can carry everywhere.
Steps:
- Make a small turtle using polymer clay.
- Add a metal loop to the back before baking.
- Bake according to the clay’s instructions.
- Attach a keyring once cooled.
4. Foam Clay Turtle Figurine
Soft, lightweight, and squishy.
Steps:
- Roll foam clay into a ball for the shell.
- Shape the legs, head, and tail separately.
- Attach all the pieces by pressing them together.
- Let it air dry overnight.
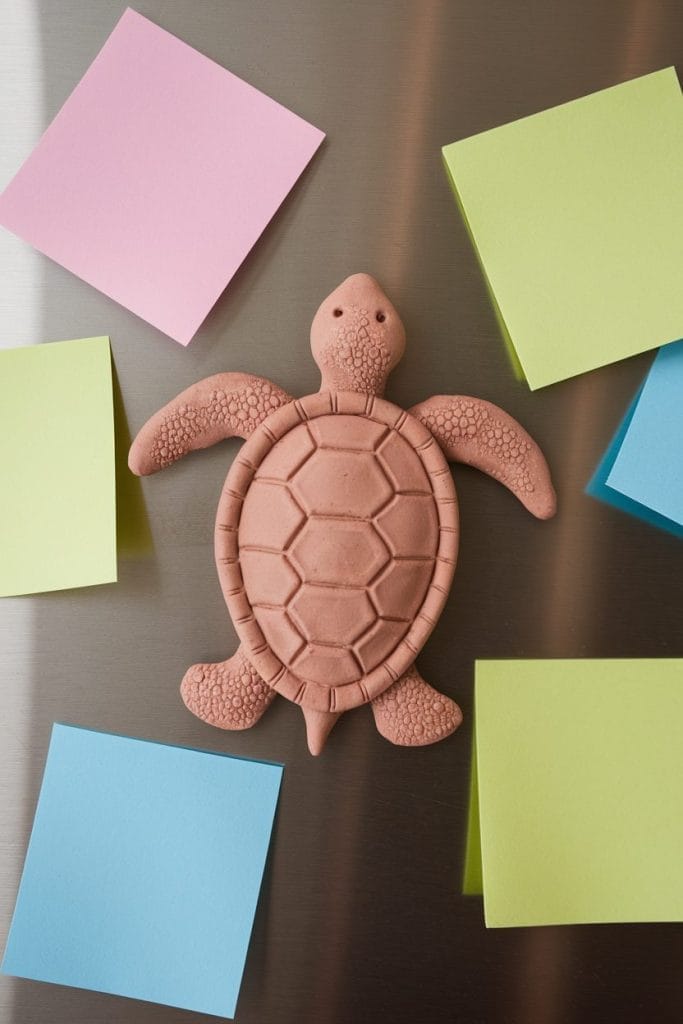
5. Easy Clay Turtle Magnet
A fun way to decorate your fridge.
Steps:
- Make a small, flat turtle shape.
- Use a magnet and press it into the back.
- Let it dry or bake.
- Once ready, stick it on your fridge!
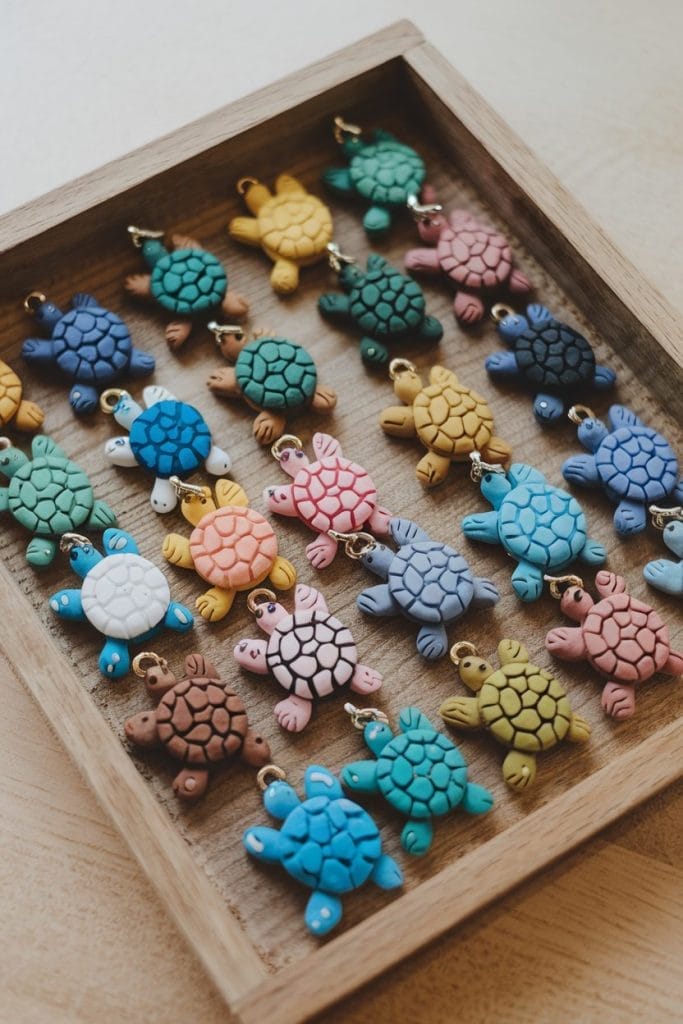
6. Small Clay Turtle Charms
Great for jewelry or lucky charms.
Steps:
- Create a tiny turtle shape.
- Insert a small metal ring before drying.
- Bake or air dry.
- Attach to a bracelet or necklace.

7. Clay Turtle Coaster
A cute and useful project.
Steps:
- Roll out a flat circle of clay.
- Shape it into a turtle, keeping the shell wide.
- Carve details on the shell for texture.
- Let it dry or bake.
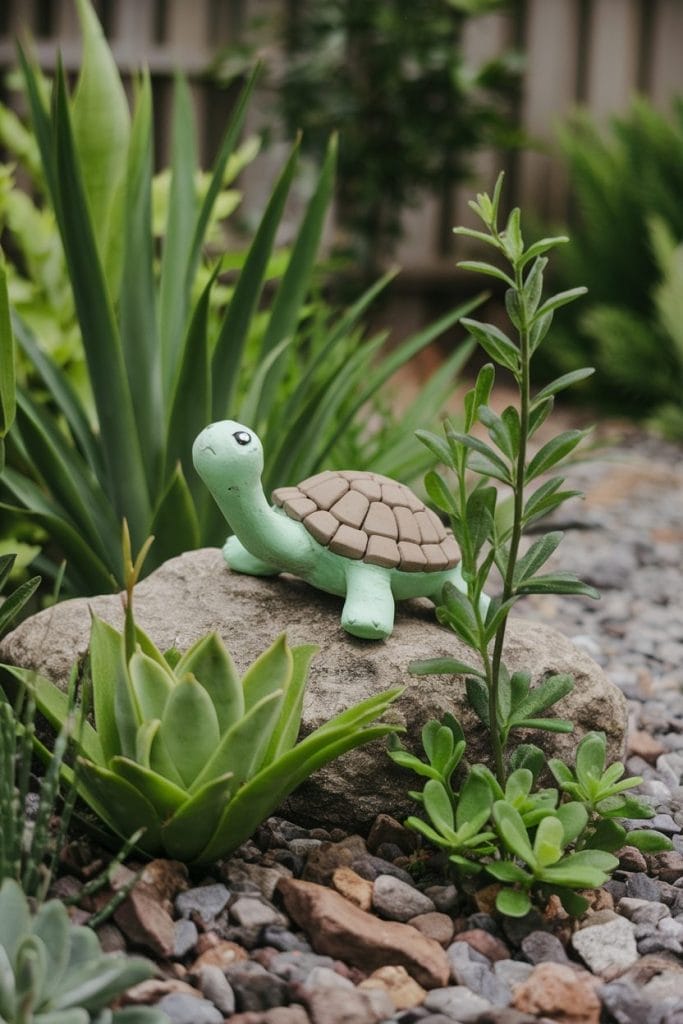
8. Mini Turtle Clay Garden Decor
Perfect for decorating plant pots.
Steps:
- Make a simple clay turtle.
- Add tiny feet to help it sit on soil.
- Let it dry or bake.
- Place it in your garden.
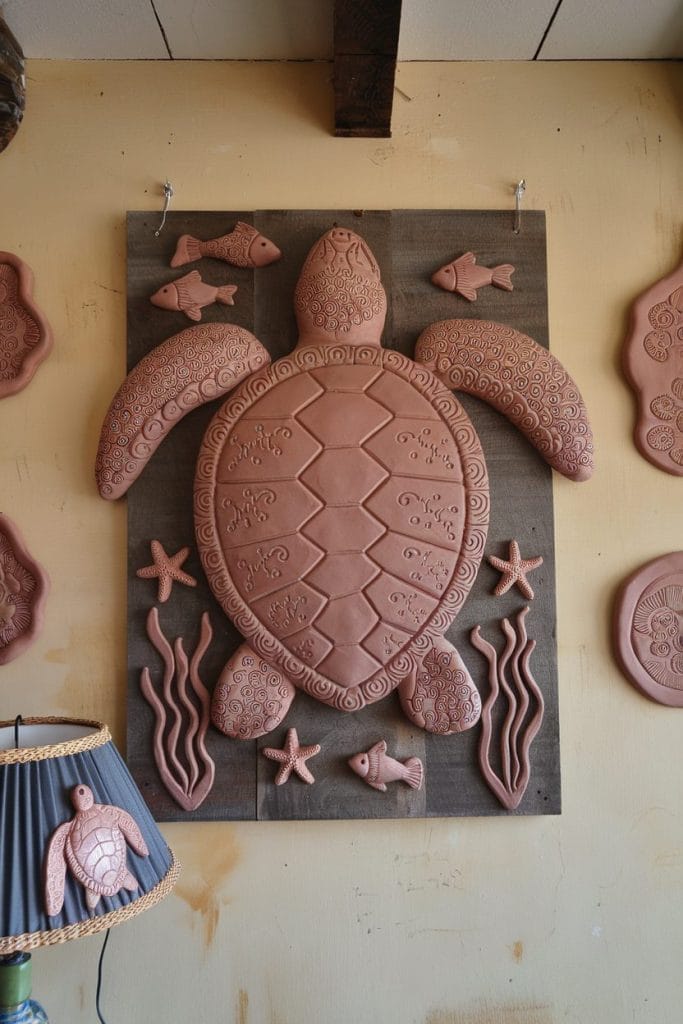
9. Clay Sea Turtle Wall Hanging
A decorative piece for ocean lovers.
Steps:
- Shape a large turtle from clay.
- Carve or stamp patterns onto the shell.
- Poke a hole at the top for hanging.
- Let it dry, then add a string.

10. Turtle-Shaped Clay Candle Holder
A cozy, creative idea.
Steps:
- Make a flat turtle shell with a small dip in the center.
- Shape legs and a head separately.
- Attach the pieces together.
- Let it dry, then place a tealight inside.
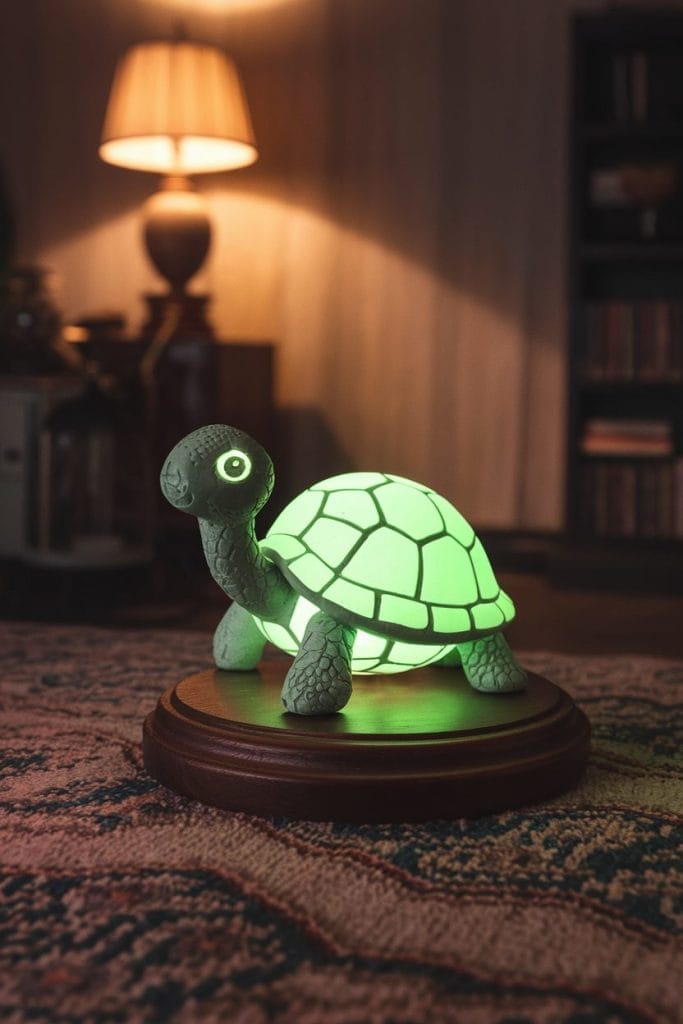
11. Glow-in-the-Dark Polymer Clay Turtle
Lights up at night!
Steps:
- Use glow-in-the-dark polymer clay.
- Shape a turtle like usual.
- Bake according to instructions.
- Charge under a light and enjoy the glow.

12. Miniature Clay Turtle Family
Make a whole turtle family set!
Steps:
- Create one big turtle and two smaller ones.
- Add tiny eyes and details.
- Bake or dry, then display them together.

13. Textured Clay Turtle for Kids
A sensory-friendly turtle for little hands.
Steps:
- Make a basic turtle shape.
- Use a net, sponge, or toothpick to add texture.
- Let it dry or bake.

14. Turtle-Themed Clay Jewelry Dish
A beautiful and practical design.
Steps:
- Make a shallow clay dish.
- Attach a small turtle on one edge.
- Let it dry, then paint it.

15. Hand-Painted Clay Turtle Sculpture
Give your turtle some personality.
Steps:
- Make a basic turtle sculpture.
- Let it dry or bake.
- Use acrylic paint to add details.
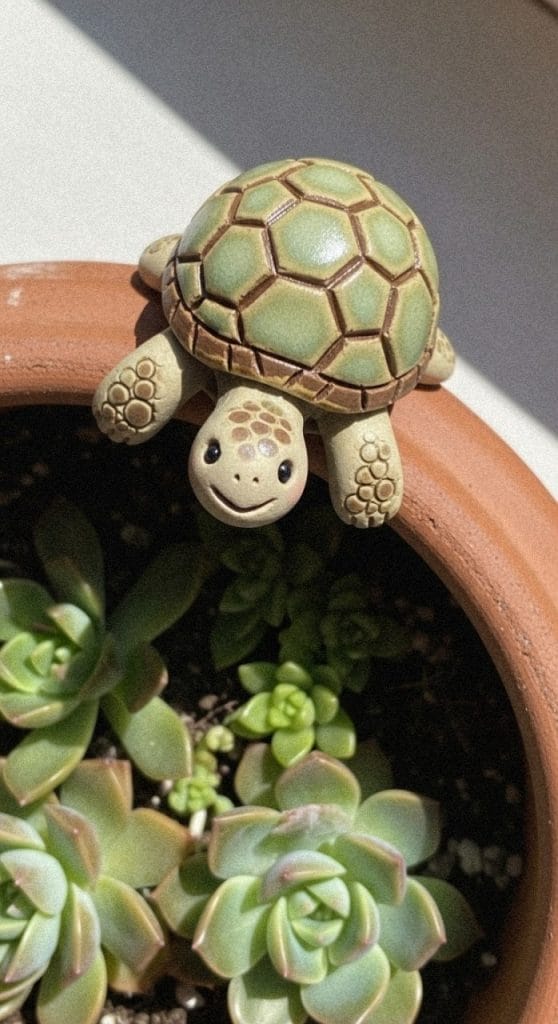
16. Baby Tortoise Plant Pot Buddy
A tiny tortoise that sits on the rim of your plant pots—adorable and functional!
Steps:
- Roll a small ball of clay for the shell (about the size of a walnut).
- Flatten it slightly into a dome shape.
- Use a toothpick to carve hexagon patterns on the shell.
- Create four small legs and press them onto the underside.
- Shape a tiny head with a smiling face.
- Make a small hook or flat base so it can grip the pot rim.
- Let it dry completely or bake according to clay instructions.

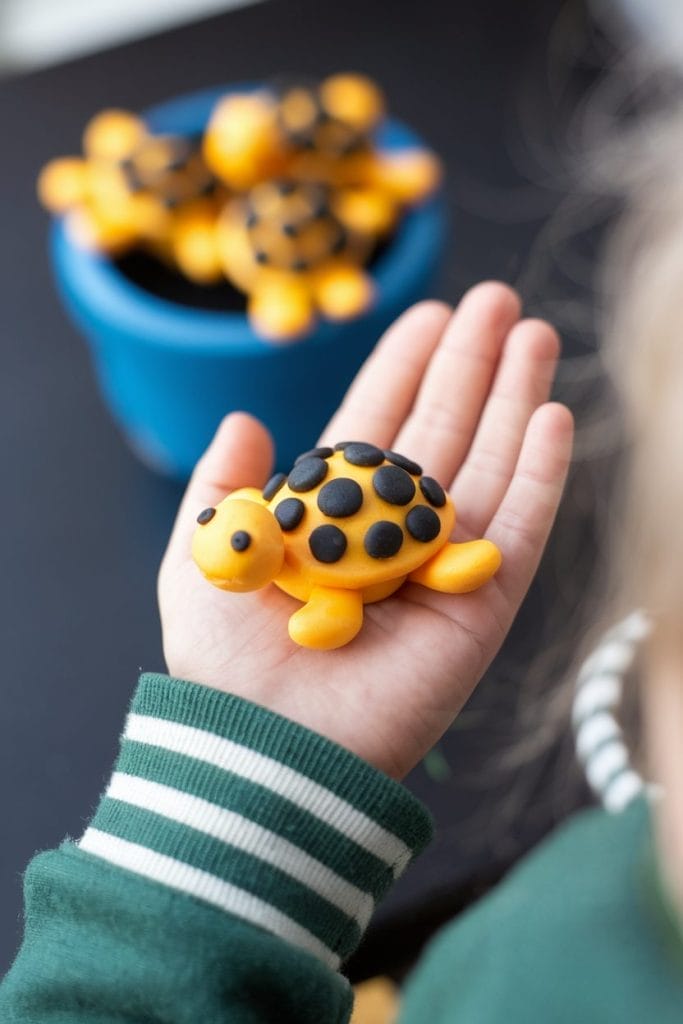
17. Rainbow Tortoise Figurine
A whimsical, colorful tortoise that brightens any shelf or desk.
Steps:
- Roll a medium ball for the shell and flatten into a dome.
- Divide the shell into sections with a clay tool.
- Fill each section with different bright colors of clay.
- Blend the edges slightly for a smooth rainbow effect.
- Add four chunky legs and a rounded head.
- Use black clay or a marker for cute eyes.
- Bake or air-dry, then seal with varnish for shine.

18. Tortoise Jewelry Dish
A functional tortoise sculpture that holds your rings and earrings.
Steps:
- Roll a large ball of clay and flatten it into a thick oval base.
- Press your thumb into the center to create a shallow dish.
- Smooth the inside of the dish with your fingers.
- Shape a small head, tail, and four legs around the edges.
- Add shell texture on top using a dotting tool or toothpick.
- Create facial details with tiny clay dots for eyes.
- Let it dry or bake, then seal to make it water-resistant.
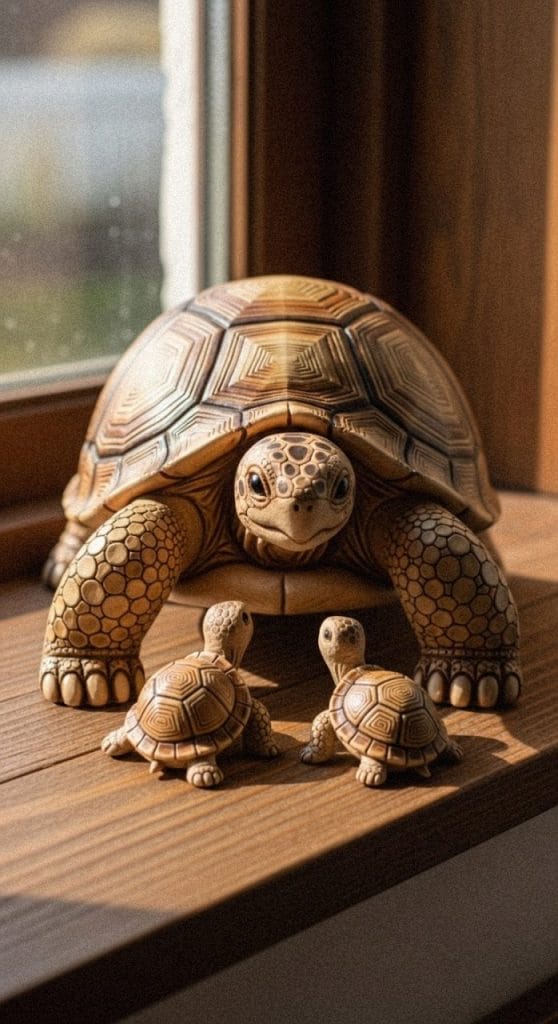
19. Miniature Tortoise Family Set
A mama tortoise with 2-3 babies—perfect for a windowsill display.
Steps:
- Roll one large ball for mama’s shell and 2-3 smaller balls for babies.
- Shape each into domed shells, graduating in size.
- Add legs (thicker for mama, tiny for babies) to each tortoise.
- Create heads with different expressions—mama looking down, babies looking up.
- Carve shell patterns on each one with varying detail.
- Arrange them together before drying to create a scene.
- Bake or dry completely, then display as a group.
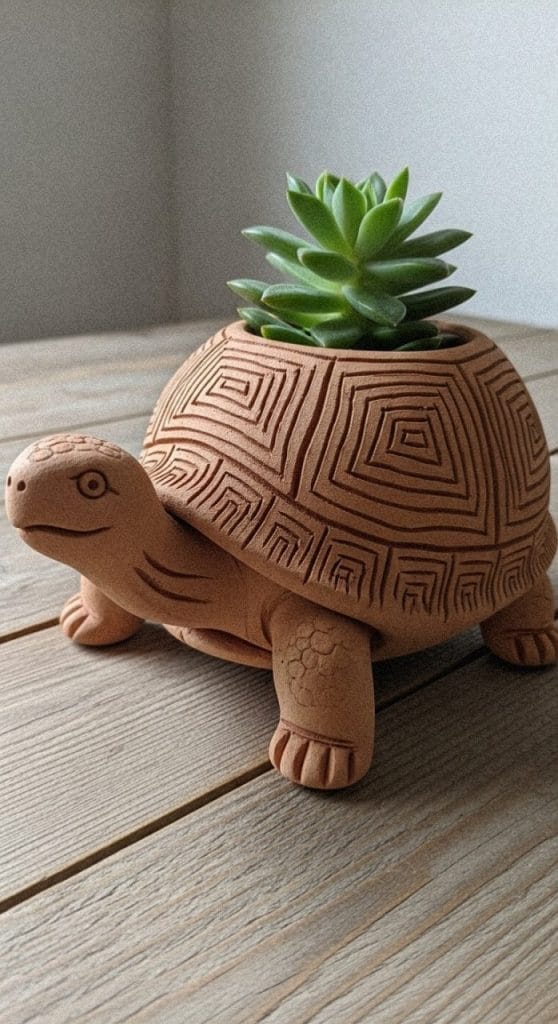
20. Textured Succulent Tortoise Planter
A hollow tortoise shell that becomes a tiny planter for succulents.
Steps:
- Roll a large ball of clay and hollow it out by pinching the walls thin.
- Shape it into a tortoise shell dome with an opening on top.
- Add detailed texture using stamps, lace, or carved patterns.
- Create a head, four legs, and a tail, attaching them to the base.
- Poke a small drainage hole in the bottom.
- Smooth all attached pieces so they blend naturally.
- Let it dry or bake, then add a small succulent and soil.
Tips for Perfecting Your Clay Turtle Art
Making a clay turtle is easy. Making a good clay turtle takes a few tricks. I’ve had my fair share of weird-looking turtles—some looked like lumpy potatoes, others like pancakes. But with a little practice, you can make a turtle that actually looks like a turtle.
1. Choose the Right Clay
Not all clay is the same. Some dry too fast, some crack, and some refuse to hold details.
| Clay Type | Best For |
|---|---|
| Polymer Clay | Smooth details, durable finish |
| Air-Dry Clay | No baking needed, good for kids |
| Foam Clay | Soft, squishy, lightweight |
2. Keep Your Hands Clean
Clay picks up everything—dust, lint, even crumbs from your last snack. Wash your hands and keep a damp towel nearby. Nobody wants a turtle covered in mystery specks.
3. Start with Simple Shapes
A turtle is just a few basic shapes. Roll a ball for the shell. Make small cylinders for legs. Add a tiny oval for the head. No need to overcomplicate things.
4. Texture Makes It Realistic
A smooth shell is fine, but a textured one looks way better. Use a toothbrush, foil, or even a crumpled piece of paper to add details. I once used a piece of fabric—it worked surprisingly well.
5. Don’t Forget Facial Expressions
Turtles have personality! A slight tilt of the head, tiny dimples, or big round eyes can change the whole look. Give it a goofy smile or a wise old-turtle expression.
6. Bake or Dry Properly
Rushing this step leads to cracked turtles. Polymer clay needs baking at the right temperature. Air-dry clay needs patience. Don’t put it in front of a fan unless you want it to dry unevenly (learned that the hard way).
7. Add a Protective Finish
Sealing your turtle makes it last longer. A glossy finish makes it look polished. A matte finish keeps it natural. If you skip this step, your turtle might fade or break over time.
8. Experiment with Colors
Turtles don’t have to be green. Try blue, purple, or even rainbow shells. I once made a galaxy turtle—black with tiny white dots for stars. Looked like a tiny reptilian astronaut.
9. Fix Mistakes Before Baking
Once it’s baked, it’s final. If your turtle’s leg is falling off, fix it now. If the shell is lumpy, smooth it out. There’s no undo button in clay art.
10. Have Fun With It
Your turtle doesn’t have to be perfect. Wonky turtles have charm. A little uneven shell? Call it handmade character. A big head? That’s just cute exaggeration.
The best way to improve is to keep making turtles. Try different styles, textures, and colors. If one turns out looking like a blob, just tell people it’s abstract art.

About Author
Muntaseer Rahman started keeping pet turtles back in 2013. He also owns the largest Turtle & Tortoise Facebook community in Bangladesh. These days he is mostly active on Facebook.