How I Turned a Basic Tub into a Thriving Turtle Paradise (And You Can Too)
This post was created with help from AI tools and carefully reviewed by a human (Muntaseer Rahman). For more on how we use AI on this site, check out our Editorial Policy.
It started as a temporary fix—a spare tub, a rescued turtle, and zero clue what I was doing.
But a few DIY tweaks later, I’d created something I never expected: a full-on turtle sanctuary.
Here’s exactly how I did it (mistakes and all), and how you can build your own.
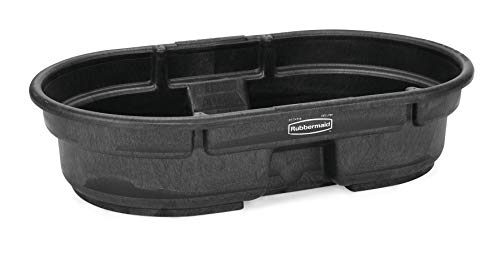
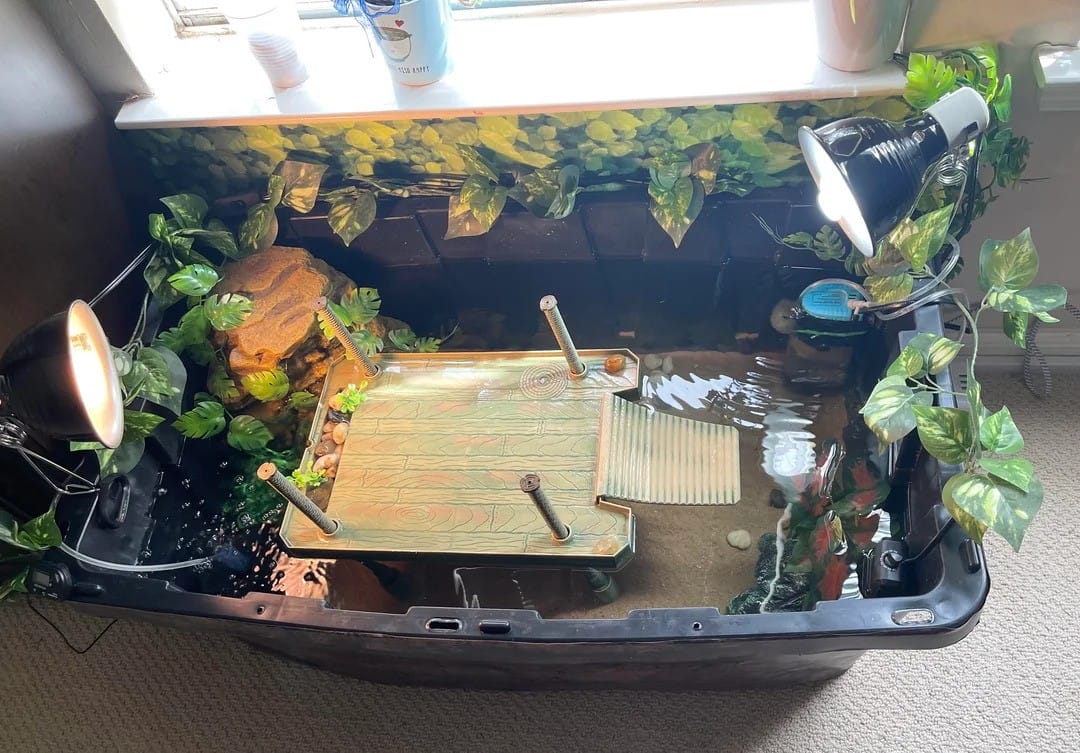
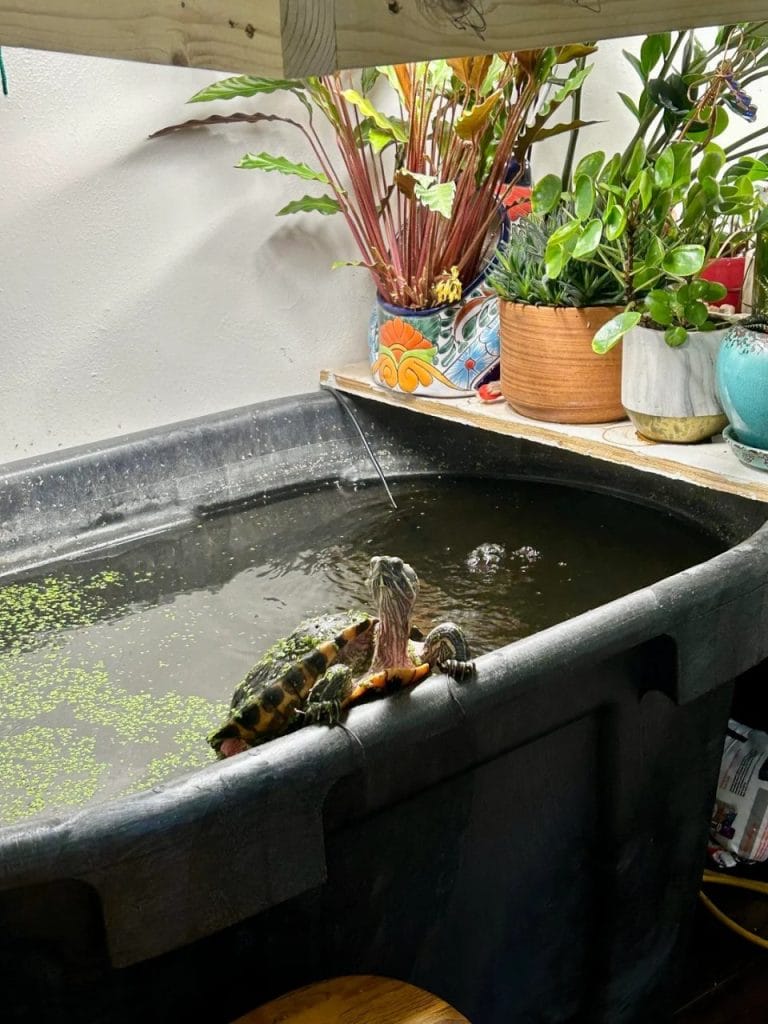
This 50 gallon turtle tub from Rubbermaid is very sturdy
Step 1: Finding the Right Tub
I didn’t go looking for anything fancy. Just needed something big enough and deep enough for my turtle to swim, move, and chill. I ended up using a basic plastic tub—nothing wild. It was about 36 inches long and 12 inches deep.
Here’s how I picked mine:
| Feature | Why It Mattered |
|---|---|
| Depth | Turtles need room to swim, not just soak |
| Length | The longer the better—more space to explore |
| Flat Bottom | Easier to add rocks and basking setup |
| Sturdy Walls | No risk of bending or tipping over |
Clear tubs are fine too. Some people think turtles get stressed from seeing through walls, but mine didn’t care. If yours does, you can cover the outside with black tape or cardboard. Easy fix.
Step 2: Creating a Safe Base
Before anything, I cleaned the tub. Hot water, a scrubber, no soap. Just got rid of all the factory gunk.
Then came the base. I didn’t want a bare bottom—too slippery, looks boring. So I added:
- River rocks (smooth ones only, no sharp edges)
- A little sand (just enough for looks, not too thick)
- A flat stone slab near one corner for feeding
Quick tip: Don’t go crazy with the sand unless you love cleaning. It settles in every corner.
Also, I rinsed everything 3–4 times before adding to the tub. Turtles put their face on everything, so better safe than sorry.
This Hilarious Turtle Book Might Know Your Pet Better Than You Do

Let’s be real—most turtle care guides feel like reading a textbook written by a sleep-deprived zookeeper.
This one’s not that.
Told from the snarky point of view of a grumpy, judgmental turtle, 21 Turtle Truths You’ll Never Read in a Care Guide is packed with sarcasm, sass, and surprisingly useful insights.
And hey—you don’t have to commit to the whole thing just yet.
Grab 2 free truths from the ebook and get a taste of what your turtle really thinks about your setup, your food choices, and that weird plastic palm tree.
It’s funny, it’s honest, and if you’ve ever owned a turtle who glares at you like you’re the problem—you’ll feel seen.
Step 3: Adding the Right Water Setup
This part can mess up fast if you don’t get it right. I filled the tub with water about halfway. Enough for swimming but low enough so my turtle couldn’t climb out.
I used a small canister filter (my pick: Penn-Plax Cascade) with a spray bar to keep things clean—choosing the right filter strength is critical for turtle tubs.
For heat, I used a submersible water heater and set it to 78°F. That’s the sweet spot for my turtle.
Here’s a quick setup chart:
| Item | What I Used | Why It Works |
|---|---|---|
| Filter | 500–800 LPH canister | Quiet, strong, easy to clean |
| Heater | 100W submersible | Keeps water stable at 78°F |
| Water Level | About 8–10 inches | Enough room, less splash risk |
I also added a floating log at first, just in case my turtle wanted to rest somewhere in between. Turned out, he ignored it—but hey, I tried.

This turtle dock (my pick: floating basking platform) from Zoo Med does the job perfectly
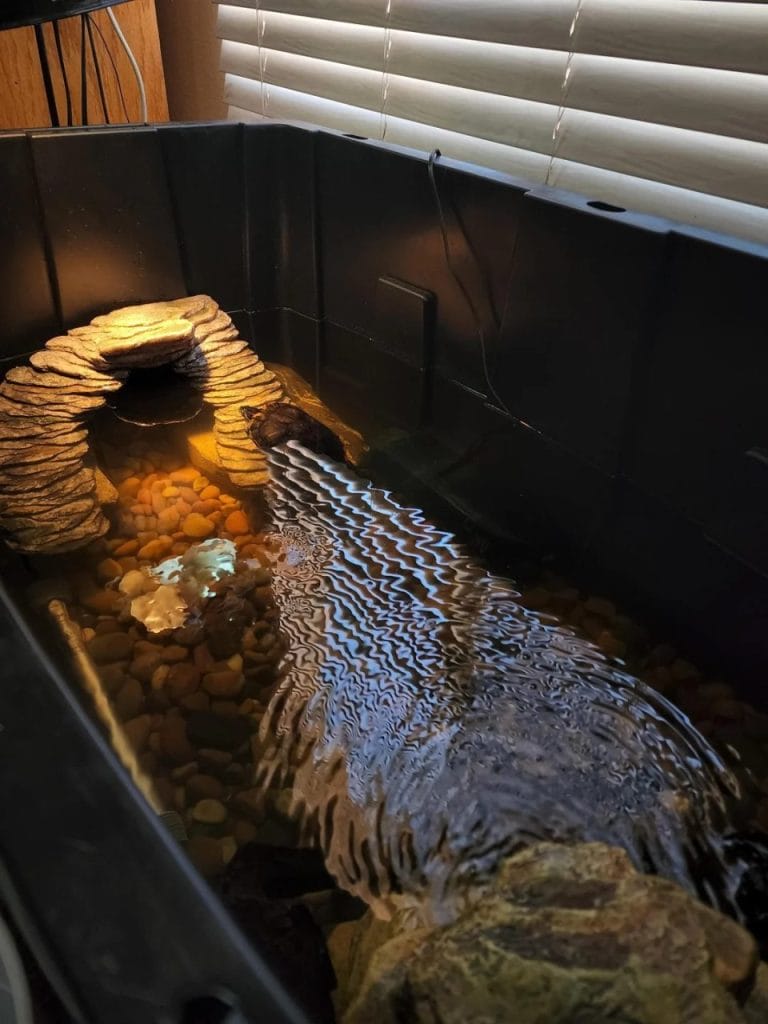
Step 4: Building a Basking Zone
This was the trickiest part.
A turtle can’t stay in water all day. They need to dry off, warm up, and soak in some UVB (my pick: Zoo Med ReptiSun 10.0) to stay healthy. So I had to build a basking area that was solid, dry, and easy to reach.
Here’s what I did:
- Took a plastic storage box lid, flipped it upside down
- Propped it up with two bricks under each end
- Added a flat slate tile on top for grip and heat absorption
- Made a ramp using a piece of cork bark
Then I hung a UVB bulb and a heat bulb right above the spot.
I kept the temperature there around 90–95°F. Just warm enough to tempt my turtle to come out and sunbathe. And it worked. Within a day, he was climbing up, stretching out, and living his best lizard life (well, turtle, but close enough).
Understanding why turtles bask and what they need from that time helped me fine-tune the setup even further.
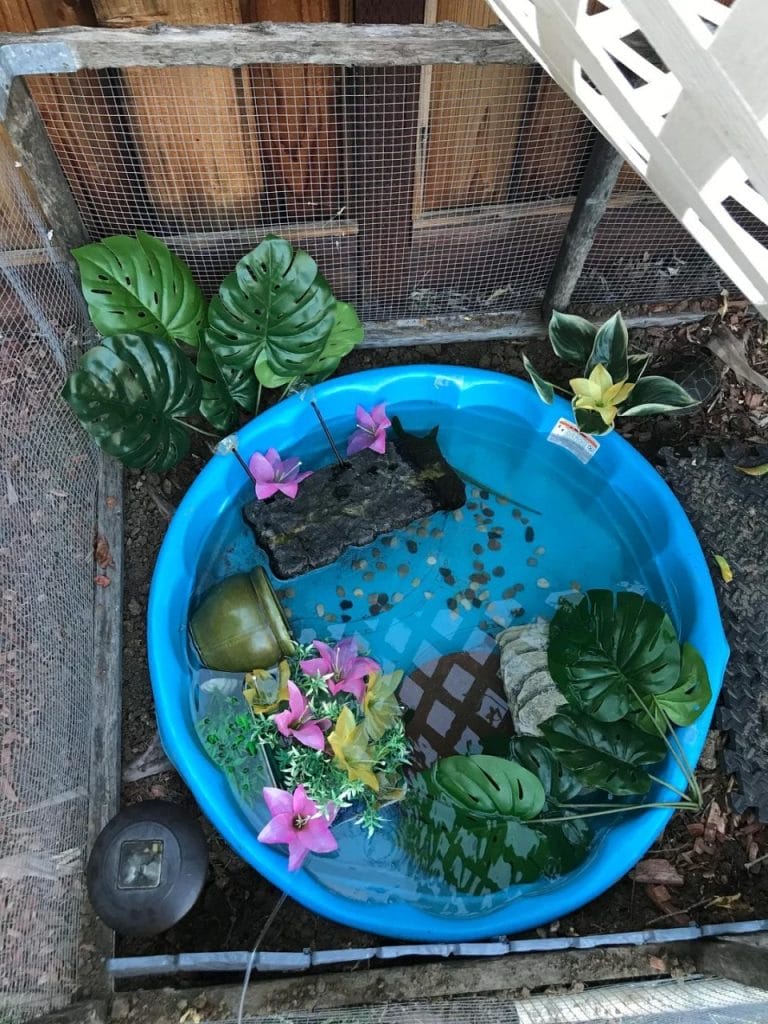
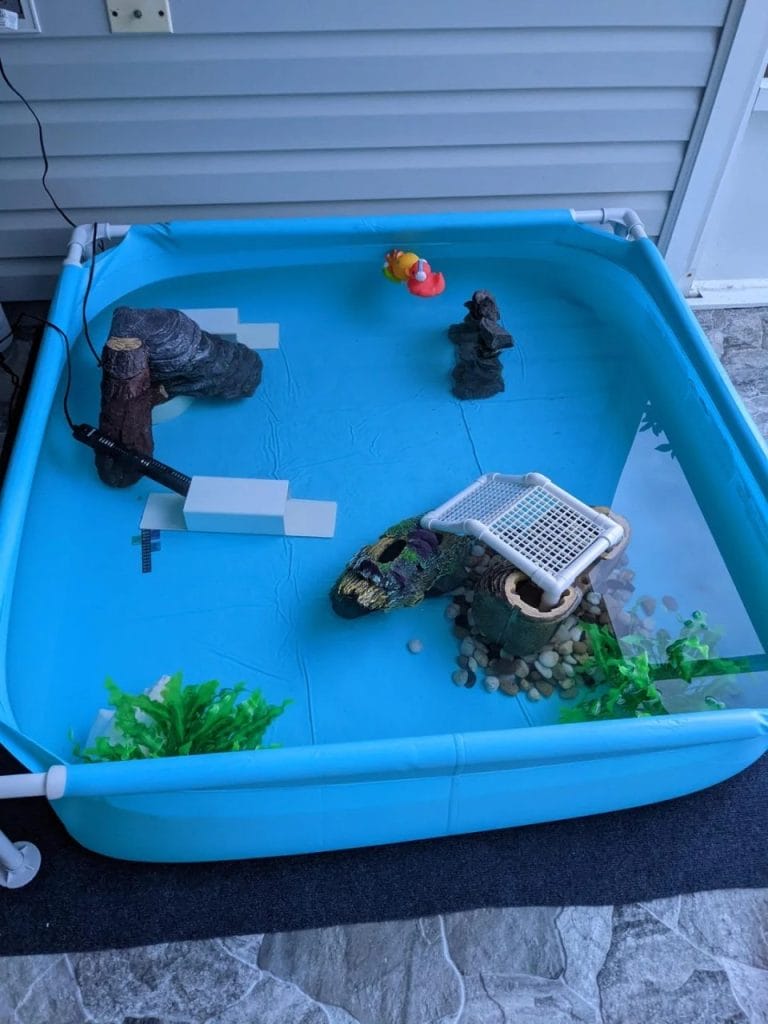
Step 5: Decorating with Turtle-Friendly Touches
I didn’t want the tub to look like a plastic bin from the garage. So I added stuff that made it feel more natural—both for me and the turtle.
Here’s what made the cut:
- Driftwood – anchored it so it wouldn’t float
- Big river stones – for hiding spots and climbing
- Fake plants – only the ones made for aquariums
- One floating dock – ignored, but looked nice
What didn’t work:
- Live plants. He shredded them in one day.
- Sharp decor from the dollar store. Tossed it right out.
The goal was to keep it simple and turtle-safe. No sharp edges, no tiny gaps to get stuck in, and nothing that could grow mold too fast.

Step 6: Meeting the Turtle’s Needs
After the setup, I paid attention to how he behaved. That’s when I made a few changes to help him feel more at home.
Here’s what I adjusted:
- Feeding area – I used a flat stone to place pellets and veggies. Easier cleanup.
- Rest spots – A couple of medium stones just under the surface where he could float and chill
- Hiding place – A half flowerpot flipped on its side. Simple but worked.
Within a week, he was more active. Swam more. Ate more. Started basking without hesitation.
It wasn’t perfect from day one. But once I learned to read his little habits, it turned into a real turtle paradise.

Step 7: Fixing Problems That Popped Up
Nothing ever goes perfect the first time. This setup looked great for about two days—then came the problems.
Problem 1: Mold on driftwood
- I thought I had cleaned it well. I didn’t.
- Within days, white fuzz started growing.
- Solution: Took it out, scrubbed with hot water and vinegar, then let it dry fully before placing it back.
Problem 2: Cloudy water
- Even with the filter, the water got hazy.
- Cause: Overfeeding and too much leftover food—the same issues that make turtle tanks smell.
- Fix: Fed in smaller amounts and removed leftovers after 10 minutes. Added a bit of activated carbon in the filter too.
Problem 3: Tub got too cold at night
- Room temperature dropped more than I expected.
- Heater alone wasn’t cutting it.
- Fix: I wrapped the tub’s outer walls with an old yoga mat and added a cheap room heater nearby. That did the trick.
These issues sound annoying, but they were small bumps. Took less than an hour to fix each once I figured out the cause.
Step 8: Budget Breakdown
Let’s talk money—because no one wants to drop hundreds on a plastic tub project. I didn’t.
Here’s what I spent:
| Item | Cost | Notes |
|---|---|---|
| Plastic tub | $15 | Found at a hardware store |
| Filter | $30 | Small canister, enough for the size |
| Water heater | $18 | 100W, adjustable |
| UVB bulb + fixture | $25 | Got a combo online |
| Heat bulb + fixture | $20 | Used a clamp lamp I had already |
| Decor (rocks, wood, etc) | $0 | Collected, cleaned, reused |
| Basking platform | $0 | DIY with bricks and tiles |
Total Spent: $108
If I didn’t already have a few things, I’d say it could go up to around $130. Still cheaper than most store-bought turtle tanks. And this one’s way more fun to build.

About Author
Muntaseer Rahman started keeping pet turtles back in 2013. He also owns the largest Turtle & Tortoise Facebook community in Bangladesh. These days he is mostly active on Facebook.