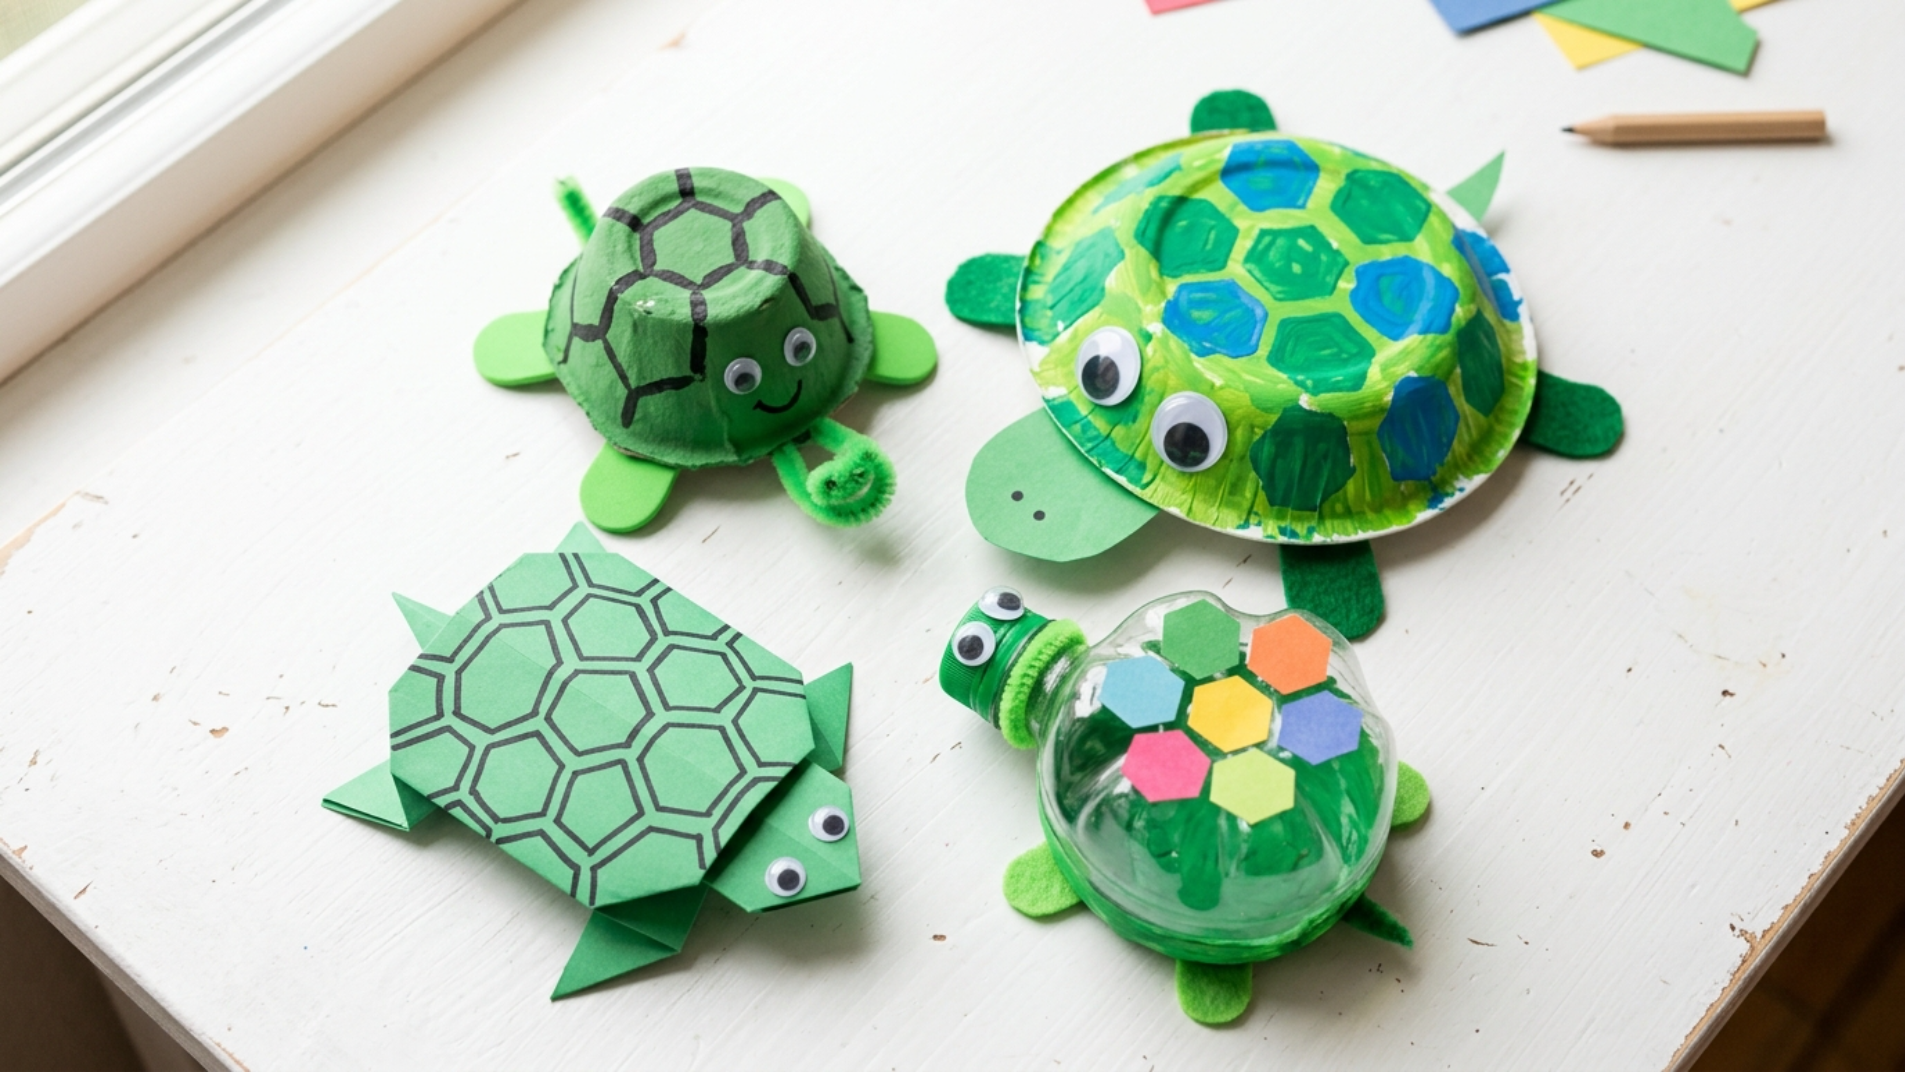
3D Turtle Crafts: 10 Easy Builds Kids Can Make (Egg Carton, Bottle & Paper Roll Ideas)
This post was created with help from AI tools and carefully reviewed by a human (Muntaseer Rahman). For more on how we use AI on this site, check out our Editorial Policy.
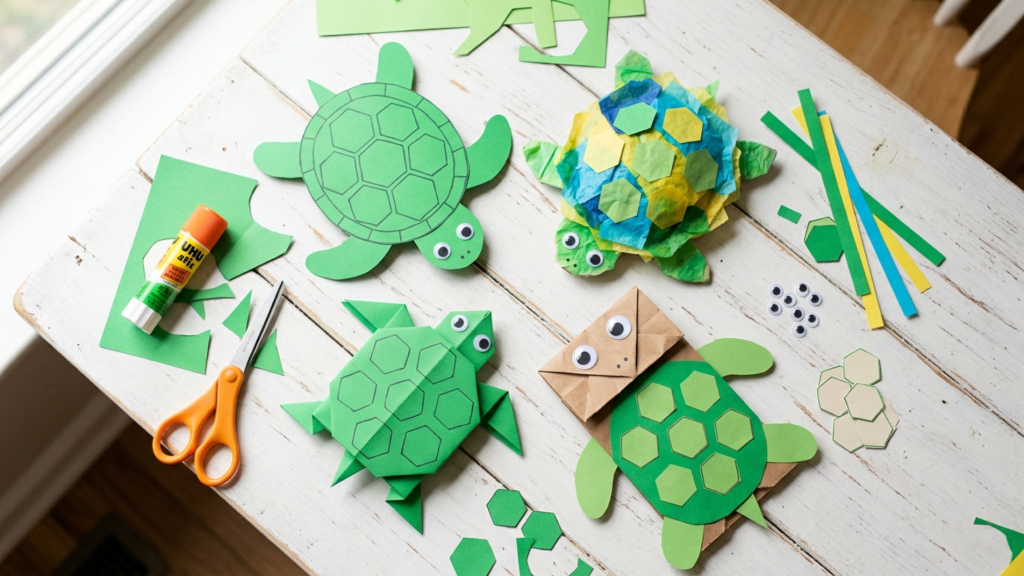
Flat turtle crafts are fine. But a turtle you can actually stand on the table, spin around, and march across the floor? That hits different.
3D turtle crafts give kids a little shell they can hold, and that dome shape is the whole magic. Once the shell pops up off the page, the turtle stops being a drawing and starts being a creature.
The best part is you almost certainly have the supplies already. Egg cartons, an empty bottle, a toilet paper roll, a paper bowl from the cupboard. This is the craft drawer talking, not the craft store.
Below are 10 easy 3D turtle builds, roughly ordered from toddler-simple to a rainy-afternoon project for older kids. Each one tells you the age range, the time, and the one trick that makes it work.
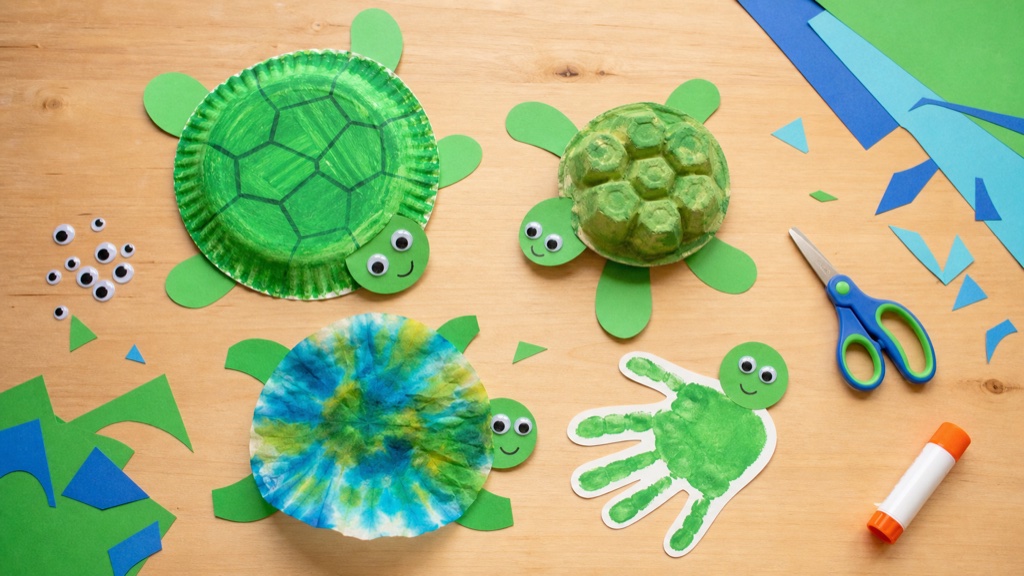
If you want even more options after this, our big roundup of turtle and tortoise crafts covers flat paper-plate and handprint versions too.
What Makes a Turtle Craft “3D”?
A 3D turtle craft has a shell that rises up into a real dome instead of lying flat on paper.
That dome can come from almost anything curved: an egg cup, the bottom of a bottle, a folded paper circle, a bowl, or layered cardboard. The shell does the heavy lifting, and then you add a head, four legs, and a tail underneath.
The payoff is that the finished turtle stands on its own and looks like a tiny sculpture. Kids can play with it afterward, which is more than you can say for most glue-and-paper projects.
3D Turtle Craft Supplies Checklist
Most of these builds share the same handful of basics. Stock these once and you can make every turtle on the list.
- Core supplies: green and brown paint, paintbrush, scissors, glue (a hot glue gun for grown-ups speeds up the bigger builds), googly eyes, black marker, green and brown construction paper
- Recycled “shells” to save up: egg cartons, plastic bottles, toilet paper and paper towel tubes, paper bowls, bottle caps, cardboard boxes
- Nice-to-haves: newspaper and flour for papier-mache, cardstock for pop-ups and folding, Mod Podge to seal the fancier turtles
This Hilarious Turtle Book Might Know Your Pet Better Than You Do
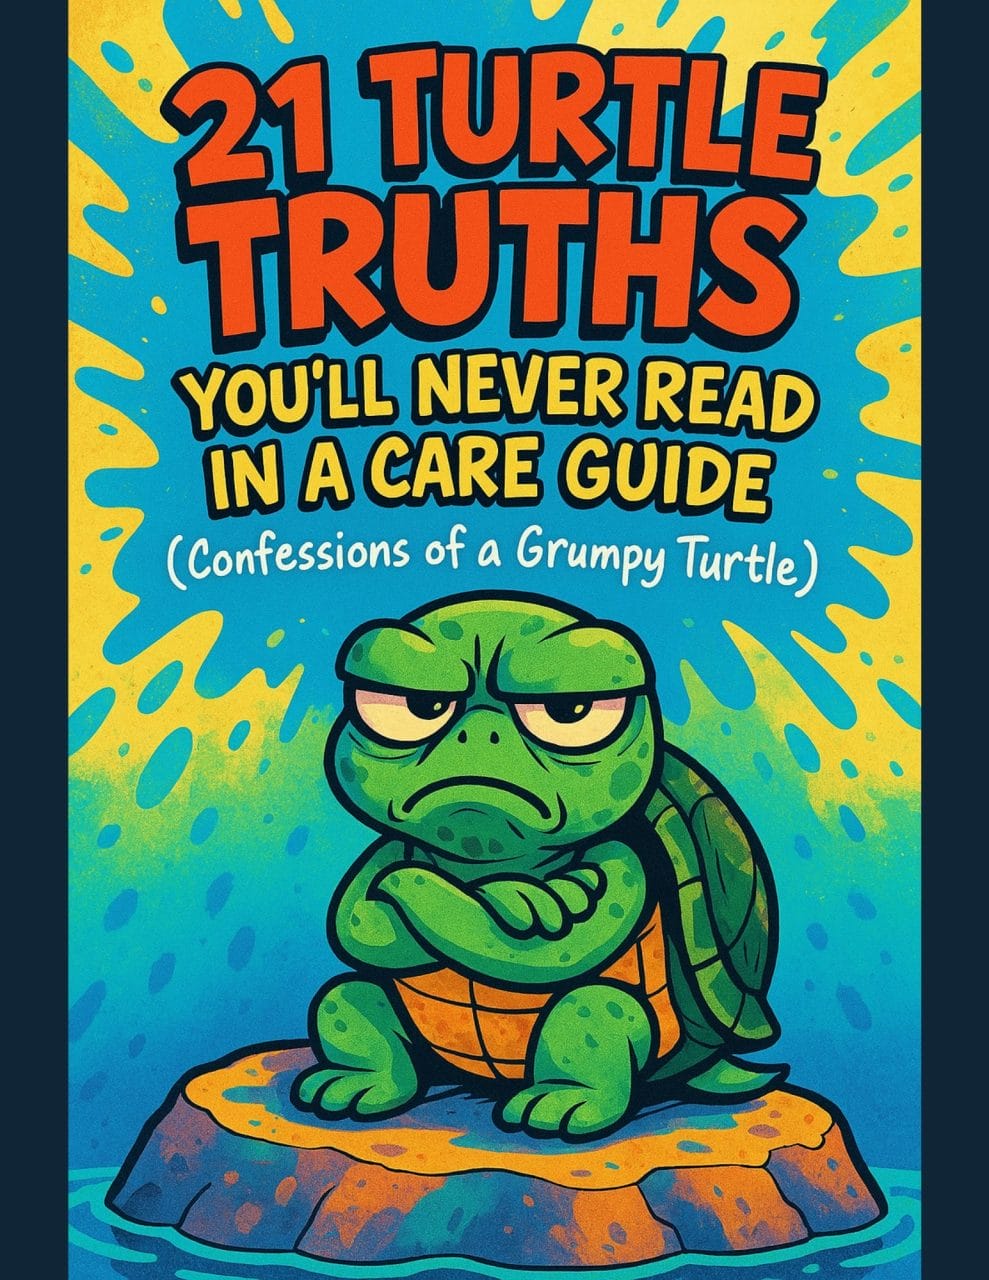
Let’s be real—most turtle care guides feel like reading a textbook written by a sleep-deprived zookeeper.
This one’s not that.
Told from the snarky point of view of a grumpy, judgmental turtle, 21 Turtle Truths You’ll Never Read in a Care Guide is packed with sarcasm, sass, and surprisingly useful insights.
And hey—you don’t have to commit to the whole thing just yet.
Grab 2 free truths from the ebook and get a taste of what your turtle really thinks about your setup, your food choices, and that weird plastic palm tree.
It’s funny, it’s honest, and if you’ve ever owned a turtle who glares at you like you’re the problem—you’ll feel seen.
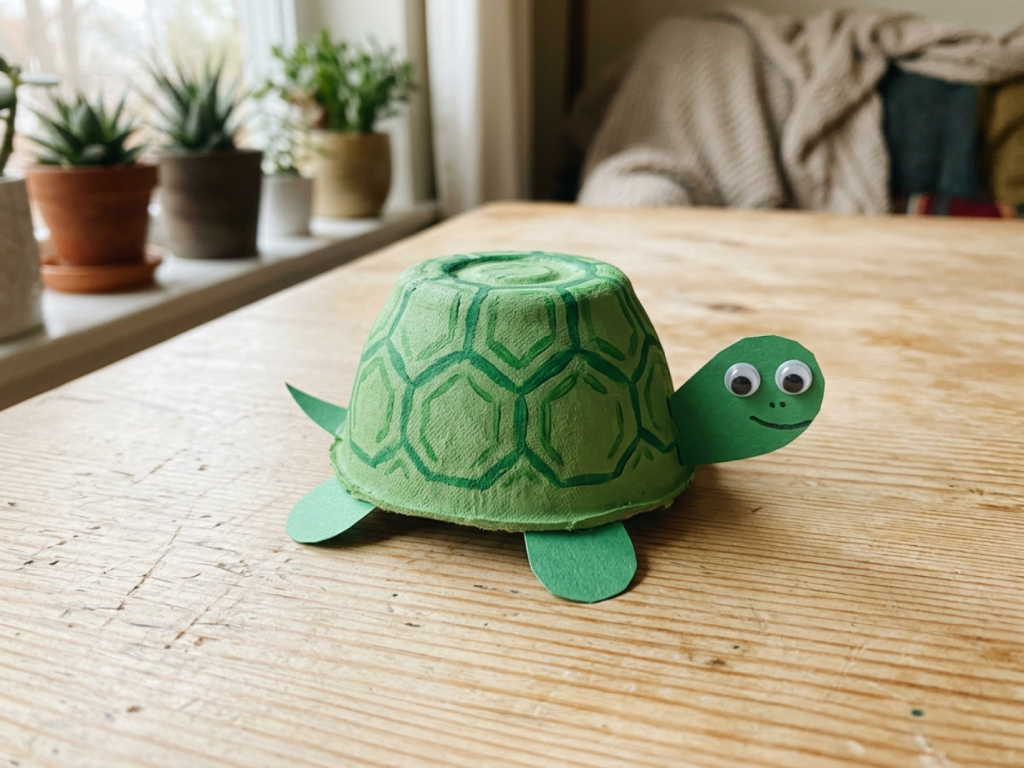
1. Egg Carton Turtle
This is the one to start with. An egg carton cup is already a perfect little dome, so the shell is basically done before you begin.
- Best for: ages 3 and up
- Time: 15 minutes, plus drying
- Shell from: one egg carton cup
Materials: egg carton, green paint, green construction paper, scissors, glue, googly eyes, black marker.
Steps:
- Cut a single cup out of the egg carton and trim the edges so it sits flat, dome up.
- Paint the cup green and let it dry fully.
- Cut four little legs, a head, and a short tail from green paper.
- Glue the legs, head, and tail to the bottom edges of the cup so they peek out around the shell.
- Stick on googly eyes and draw a smile.
- Use the black marker to draw hexagon scutes across the shell.
Tip: Paint two or three cups at once and make a whole turtle family. Toddlers love lining them up by size.
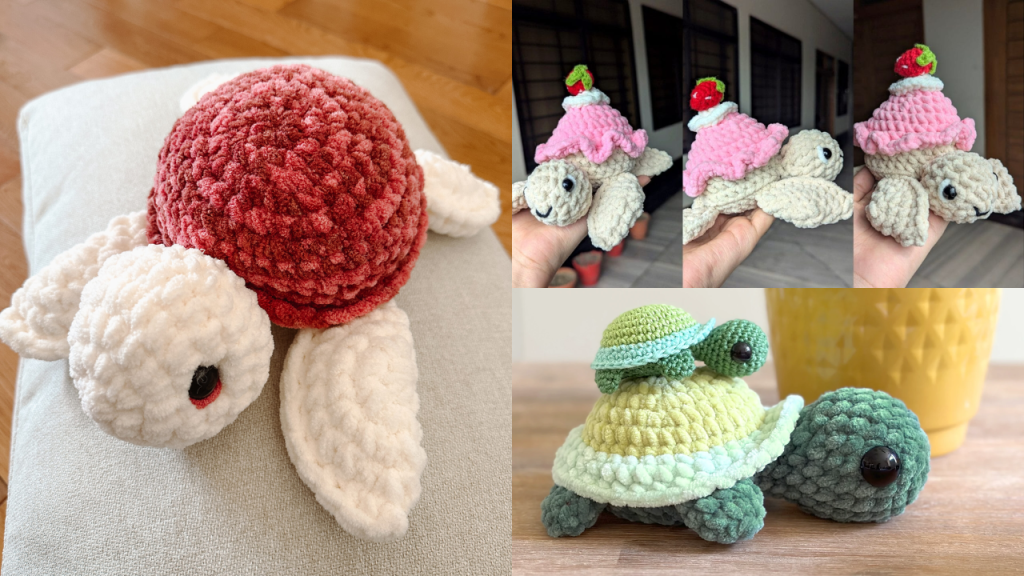
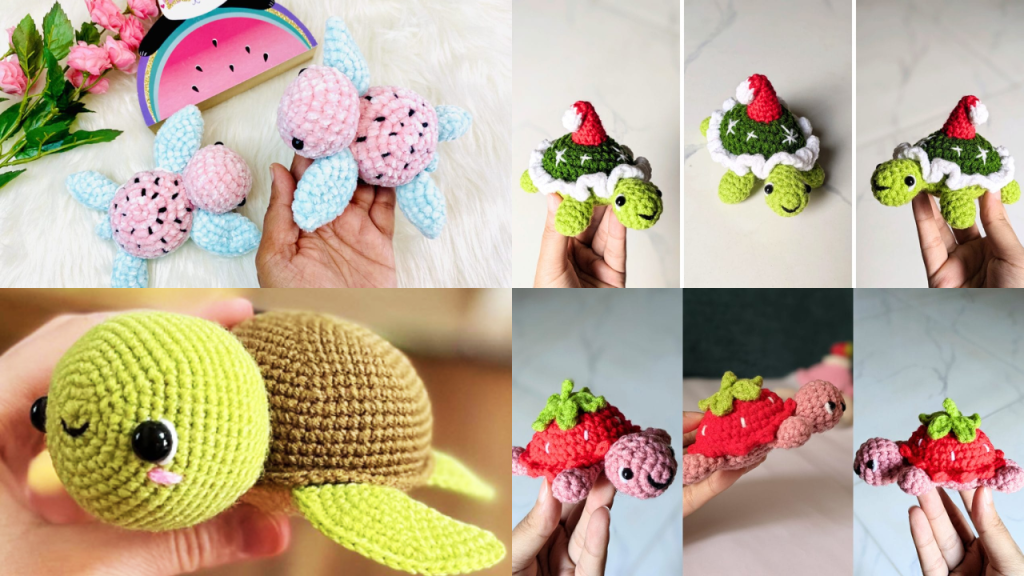
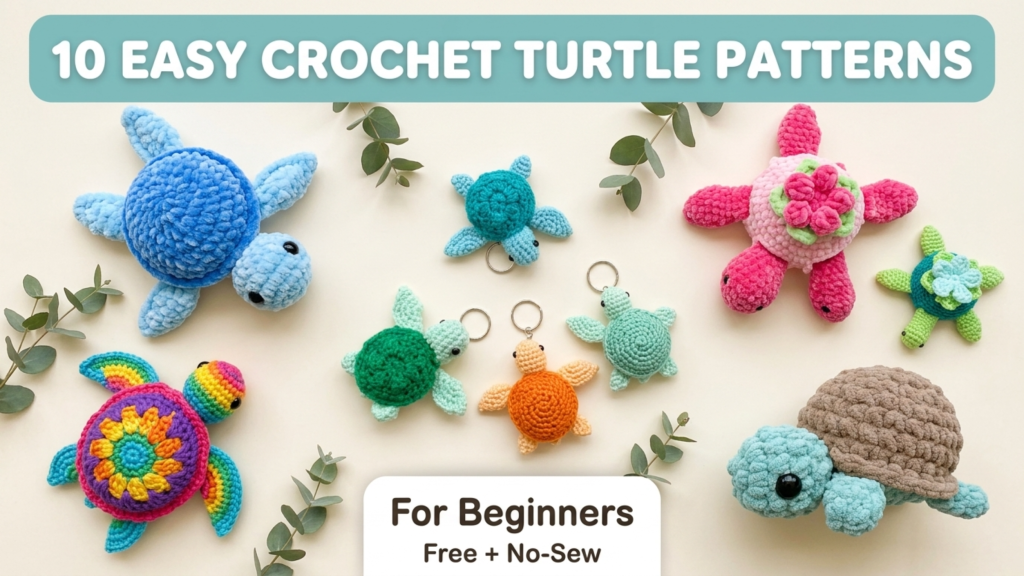
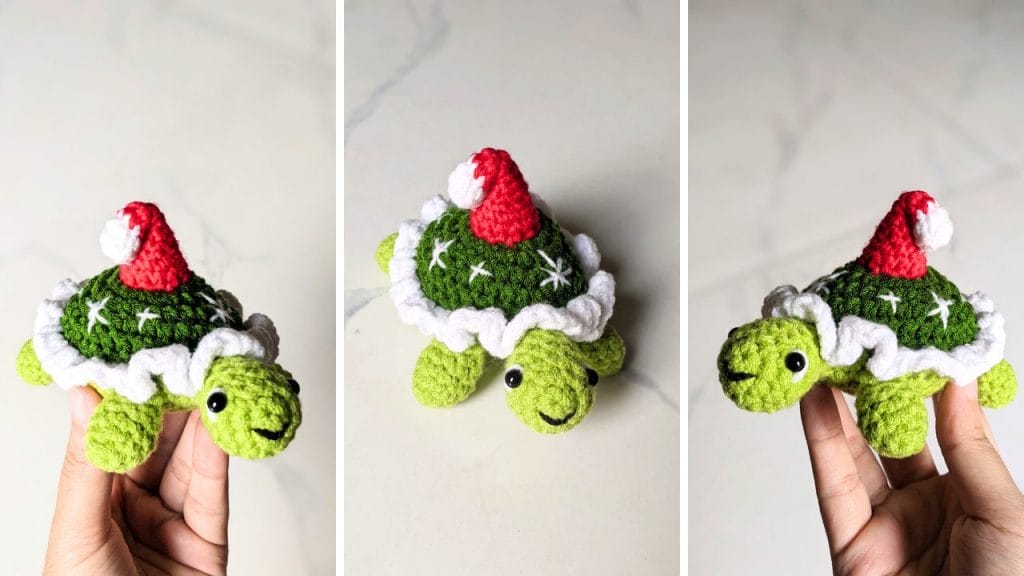
For a softer, squishier version of this same idea, the no-sew route in our crochet turtle patterns for beginners is a fun next step.
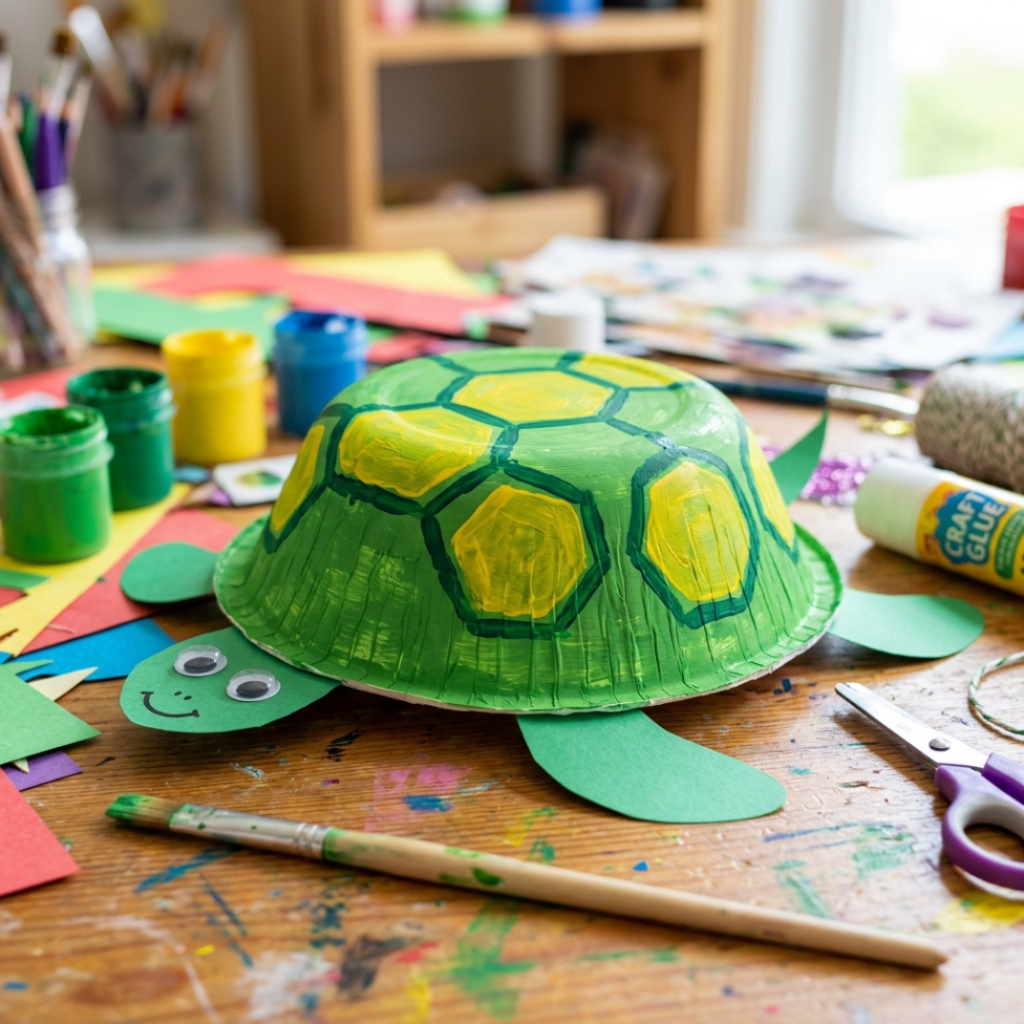
2. Paper Bowl Turtle
A paper bowl flipped upside down is an instant giant shell. This one comes together fast and looks great on a shelf.
- Best for: ages 4 and up
- Time: 20 minutes, plus drying
- Shell from: one paper or plastic bowl
Materials: small paper bowl, green paint, green and yellow construction paper, scissors, glue, googly eyes, marker.
Steps:
- Turn the bowl upside down and paint the outside green. Let it dry.
- Cut a head, four legs, and a tail from green paper.
- Glue them around the rim so they stick out under the dome.
- Cut yellow or light green hexagons and glue them across the shell, or just draw the pattern on.
- Add googly eyes and a friendly mouth.
Tip: Two bowls glued rim to rim make a closed shell you can hide a tiny surprise inside. Great for a party favor.
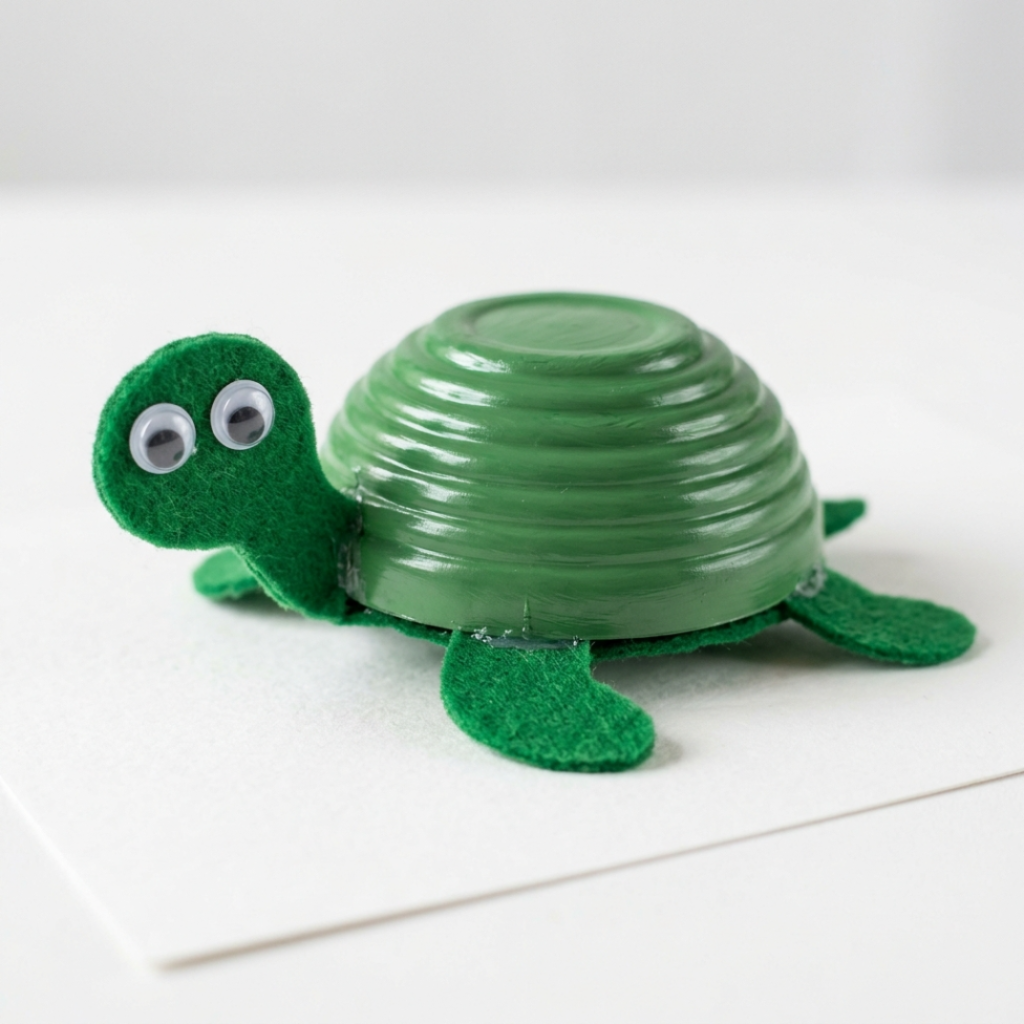
3. Plastic Bottle Turtle
The rounded bottom of a soda bottle makes a sturdy, glossy shell. This is the build that feels the most like a real toy when it is done.
- Best for: ages 5 and up (an adult cuts the bottle)
- Time: 25 minutes, plus drying
- Shell from: the bottom third of a plastic bottle
Materials: clean plastic bottle, green paint or green paper, green felt or cardstock, scissors, hot glue (adult), googly eyes, marker.
Steps:
- An adult cuts off the bottom third of the bottle. The bumpy base becomes the shell.
- Paint the outside green, or wrap and glue green paper around it. Let it dry.
- Cut a head, four legs, and a tail from felt or cardstock.
- Glue them to the cut rim so the turtle stands on its legs.
- Add googly eyes and draw shell scutes with marker.
Tip: The natural ridges on the bottle base already look like a shell pattern, so even minimal decorating looks finished.
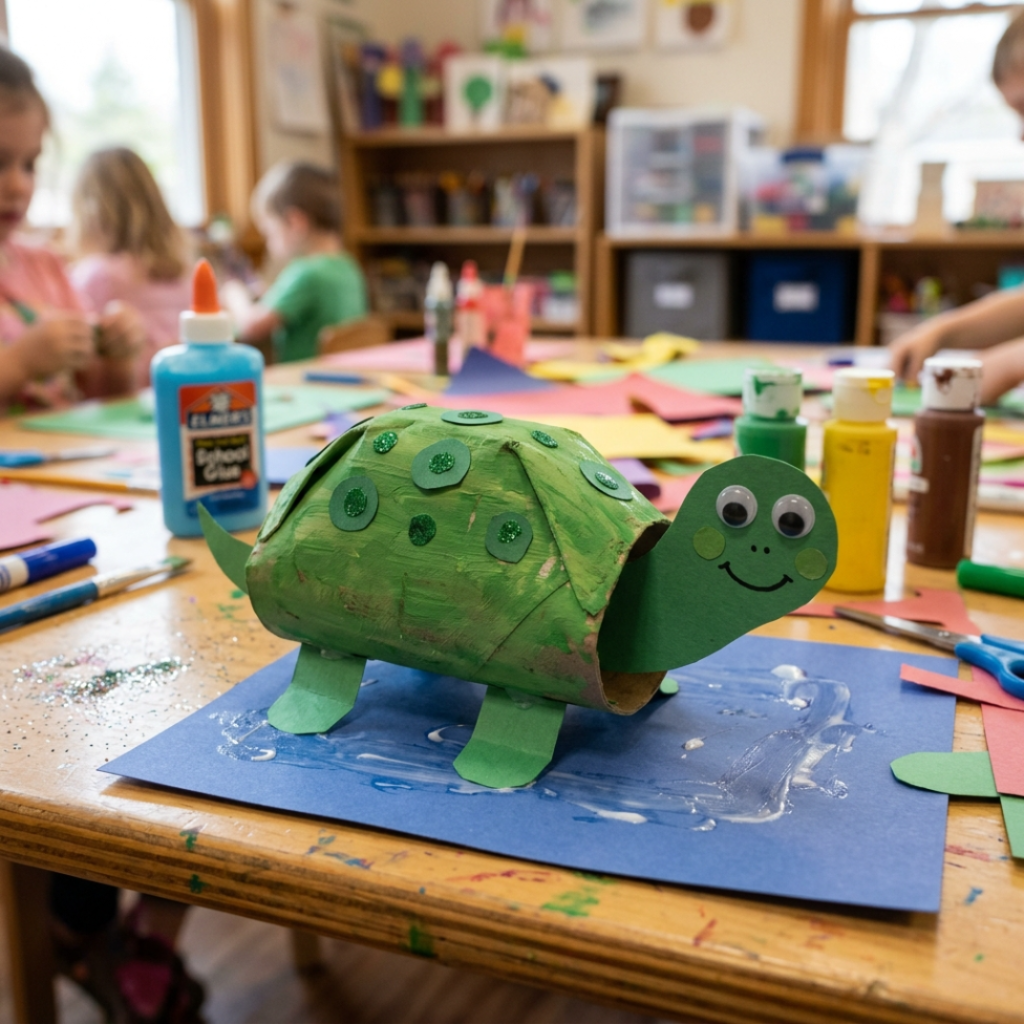
4. Toilet Paper Roll Turtle
A cardboard tube squashed and folded turns into a chunky little turtle with almost no supplies. Pure recycling-bin magic.
- Best for: ages 4 and up
- Time: 15 minutes
- Shell from: one toilet paper or paper towel tube
Materials: cardboard tube, green paint, green paper, scissors, glue, googly eyes, marker.
Steps:
- Paint the tube green and let it dry.
- Flatten the tube slightly and fold the two ends inward to make a humped, rounded body.
- Cut a head, legs, and tail from green paper and glue them on.
- Pinch the top of the tube into a gentle dome for the shell.
- Add eyes, a smile, and marker scutes.
Tip: Cut the tube in half first for two smaller turtles, perfect when siblings both want one.
5. Pop-Up Turtle Card
This one folds flat like a card, then springs into a 3D turtle when you open it. Kids are genuinely amazed the first time the shell pops up.

- Best for: ages 6 and up
- Time: 25 minutes
- Shell from: a folded cardstock pop-up tab
Materials: green and white cardstock, scissors, glue, markers, googly eyes.
Steps:
- Fold a sheet of white cardstock in half to make the card.
- Cut two parallel slits in the center fold and push the strip forward to make a pop-up tab.
- Cut a domed turtle shell from green cardstock and glue it to the front of the tab so it stands up when the card opens.
- Draw or glue on a head, legs, and tail around the shell.
- Add scutes, googly eyes, and a message inside.
Tip: This doubles as a homemade birthday or get-well card. The 3D turtle is the gift.
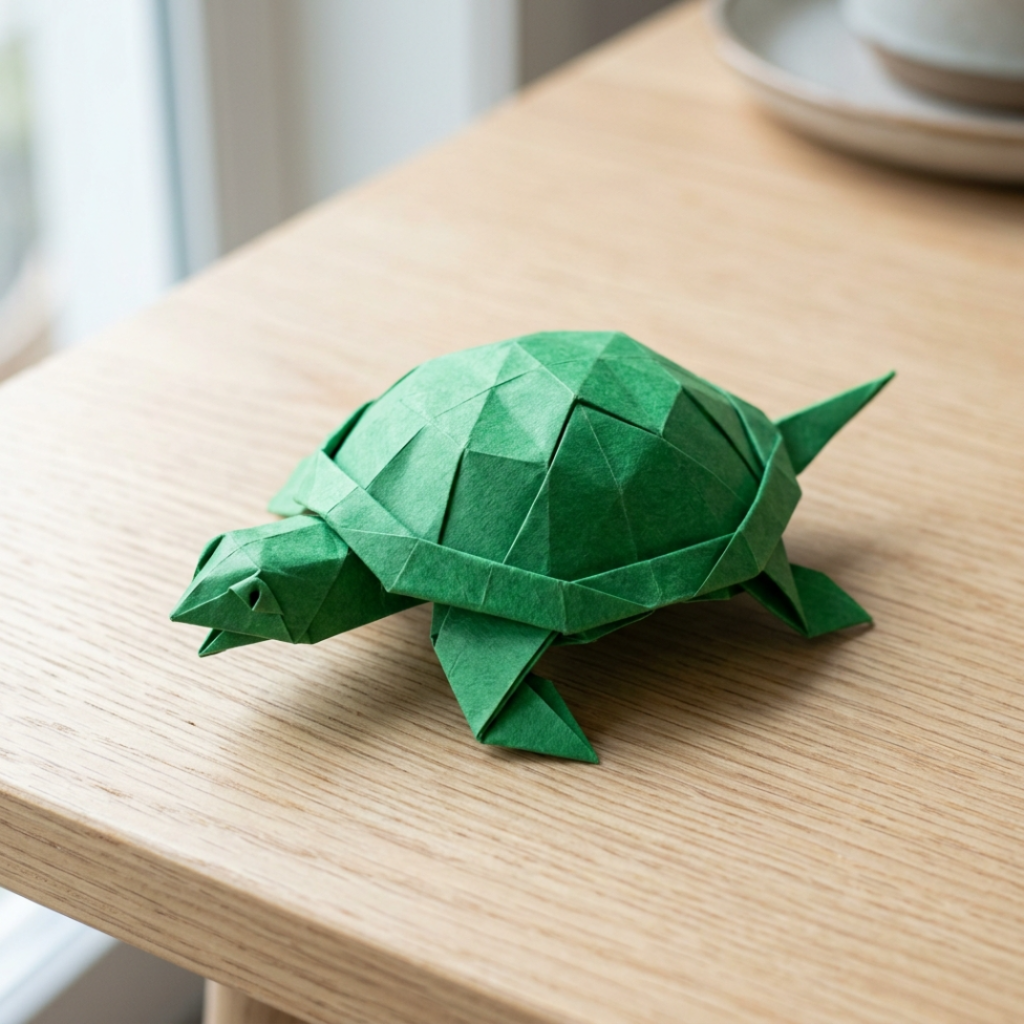
6. Origami Turtle
No glue, no scissors, just one square of paper and a few folds. Origami turtles are a calm, screen-free project that builds real focus.
- Best for: ages 7 and up
- Time: 15 minutes
- Shell from: folded paper
Materials: one square of green origami paper, optional googly eyes or marker.
Steps:
- Start with a square, colored side down, and fold it into a triangle, then unfold.
- Fold the corners in to shape the head, four feet, and a pointed tail.
- Fold the top layer up to lift the shell into a gentle dome.
- Crease firmly so the turtle holds its shape and stands up.
- Draw on eyes and shell lines, or stick on tiny googly eyes.
Tip: Print a free origami turtle diagram so younger kids can follow the folds with a parent. The first one is tricky, the third one is easy.
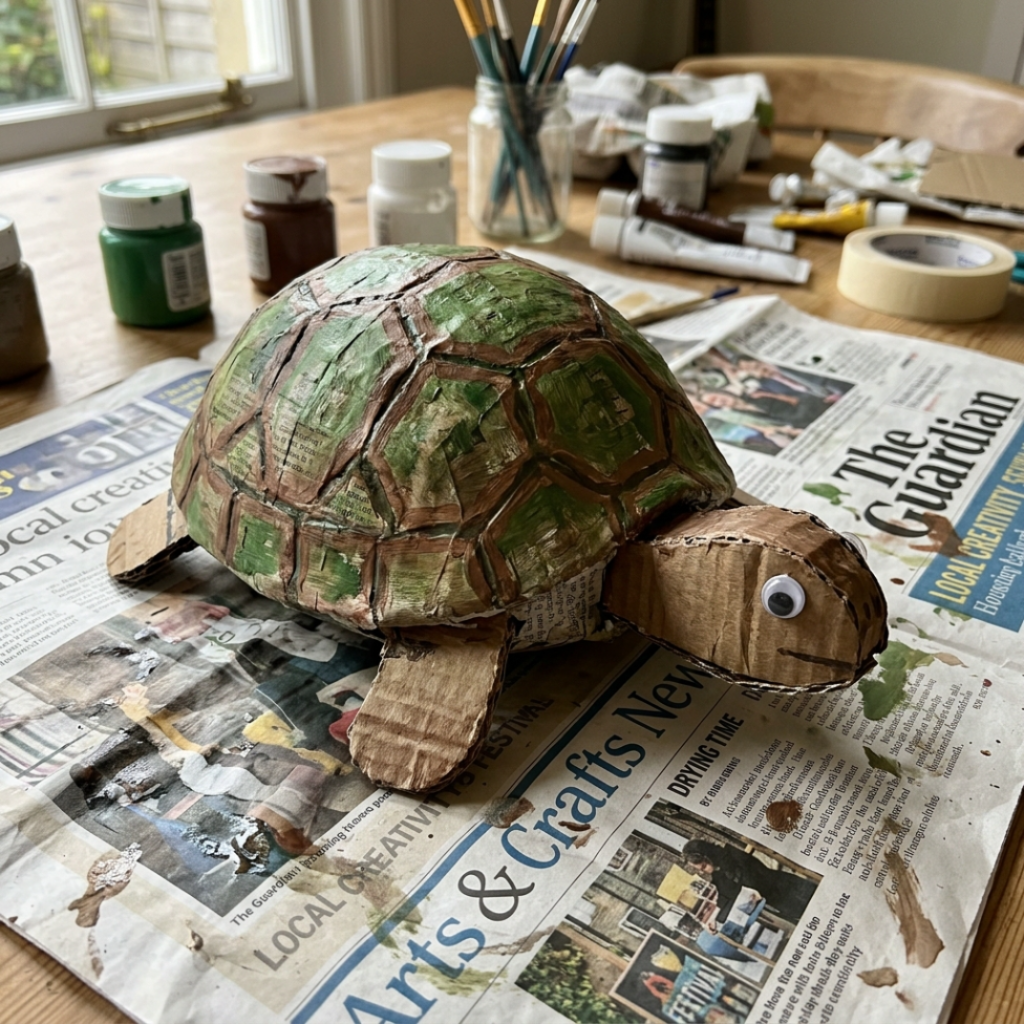
7. Papier-Mache Turtle
This is the showpiece. A balloon or bowl base wrapped in newspaper strips dries into a hard, paintable shell that lasts for years.
- Best for: ages 6 and up, with adult help
- Time: spread over two days for drying
- Shell from: a balloon or bowl mold
Materials: small balloon or bowl, newspaper strips, flour-and-water paste (or white glue), paint, scissors, marker.
Steps:
- Blow up a small balloon, or flip a bowl over as your dome mold.
- Tear newspaper into strips, dip them in paste, and layer them over the top half of the mold.
- Build up three or four layers, then let it dry completely overnight.
- Pop the balloon or lift off the bowl, and trim the shell edge flat.
- Paint the shell green, add a cardboard or paper head, legs, and tail, then draw scutes and eyes.
Tip: Mix a little green paint into the last layer of paste so any thin spots still look right.
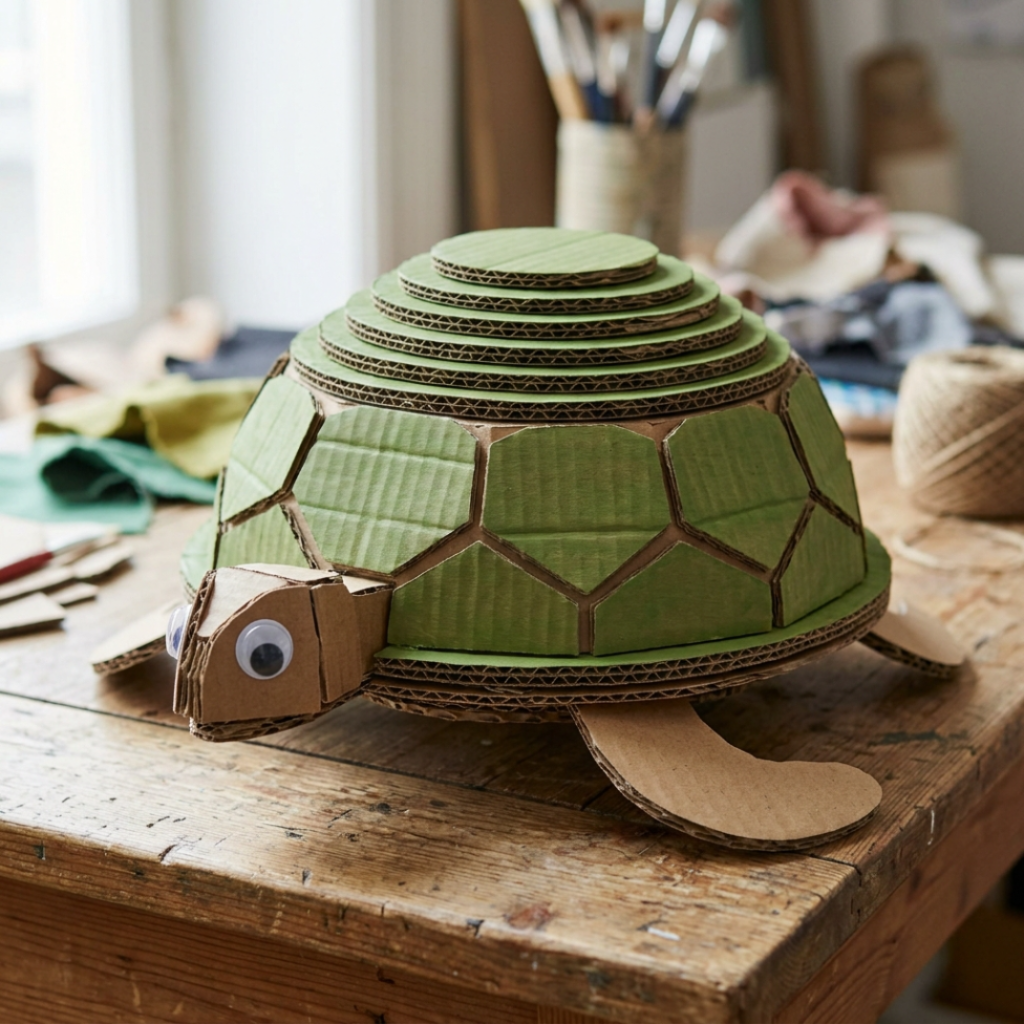
8. Layered Cardboard Turtle
Stacked cardboard circles, biggest on the bottom, build a stepped shell with real height and weight. It looks like a tiny topographic sculpture.
- Best for: ages 6 and up (an adult cuts the cardboard)
- Time: 30 minutes, plus drying
- Shell from: stacked cardboard circles
Materials: corrugated cardboard, pencil, scissors or craft knife (adult), green paint, glue, googly eyes, marker.
Steps:
- Trace and cut four or five cardboard circles, each a little smaller than the last.
- Stack and glue them largest to smallest to form a domed, stepped shell.
- Cut a head, four legs, and a tail from cardboard and glue them under the base circle.
- Paint the whole turtle green and let it dry.
- Add googly eyes and draw scutes around each layer.
Tip: Leave the layers unpainted for a natural, woodgrain-style turtle. The corrugated edges look surprisingly good bare.
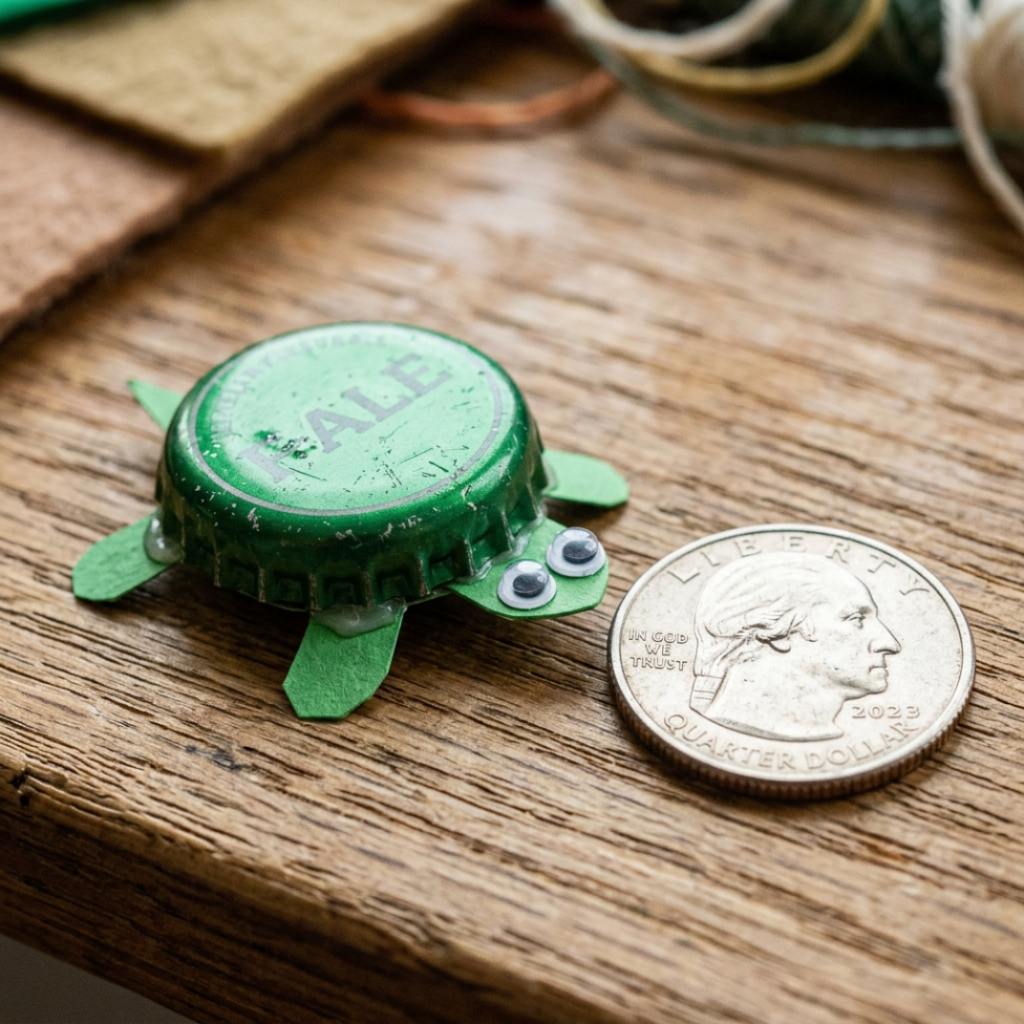
9. Bottle Cap Turtle
The tiniest build on the list. A single bottle cap becomes a mini turtle small enough to live on a keychain or magnet.
- Best for: ages 4 and up
- Time: 10 minutes
- Shell from: one plastic bottle cap
Materials: plastic bottle cap, green paint or scrap paper, glue, marker, small googly eyes.
Steps:
- Paint the cap green, or trace and glue a paper circle on top.
- Cut a tiny head, four legs, and a tail from green scrap paper.
- Glue them around the rim of the cap.
- Add a dot of glue for each googly eye and draw a little smile.
- Decorate the shell with marker dots or tiny paper scutes.
Tip: Glue a magnet strip on the back for an instant fridge turtle, or a pin for a backpack.
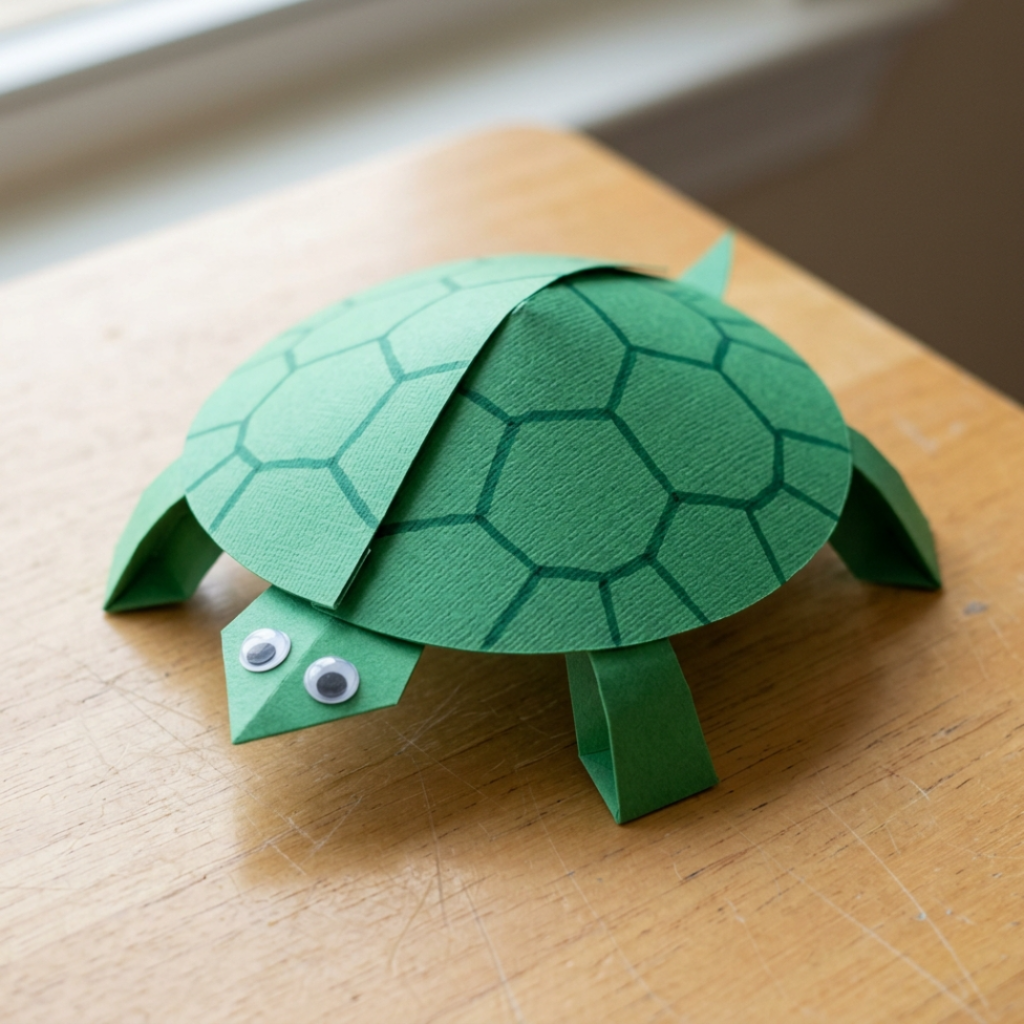
10. 3D Folded Cardstock Turtle
The classic 3D paper turtle. A single circle of cardstock, one cut, and a quick overlap turns flat paper into a standing dome shell.
- Best for: ages 5 and up
- Time: 15 minutes
- Shell from: a folded cardstock circle
Materials: green cardstock, a small bowl, pencil, scissors, glue, googly eyes, marker.
Steps:
- Trace a bowl onto green cardstock and cut out the circle.
- Cut one straight slit from the edge to the center.
- Overlap the two cut edges and glue them. The flat circle pulls up into a shallow dome.
- Cut a head, four legs, and a tail, then glue them under the dome.
- Add googly eyes and draw shell scutes.
Tip: The more you overlap before gluing, the taller and pointier the shell. Let kids choose flat-and-wide or tall-and-domed.
Which 3D Turtle Craft Should You Start With?
If you want the fastest win, start with the egg carton turtle or the bottle cap turtle. Both take ten or fifteen minutes and use a shell shape that is already done.
For a classroom or party, the paper bowl and toilet paper roll turtles scale up easily because the supplies are cheap and everyone can work at the same time.
When you want one impressive keepsake, the papier-mache turtle and the layered cardboard turtle are the builds kids will still have on a shelf next year.
Once your turtle is built and googly-eyed, it needs a name. Browse our list of 100+ turtle name ideas to find one that fits its personality.
And if you catch the crafting bug, our clay turtle ideas and turtle painted rock ideas guides are the natural next builds.
3D Turtle Craft FAQs
What is the easiest 3D turtle craft for kids?
The egg carton turtle is the easiest 3D turtle craft for kids.
An egg carton cup is already a dome, so toddlers and preschoolers skip the hardest part and go straight to painting and decorating. The whole project takes about fifteen minutes.
The bottle cap turtle is a close second when you want something even quicker.
How do you make a 3D turtle out of paper?
Cut a circle from cardstock, make one slit from the edge to the center, then overlap and glue the cut edges.
The flat circle pulls up into a shallow dome that becomes the shell. Add a paper head, four legs, and a tail underneath, then draw on scutes and stick on googly eyes.
For a springier paper version, a pop-up turtle card hides a 3D shell that lifts when you open the card.
What recycled materials make good 3D turtle shells?
Egg carton cups, the bottom of a plastic bottle, toilet paper tubes, paper bowls, and bottle caps all make excellent ready-made turtle shells.
Each one is already curved or domed, so you reuse something headed for the bin and skip building a shell from scratch. These recycled turtle crafts are perfect for Earth Day and Ocean Awareness Week.
Are 3D turtle crafts good for preschool and the classroom?
Yes, most 3D turtle crafts work well for preschool and classroom use.
The egg carton, paper bowl, and toilet paper roll turtles are best for ages 3 to 6 and use cheap supplies you can buy in bulk. Older kids can handle the papier-mache, layered cardboard, and origami turtles.
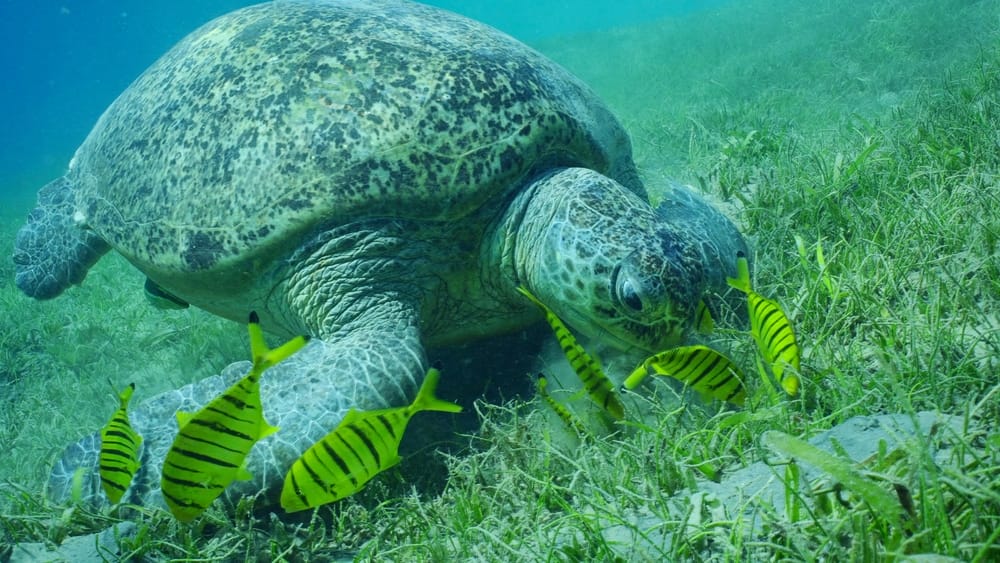
Teachers often pair these with a sea turtle lesson, a beach cleanup talk, or a turtle life cycle activity.
How long do these 3D turtle crafts take?
Most 3D turtle crafts take 10 to 30 minutes of hands-on time.
Quick builds like the bottle cap, egg carton, and toilet paper roll turtles finish in about fifteen minutes. The papier-mache turtle needs the most patience because each layer has to dry, usually overnight.

About Author
Muntaseer Rahman started keeping pet turtles back in 2013. He also owns the largest Turtle & Tortoise Facebook community in Bangladesh. These days he is mostly active on Facebook.