How to Draw a Turtle: 4 Easy Step-by-Step Tutorials for Beginners

This post was created with help from AI tools and carefully reviewed by a human (Muntaseer Rahman). For more on how we use AI on this site, check out our Editorial Policy.
Drawing a turtle is easier than it looks. This guide includes 4 step-by-step methods ranging from simple (perfect for kids) to more detailed (for experienced artists).
Each tutorial takes 10-20 minutes and requires just basic materials: paper, pencil, and eraser. Choose the method that matches your skill level below.
Which Method Should You Choose?
Method 1: Simple Turtle for Kids
Time: 10-15 minutes | Difficulty: Beginner | Best for: Ages 5+
Method 2: Sea Turtle
Time: 15-20 minutes | Difficulty: Beginner-Intermediate | Best for: Ocean lovers
Method 3: Cute Cartoon Turtle
Time: 10-15 minutes | Difficulty: Beginner | Best for: Quick sketches
Method 4: Realistic Cartoon Turtle
Time: 15-20 minutes | Difficulty: Intermediate | Best for: More detail work
For even more kid-friendly turtle drawings, see our dedicated turtle drawing ideas for kids with three additional simple methods.

Most people think drawing is a talent—you’re either born with it or you’re not.
That’s a lie. The real reason so many struggle? They’re learning it wrong.
This course fixes that. It’s packed with 42 hours of step-by-step lessons made for total beginners. No fluff. No guesswork.
Just real techniques for drawing faces, hair, birds, and more that don’t look like a toddler did it.
Here’s the link if you want to see what it’s about.
Method 1: How to Draw a Simple Turtle (For Kids & Beginners)

Required Materials
Sketching Pencil: A good quality pencil is crucial. It allows for both light preliminary sketches and darker, refined lines. A 2B or HB pencil would be versatile for this purpose.
Eraser: A soft eraser helps in removing any preliminary lines or mistakes without damaging the paper.
Drawing Paper: Preferably a medium-weight paper that can handle both pencil sketches and coloring without tearing or bleeding.
Colored Pencils or Crayons: Given the vibrant shades of yellow, red, and orange described, a set of colored pencils or crayons is essential. They offer precision and blendability.
Fine Liners or Ink Pens (optional): For those who like to add a touch of inked outlines to their drawings, these are ideal.
Blending Stumps or Tortillons (optional): For artists who want to achieve smoother transitions and blends in their shading.
Ruler (optional): Helpful for beginners who might want to ensure symmetry or draw straight lines, though freehand is encouraged for a more organic feel.
Pencil Sharpener: To keep those pencil tips sharp and precise.

Step 1: Begin with the Basics
Start by sketching two adjacent circles. These will serve as the foundation for the turtle’s head and body. Ensure they touch lightly, creating a sense of continuity. This is your turtle’s preliminary form, so don’t stress about perfection!

Step 2: Enhance with Subtle Details
Building on the initial circles, add a few more lines and subtle details. At this point, it might not distinctly resemble a turtle, and that’s okay! Remember, art is a process, and we’re gradually bringing our turtle to life. Keep your lines light, as we’ll refine them in the following steps.

Step 3: Introducing Key Features
Now, let’s breathe some life into our sketch! Draw the outline of the eyes, ensuring they’re expressive. Sketch the shell’s basic structure, ensuring it covers a good portion of the larger circle. Don’t forget the legs – give them a gentle curve.
And of course, a happy little smile to show our turtle’s cheerful personality. With these additions, you’ll notice it’s starting to take on a recognizable turtle form. Great progress!

Step 4: Dive into the Details
Time to refine our turtle! Delve deeper into the leg details, adding definition and depth. For the shell, introduce some intricate patterns or lines to showcase its texture. Enhance the eyes with a bit more detail, perhaps adding a sparkle or pupil.
As you progress, feel free to erase some of the lighter preliminary lines from earlier steps. They’ve served their purpose and now our turtle is coming into clearer focus. Keep it up!

Step 5: Finishing Touches on the Shell and More
Let’s complete that shell! Add the final touches, ensuring it looks robust and textured. Your turtle’s shell is its signature, so make it stand out. Now, turn your attention to the face and feet.
Introduce cute little nostrils to give our turtle a sense of character. And don’t forget the toes—add small nails to them for that added realism. With these details in place, our turtle not only looks complete but also full of life. Fantastic job!

Step 6: Colorful Finale and Setting the Scene
It’s time to bring vibrancy to our turtle! Splash on strong shades of yellow, red, and orange, letting these warm hues give our turtle a lively and dynamic appearance. But wait, our turtle needs a setting too.
Sketch in a serene tree to the side, anchoring our turtle in its natural habitat. And what’s a sunny day without a sun? Add a bright sun in the sky, casting its golden rays down. With these final touches, our turtle isn’t just a sketch anymore; it’s a vibrant scene full of life and color. Congratulations on your masterpiece!
This Hilarious Turtle Book Might Know Your Pet Better Than You Do
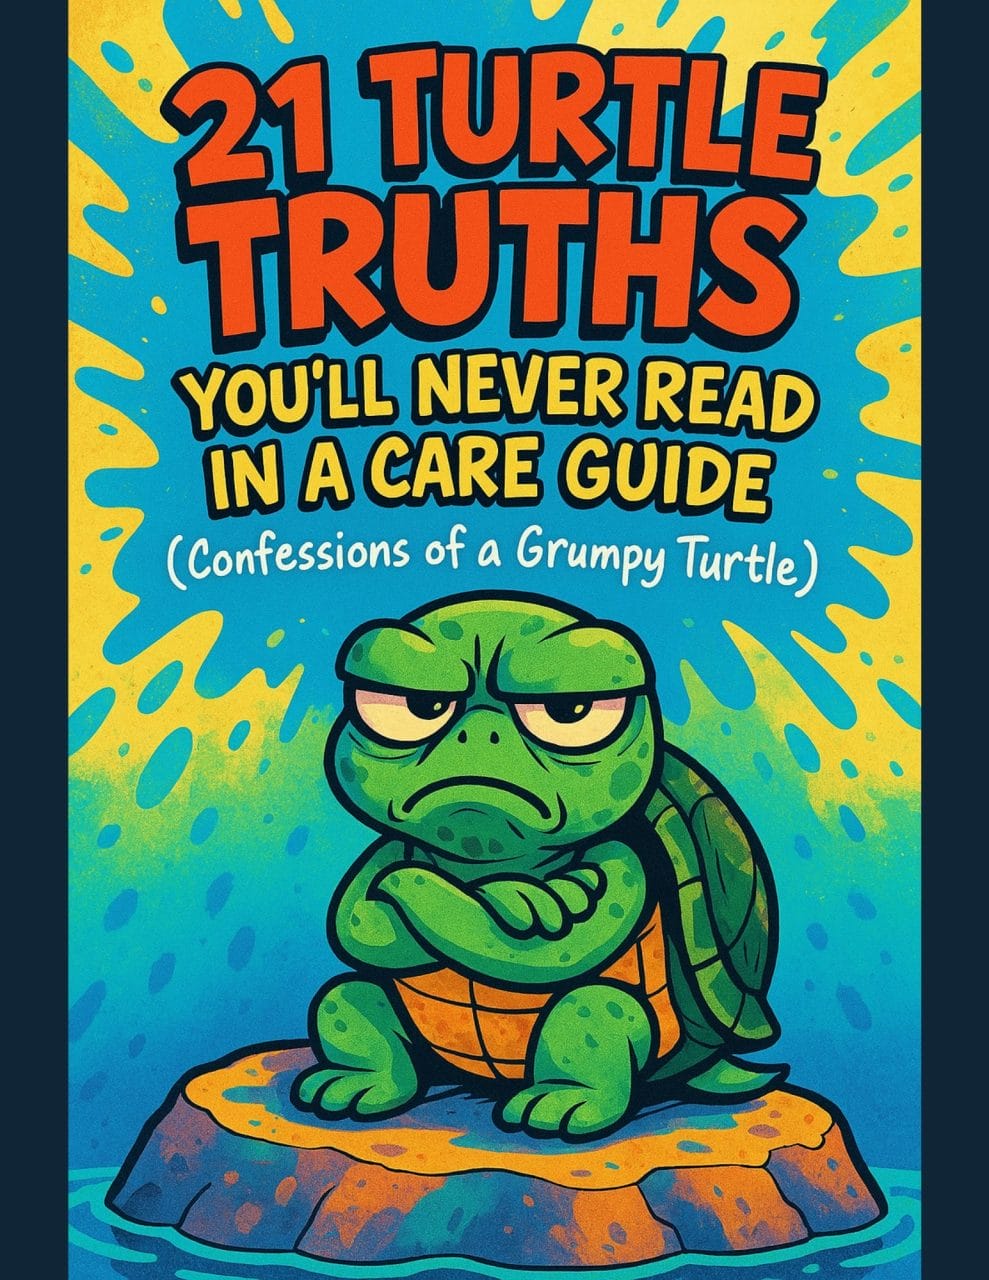
Let’s be real—most turtle care guides feel like reading a textbook written by a sleep-deprived zookeeper.
This one’s not that.
Told from the snarky point of view of a grumpy, judgmental turtle, 21 Turtle Truths You’ll Never Read in a Care Guide is packed with sarcasm, sass, and surprisingly useful insights.
And hey—you don’t have to commit to the whole thing just yet.
Grab 2 free truths from the ebook and get a taste of what your turtle really thinks about your setup, your food choices, and that weird plastic palm tree.
It’s funny, it’s honest, and if you’ve ever owned a turtle who glares at you like you’re the problem—you’ll feel seen.
Method 2: How to Draw a Sea Turtle (Step by Step)

Required Materials
Drawing Paper: A smooth, medium-weight drawing paper is ideal. It should be sturdy enough to handle erasing and potential coloring without easily tearing or wrinkling.
Pencil: A standard HB or No. 2 pencil is great for initial sketches. It’s neither too dark nor too light, making it easy to draw and erase.
Eraser: A good quality eraser is essential for correcting mistakes or refining your drawing. White or kneaded erasers are typically recommended as they don’t leave smudges.
Fine Liner or Ink Pen: Once you’re satisfied with your pencil sketch, you can use a fine liner or ink pen to go over your drawing and make it stand out. This step is optional but adds a finished look to the drawing.
Colored Pencils or Watercolors (Optional): If you’d like to add some color to your sea turtle, you can use colored pencils or watercolors. Colored pencils are easier for beginners, but watercolors can give a beautiful, soft finish to underwater scenes.
Pencil Sharpener: To keep your pencil point sharp, especially if adding finer details.
Ruler (Optional): If you like straight lines or perfect circles, a ruler or a compass can come in handy. However, for this specific drawing, it’s not strictly necessary.
Blending Stump or Cotton Swab (Optional): If you want to achieve smoother shading or gradient effects, especially on the turtle’s body or in the background.
Step 1: Sketching The Body Oval
Start by sketching a slightly elongated oval for the turtle’s body. This will serve as the main foundation for your drawing. Make sure it’s centered on your page and has enough space around it for the turtle’s limbs and head.
Step 2: Sketching The head oval
Draw a smaller oval at one end of the body oval; this will be the turtle’s head. Ensure it’s slightly overlapping the body so they connect seamlessly.
Step 3: drawing the front flippers
Time for the flippers! Draw two larger, elongated shapes on each side of the body. They should be slightly curved, resembling the actual flippers of a sea turtle. The front flippers are typically longer than the back ones.
Step 4: drawing the rear flippers
Add the rear flippers. They’re shorter than the front ones and are located towards the back of the turtle’s body. They should also have a slight curve to them.
Step 5: time for eyes
Let’s give our turtle some character! Draw two small circles on the turtle’s head for its eyes, and a tiny curve underneath for its smiling mouth.
Step 6: give some details
Add some details to the flippers by drawing a few lines starting from the body and going outward. This will give the impression of the segments and joints in the turtle’s flippers.
Step 7: sketching the shell
Sketch the turtle’s shell. Draw a semi-circular line connecting the two sides of the body oval. Within this space, add some hexagonal and pentagonal shapes to mimic the pattern on a turtle’s shell.
Step 8: adding more details
For the final touches, add some small, rounded shapes on the turtle’s head, neck, and limbs to represent its scaly texture. These can be scattered and don’t need to be uniform.
Step 9: Why not some underwater details?
If you wish, you can now add some underwater details, like seaweed or small fish, to give your drawing a more lively setting.
Step 10: darkening the outline or coloring
Once you’re satisfied with your drawing, go over the outlines with a darker pencil or ink to make your sea turtle stand out. You can also consider coloring it in for added vibrancy!
Drawing sea turtles? Learn to identify all 7 species in our sea turtle identification guide, or take your sea turtle art further with our realistic sea turtle drawing and sketching guide featuring detailed shading techniques.
Method 3: How to Draw a Cute Cartoon Turtle (Easy)

Required Materials
Drawing Paper: A blank sheet of standard drawing paper will do. You can also use a sketchbook if you prefer.
Pencil: A standard HB or 2B pencil is suitable for sketching. It offers a good balance between softness for shading and hardness for detail.
Eraser: A soft eraser helps in correcting mistakes and refining the drawing.
Fine Liner or Ink Pen (optional): If you want to give your drawing a more polished look, you can trace over your pencil lines with a fine liner or ink pen.
Colored Pencils or Markers (optional): If you wish to add color to your turtle, have some colored pencils or markers on hand. Greens, browns, and blues are typical for sea turtles, but you can get creative!
Ruler or Straight Edge (optional): While not necessary for this tutorial, it might be handy if you want to add any straight lines or specific angles.
Blending Stump or Tissue (optional): If you decide to shade the turtle and want a smoother gradient, a blending stump or a piece of tissue can be used to blend the pencil strokes.
Step 1: Draw the Turtle’s Shell
Start with the turtle’s central feature – its shell. Imagine an elongated cloud or a wavy oval. This will form the base of your turtle and give you a reference point for the remaining features.
Step 2: Add the Head
To the left of the shell, draw a small, rounded oval for the turtle’s head. This should be smaller than the shell and connected to it with a slight curve, representing the turtle’s neck.
Step 3: Sketch the Limbs
Draw four flippers extending from the shell. The front two should be longer and more slender, while the back two can be shorter and a bit rounder. Remember, sea turtles have paddle-like flippers to help them glide through the water.
Step 4: Draw the Tail
At the back of the shell, between the two rear flippers, sketch a small pointed tail. It doesn’t need to be long; just a subtle hint of a tail will do.
Step 5: Add Facial Details
Time to give your turtle some personality! Draw two dots for eyes and a small, curved line below them to represent a smiling mouth. Keep it simple and cute.
Step 6: Embellish the Shell
To make the shell more realistic and detailed, draw some curved lines and patterns on it. You can add a series of interconnected semi-circles or any pattern you like. It’s your turtle, after all!
Step 7: Final Touches
Clean up any rough edges, erase unnecessary lines, and add any additional details you feel necessary. This is your chance to personalize your turtle and make it unique.
Method 4: How to Draw a Realistic Cartoon Turtle

Required Materials
Sketchbook or Drawing Paper: Choose a smooth surface that’s suitable for drawing. It doesn’t have to be expensive; even a plain sheet of printer paper can work.
Pencil: A regular HB or #2 pencil is perfect for sketching. If you have a range of pencils, you can use softer pencils (like 2B or 4B) for shading and harder pencils (like H or 2H) for fine details.
Eraser: It’s always good to have an eraser on hand to correct mistakes or lighten lines. A soft, kneaded eraser can be especially useful as it can be molded into different shapes and doesn’t leave residue.
Sharpener: Keep your pencils sharp for finer details.
Colored Pencils or Crayons (optional): If you want to add some color to your sea turtle, having a set of colored pencils or crayons can be great. Choose natural shades like greens, browns, and blues for a realistic look or go wild with any colors you like for a more whimsical approach.
Fine-tipped Pen (optional): Once you’re satisfied with your sketch, you can go over your drawing with a fine-tipped pen to make it stand out more. This will give your drawing a clean, defined look.
Step 1: Outline the Turtle’s Shell
Start with the central piece of your turtle: the shell. Draw a slightly elongated oval shape, making sure it’s not too round or too flat. This will serve as the base for your sea turtle, giving it a sturdy and recognizable form.
Step 2: Add the Head
Directly attached to the front of the shell, sketch a smaller oval. This will be the turtle’s head. It should slightly overlap the shell and be positioned a bit lower, giving the appearance that the turtle is peeking out.
Step 3: Sketch the Limbs
Draw four flippers for your turtle. The front flippers should be longer and slightly curved, resembling wings. The back flippers can be a bit smaller. Remember, sea turtles have paddle-like limbs, perfect for gliding through the ocean!
Step 4: Tail Time
Behind the back flippers, add a small triangular tail. This should be subtle and not too long. The tail helps with steering, so think of it as a small rudder for your turtle.
Step 5: Facial Details
Give your turtle some personality! Add two dots for the eyes and a simple, curved line for the mouth. You can make your turtle look happy, curious, or even sleepy based on the positioning of these features.
Step 6: Decorate the Shell
Sea turtles have unique patterns on their shells. Draw some curved lines and shapes to replicate this. Don’t overdo it; a few lines will do. This will give your turtle its unique identity.
Step 7: Final Touches
Smooth out any rough edges and refine your drawing. Add any additional details you might like, such as shading or texture. Remember, the key is to have fun and make it your own!
Looking for more turtle inspiration? Browse our turtle tattoo ideas for creative designs, or try our 5 easy sea turtle doodles for quick, casual sketches you can do anywhere.
Common Turtle Drawing Mistakes to Avoid
- Shell too small for the body → Make it cover at least 60% of the body
- Legs too thick → Keep them proportionally thin and tapered
- Head too big → Should be about 1/4 the size of the shell
- Shell pattern too complex → Start simple, add detail later
Drawing Turtles FAQs
What is the easiest way to draw a turtle?
The easiest method is the simple turtle for kids (Method 1). Start with two circles for the head and body, add legs and a shell pattern, and you’re done in 10-15 minutes. No artistic experience needed.
How do you draw a sea turtle step by step?
Start with an elongated oval for the body, add a smaller oval for the head, draw four paddle-shaped flippers, sketch the shell with hexagonal patterns, and add facial features. The complete tutorial is in Method 2 above.
What shapes do you use to draw a turtle?
Most turtle drawings start with simple shapes: circles or ovals for the body and head, curved lines for the shell, and oval or teardrop shapes for the legs/flippers. Complex details come later.
How long does it take to draw a turtle?
A simple turtle drawing takes 10-15 minutes for beginners. More detailed sea turtle or realistic drawings take 15-20 minutes. Speed improves with practice.
Can kids learn to draw turtles?
Yes! Method 1 in this guide is specifically designed for kids ages 5 and up. It uses simple shapes and clear steps that young children can follow easily.
Do you need special materials to draw a turtle?
No. All you need is paper, a regular pencil, and an eraser. Colored pencils or markers are optional for adding color, but not required.

About Author
Muntaseer Rahman started keeping pet turtles back in 2013. He also owns the largest Turtle & Tortoise Facebook community in Bangladesh. These days he is mostly active on Facebook.